
Browse your library
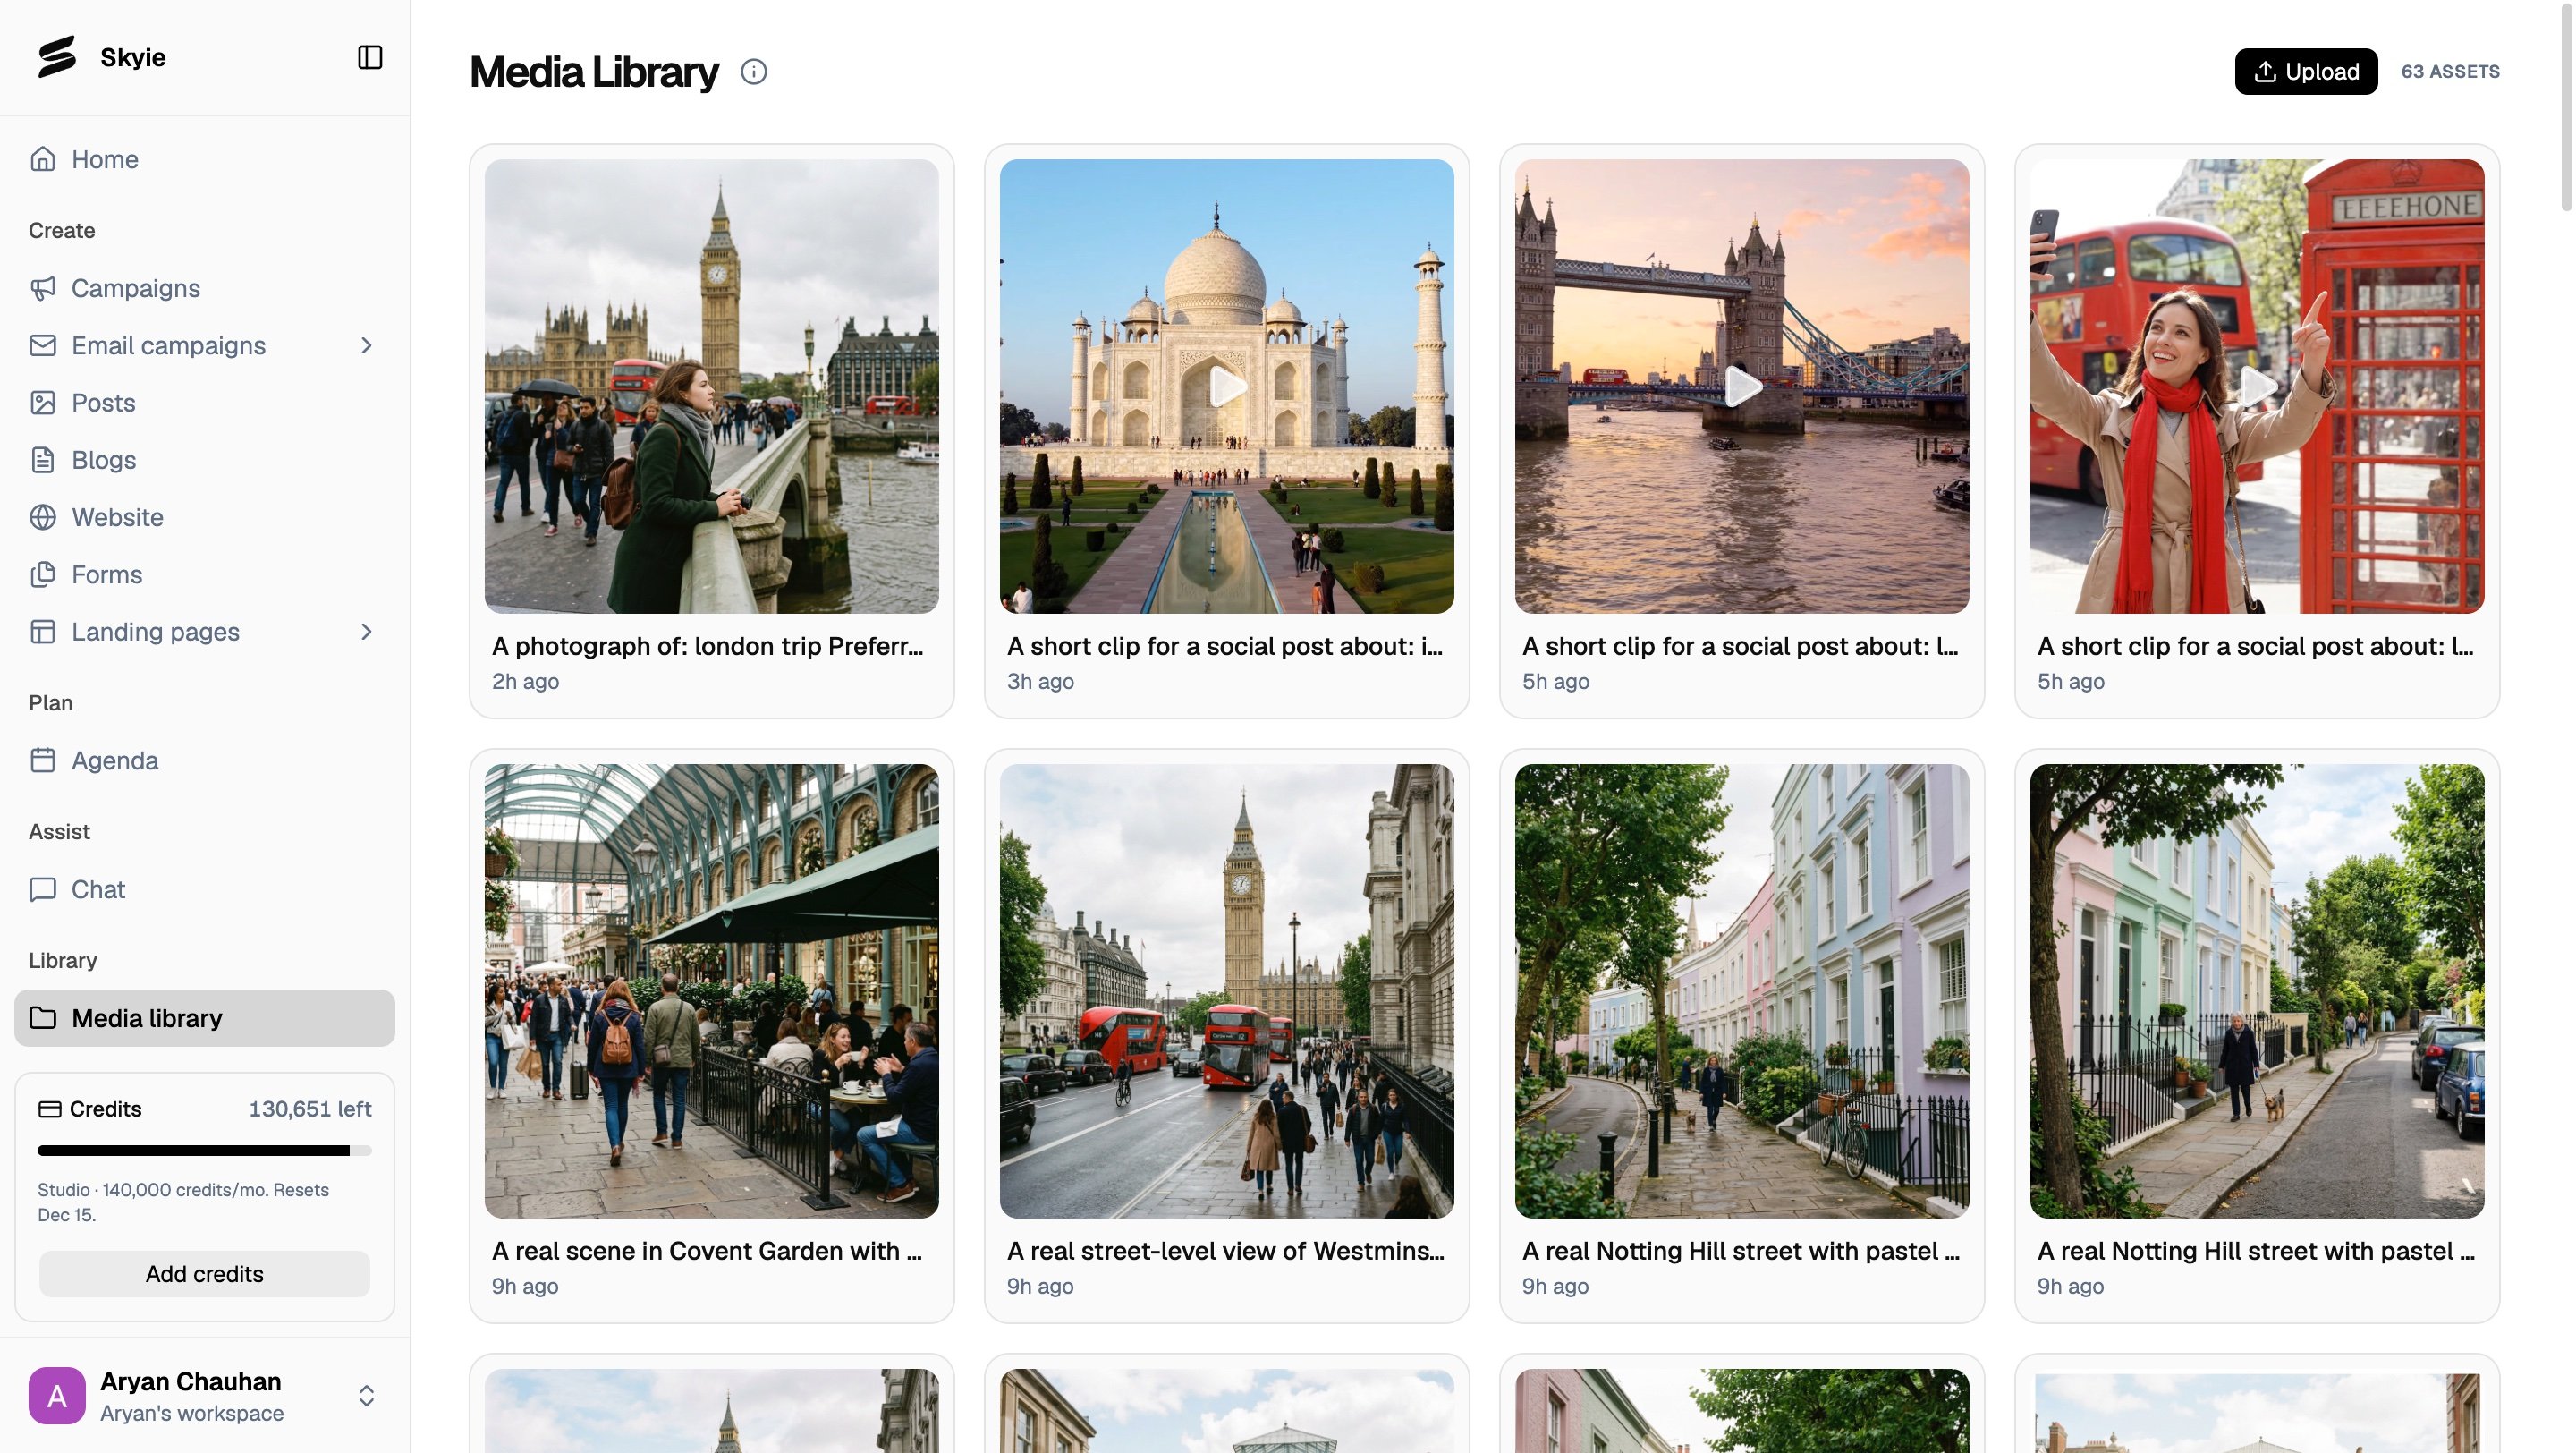
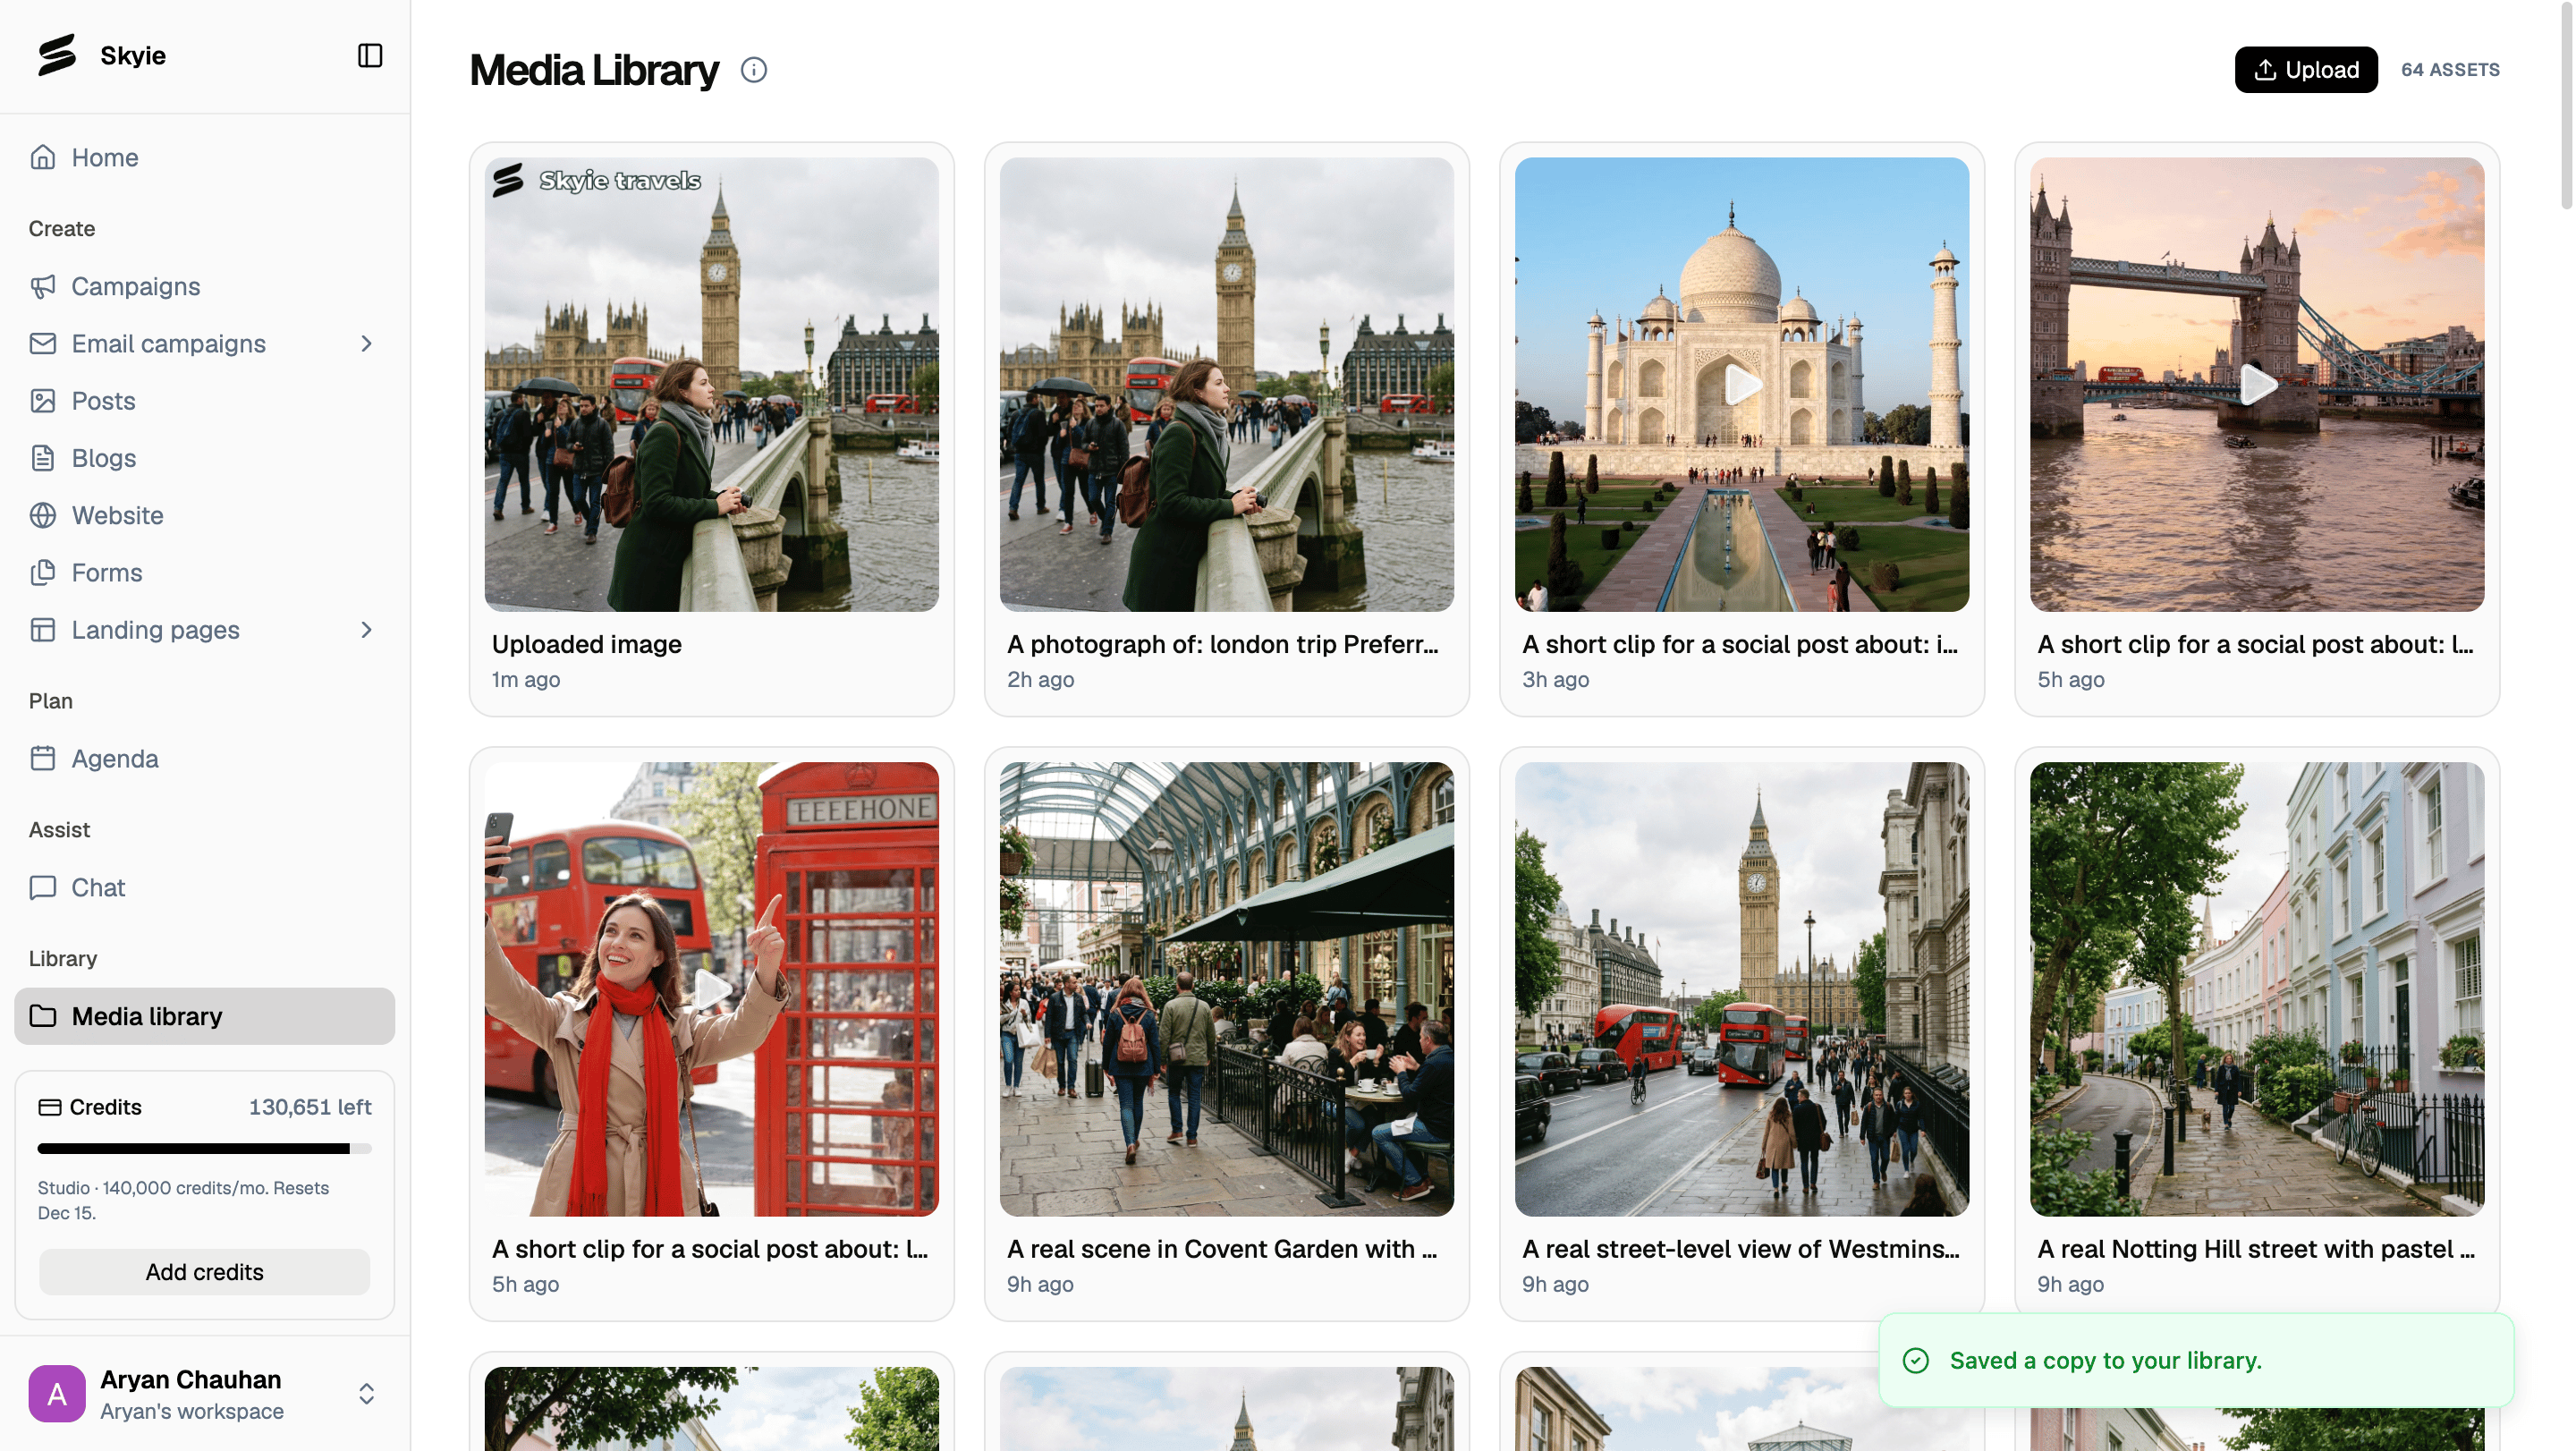
- Go to Media library in the left sidebar.
- Browse the grid to see all your saved assets.
The asset count in the top right corner shows the total number of items you’ve generated or uploaded across Posts and Blogs.
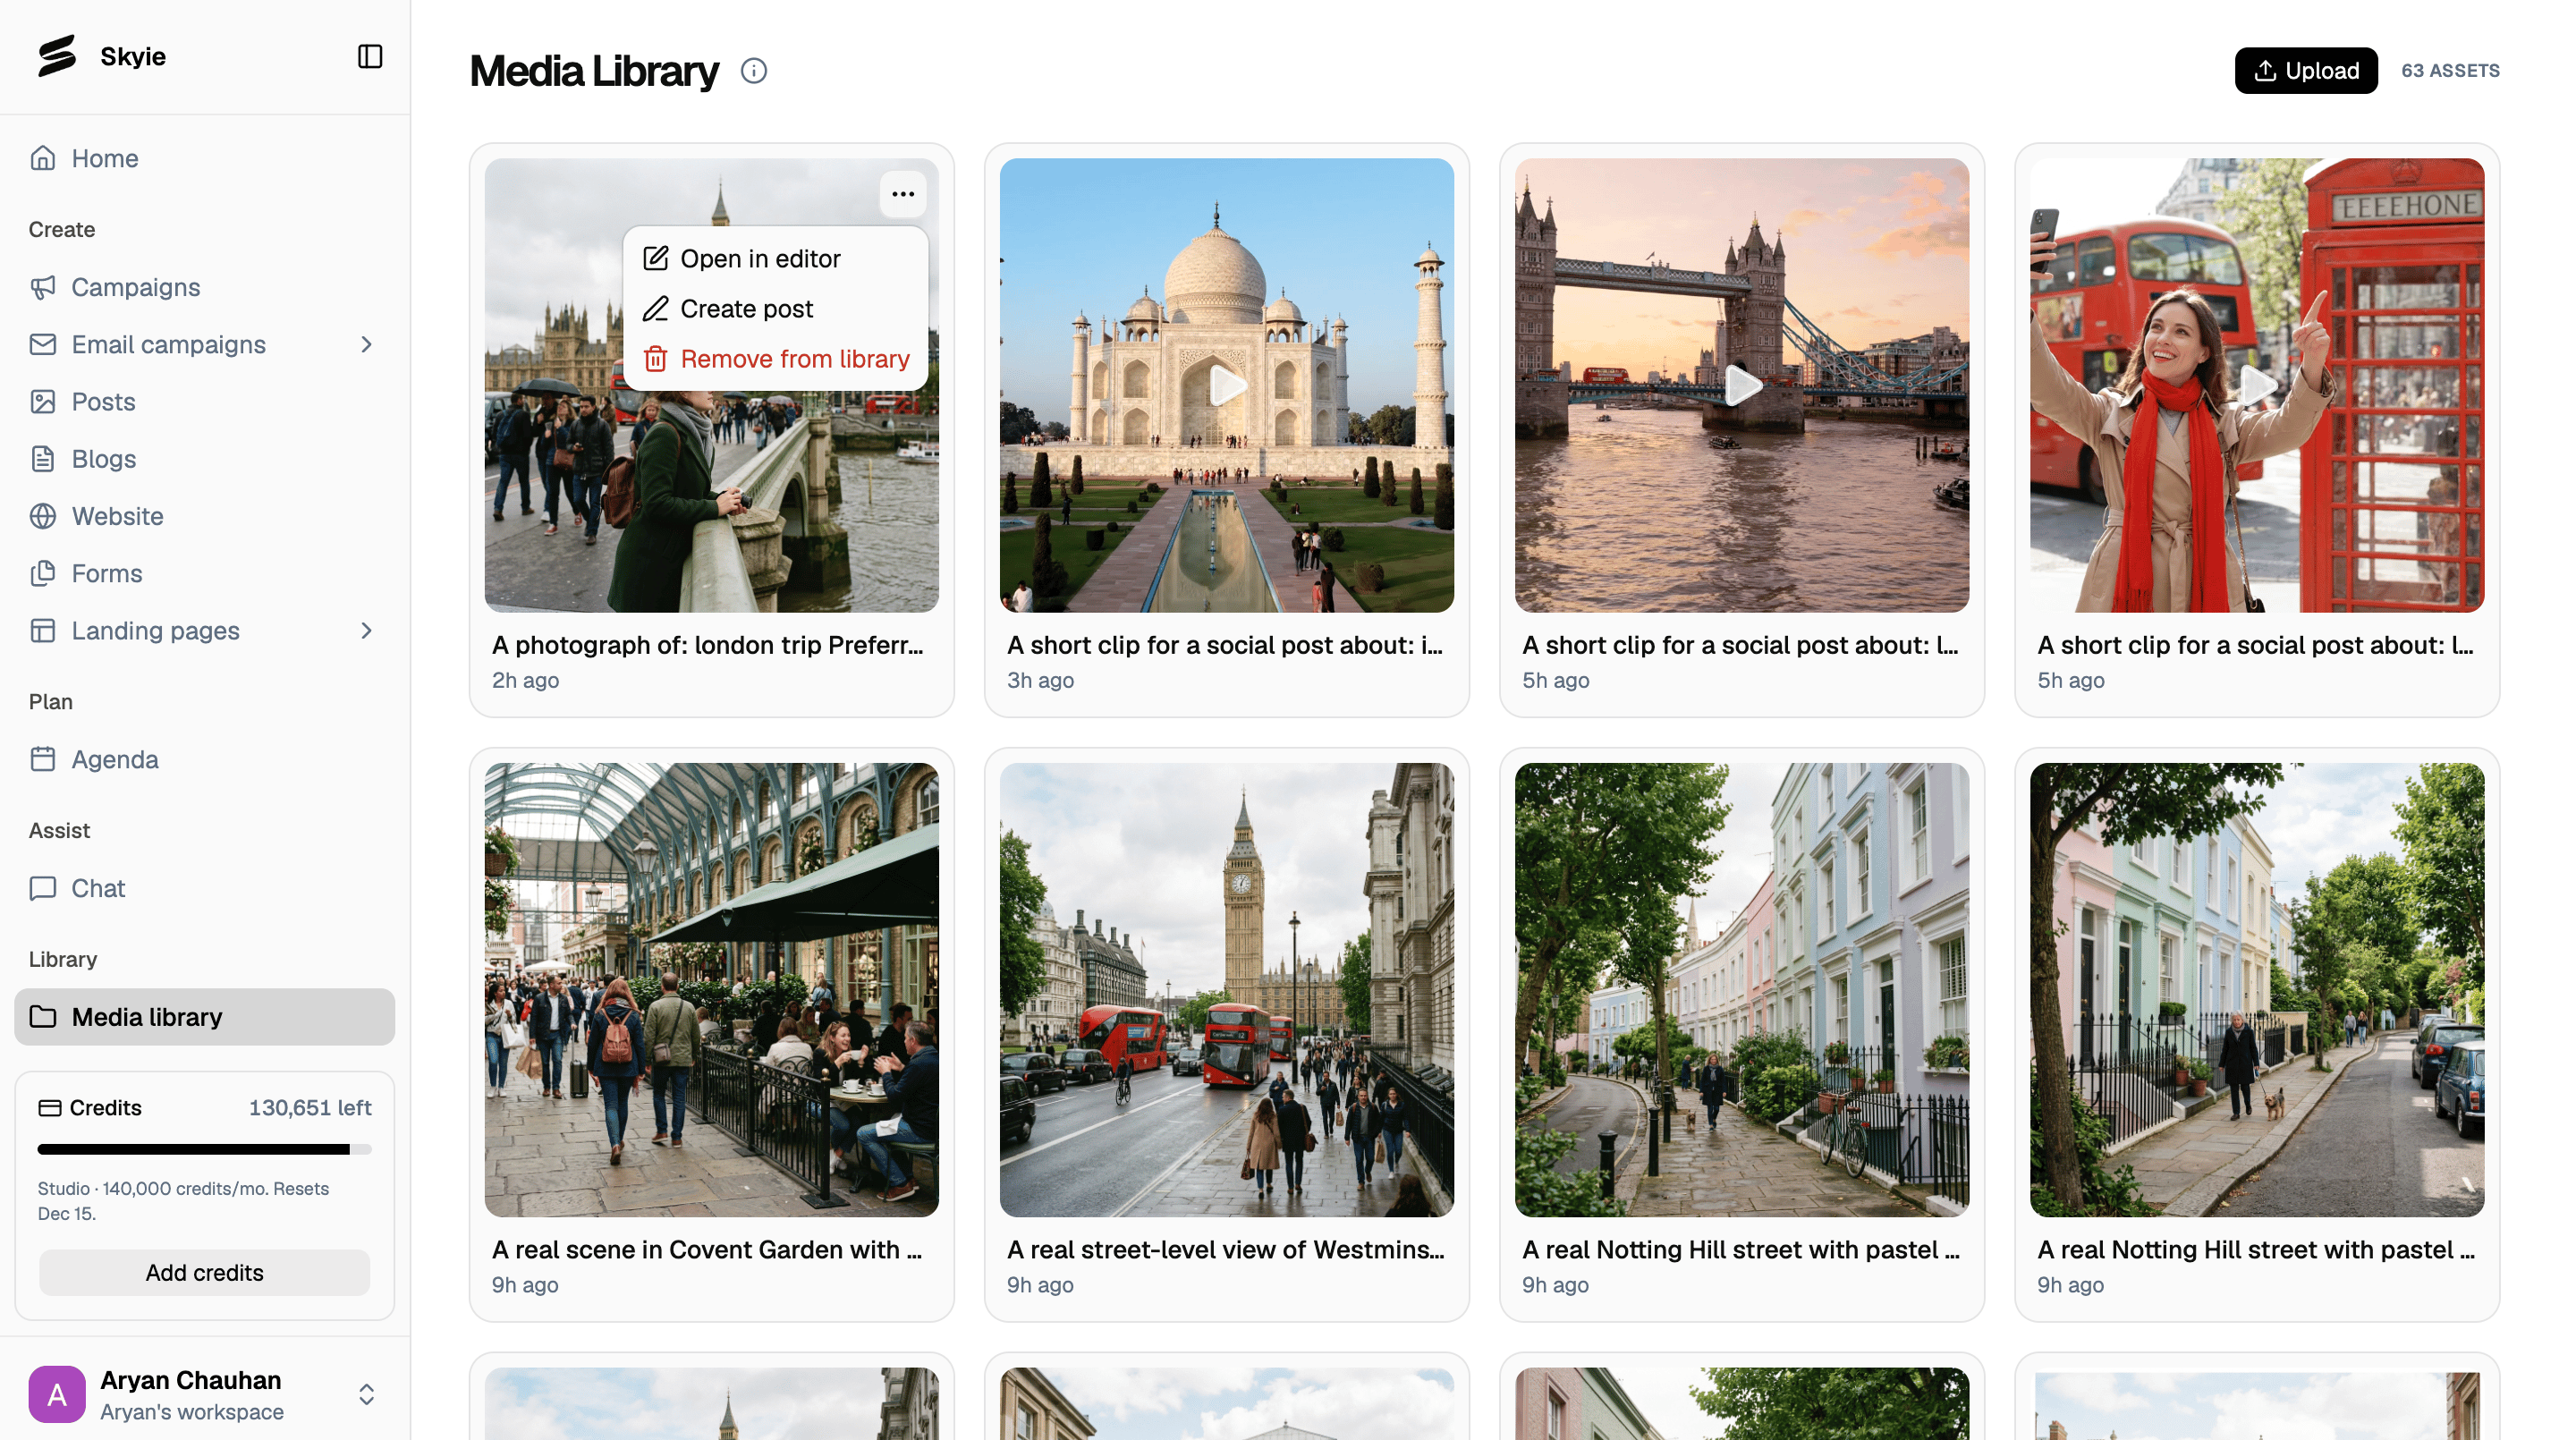
Open an asset’s options
Click the ••• menu on any asset to see the available actions:- Open in editor: open the image in the editor to make changes.
- Create post: start a new post with the selected image already attached.
- Remove from library: remove the asset from your media library.
Edit an image
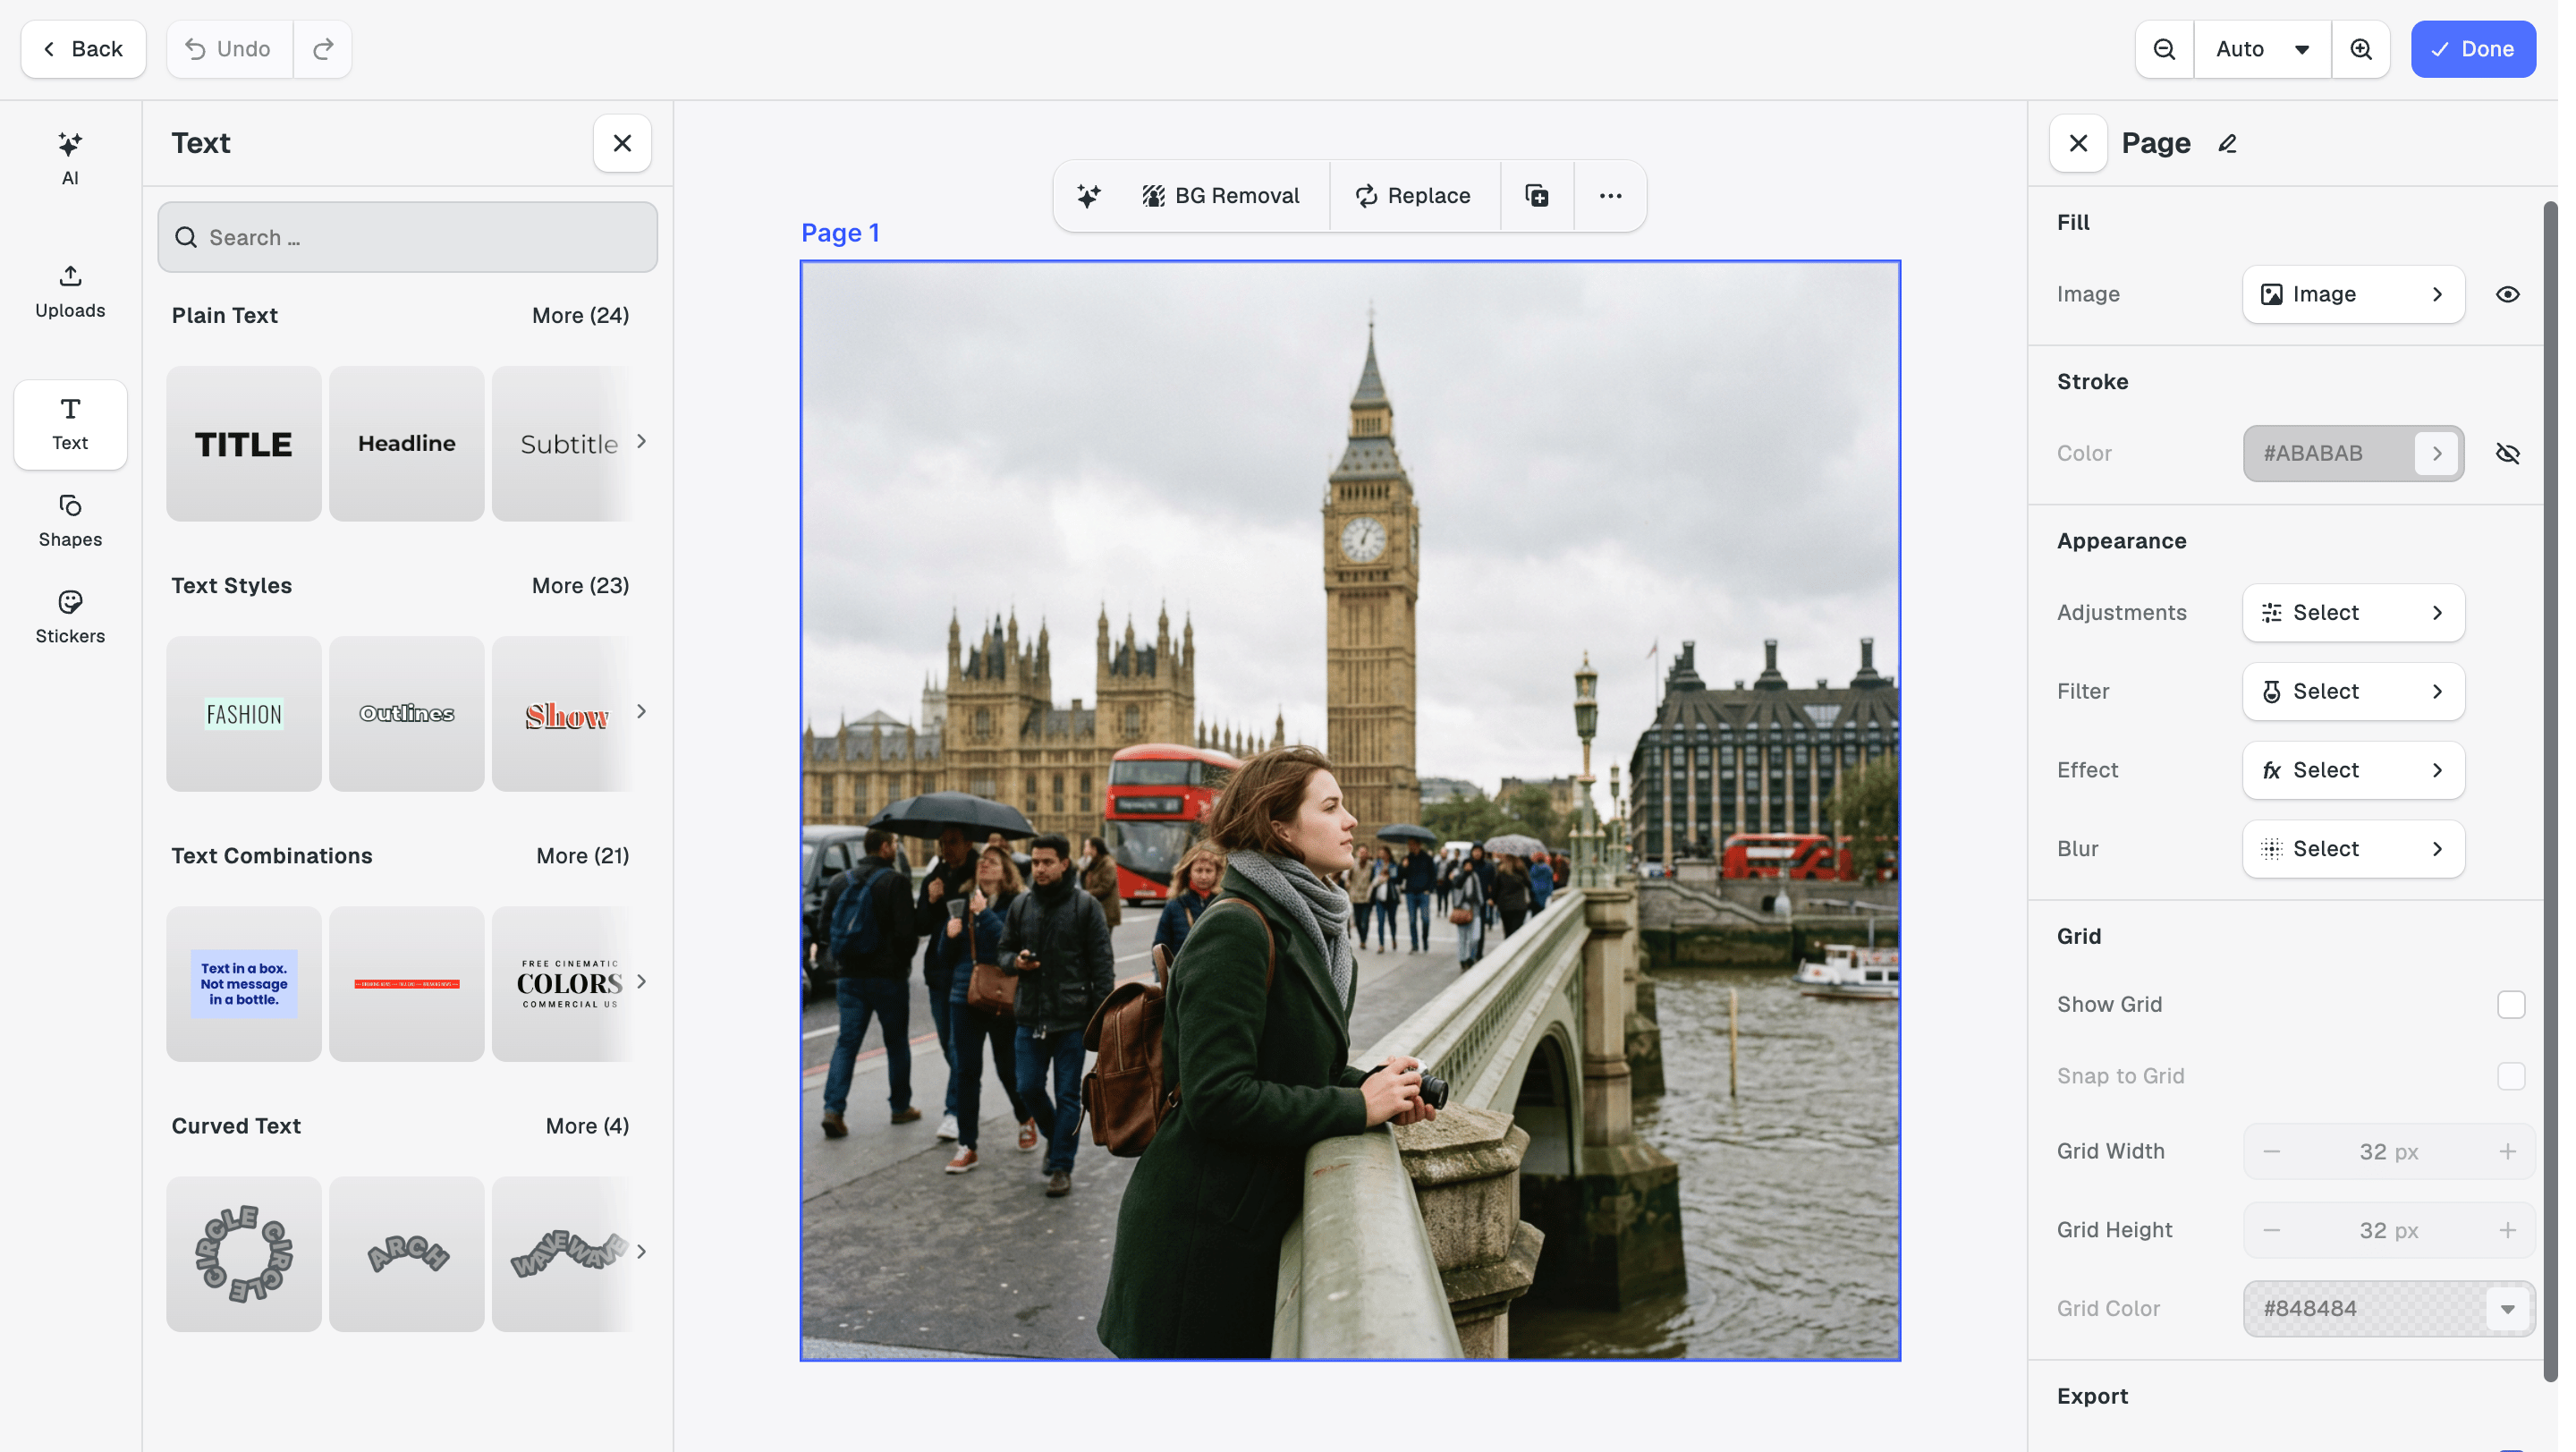
Select Open in editor to open your image on the editing canvas. The editor has several tools on the left:- AI: use AI-powered editing tools.
- Uploads: add your own images and files.
- Text: add text to your image.
- Shapes: add shapes and design elements.
- Stickers: add decorative elements.
Customize your selected image
When you select the image on the canvas, the panel on the right displays image-specific settings:- Fill and Stroke: adjust the image’s fill and border.
- Appearance: adjustments, filters, effects, and blur.
- Grid: adjust the image’s grid settings.
- Export: access image export options.
- BG Removal: remove the image background.
- Replace: swap the selected image for another one without rebuilding your design.
Adjust document settings
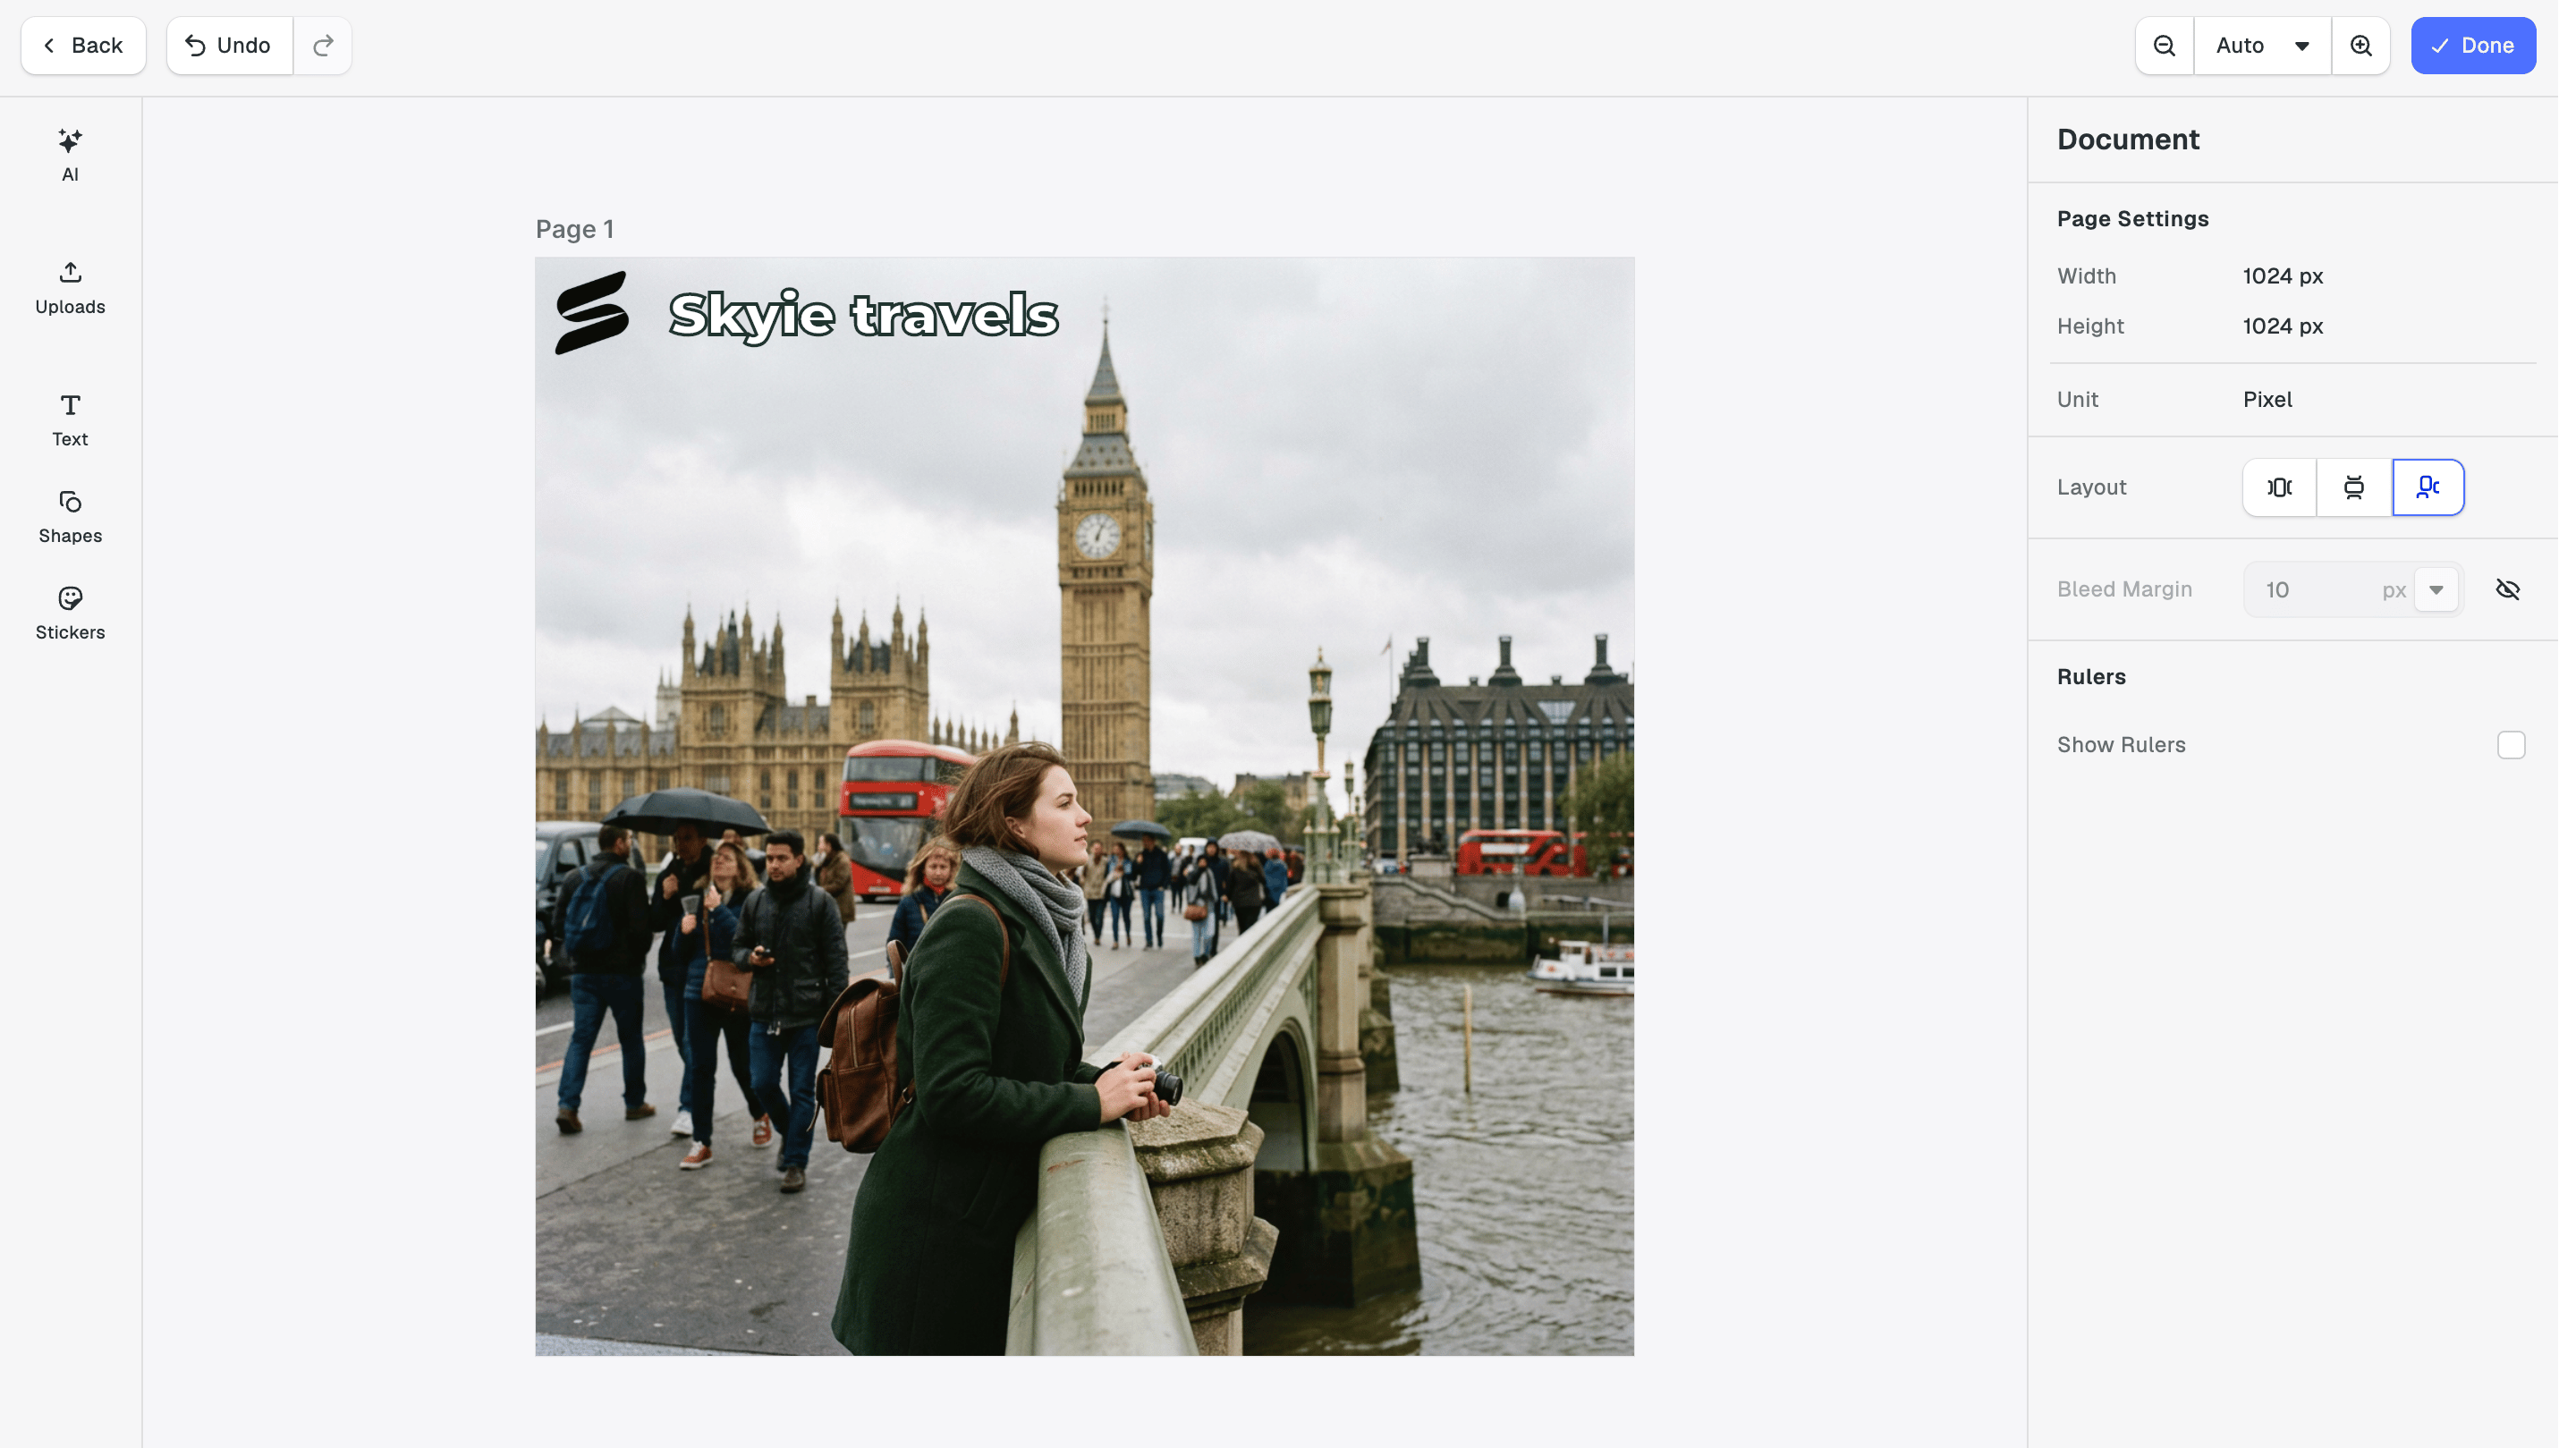
Click anywhere on the canvas where no element is selected. The right panel switches to Document settings, where you can adjust:- Width and Height
- Layout
- Bleed Margin
- Rulers
Save your changes
Once you’re happy with your edits, click Done in the top right corner.Your original asset remains unchanged. Skyie saves the edited version as a new asset in your media library and shows a confirmation when it’s added.
Create a post from your media library
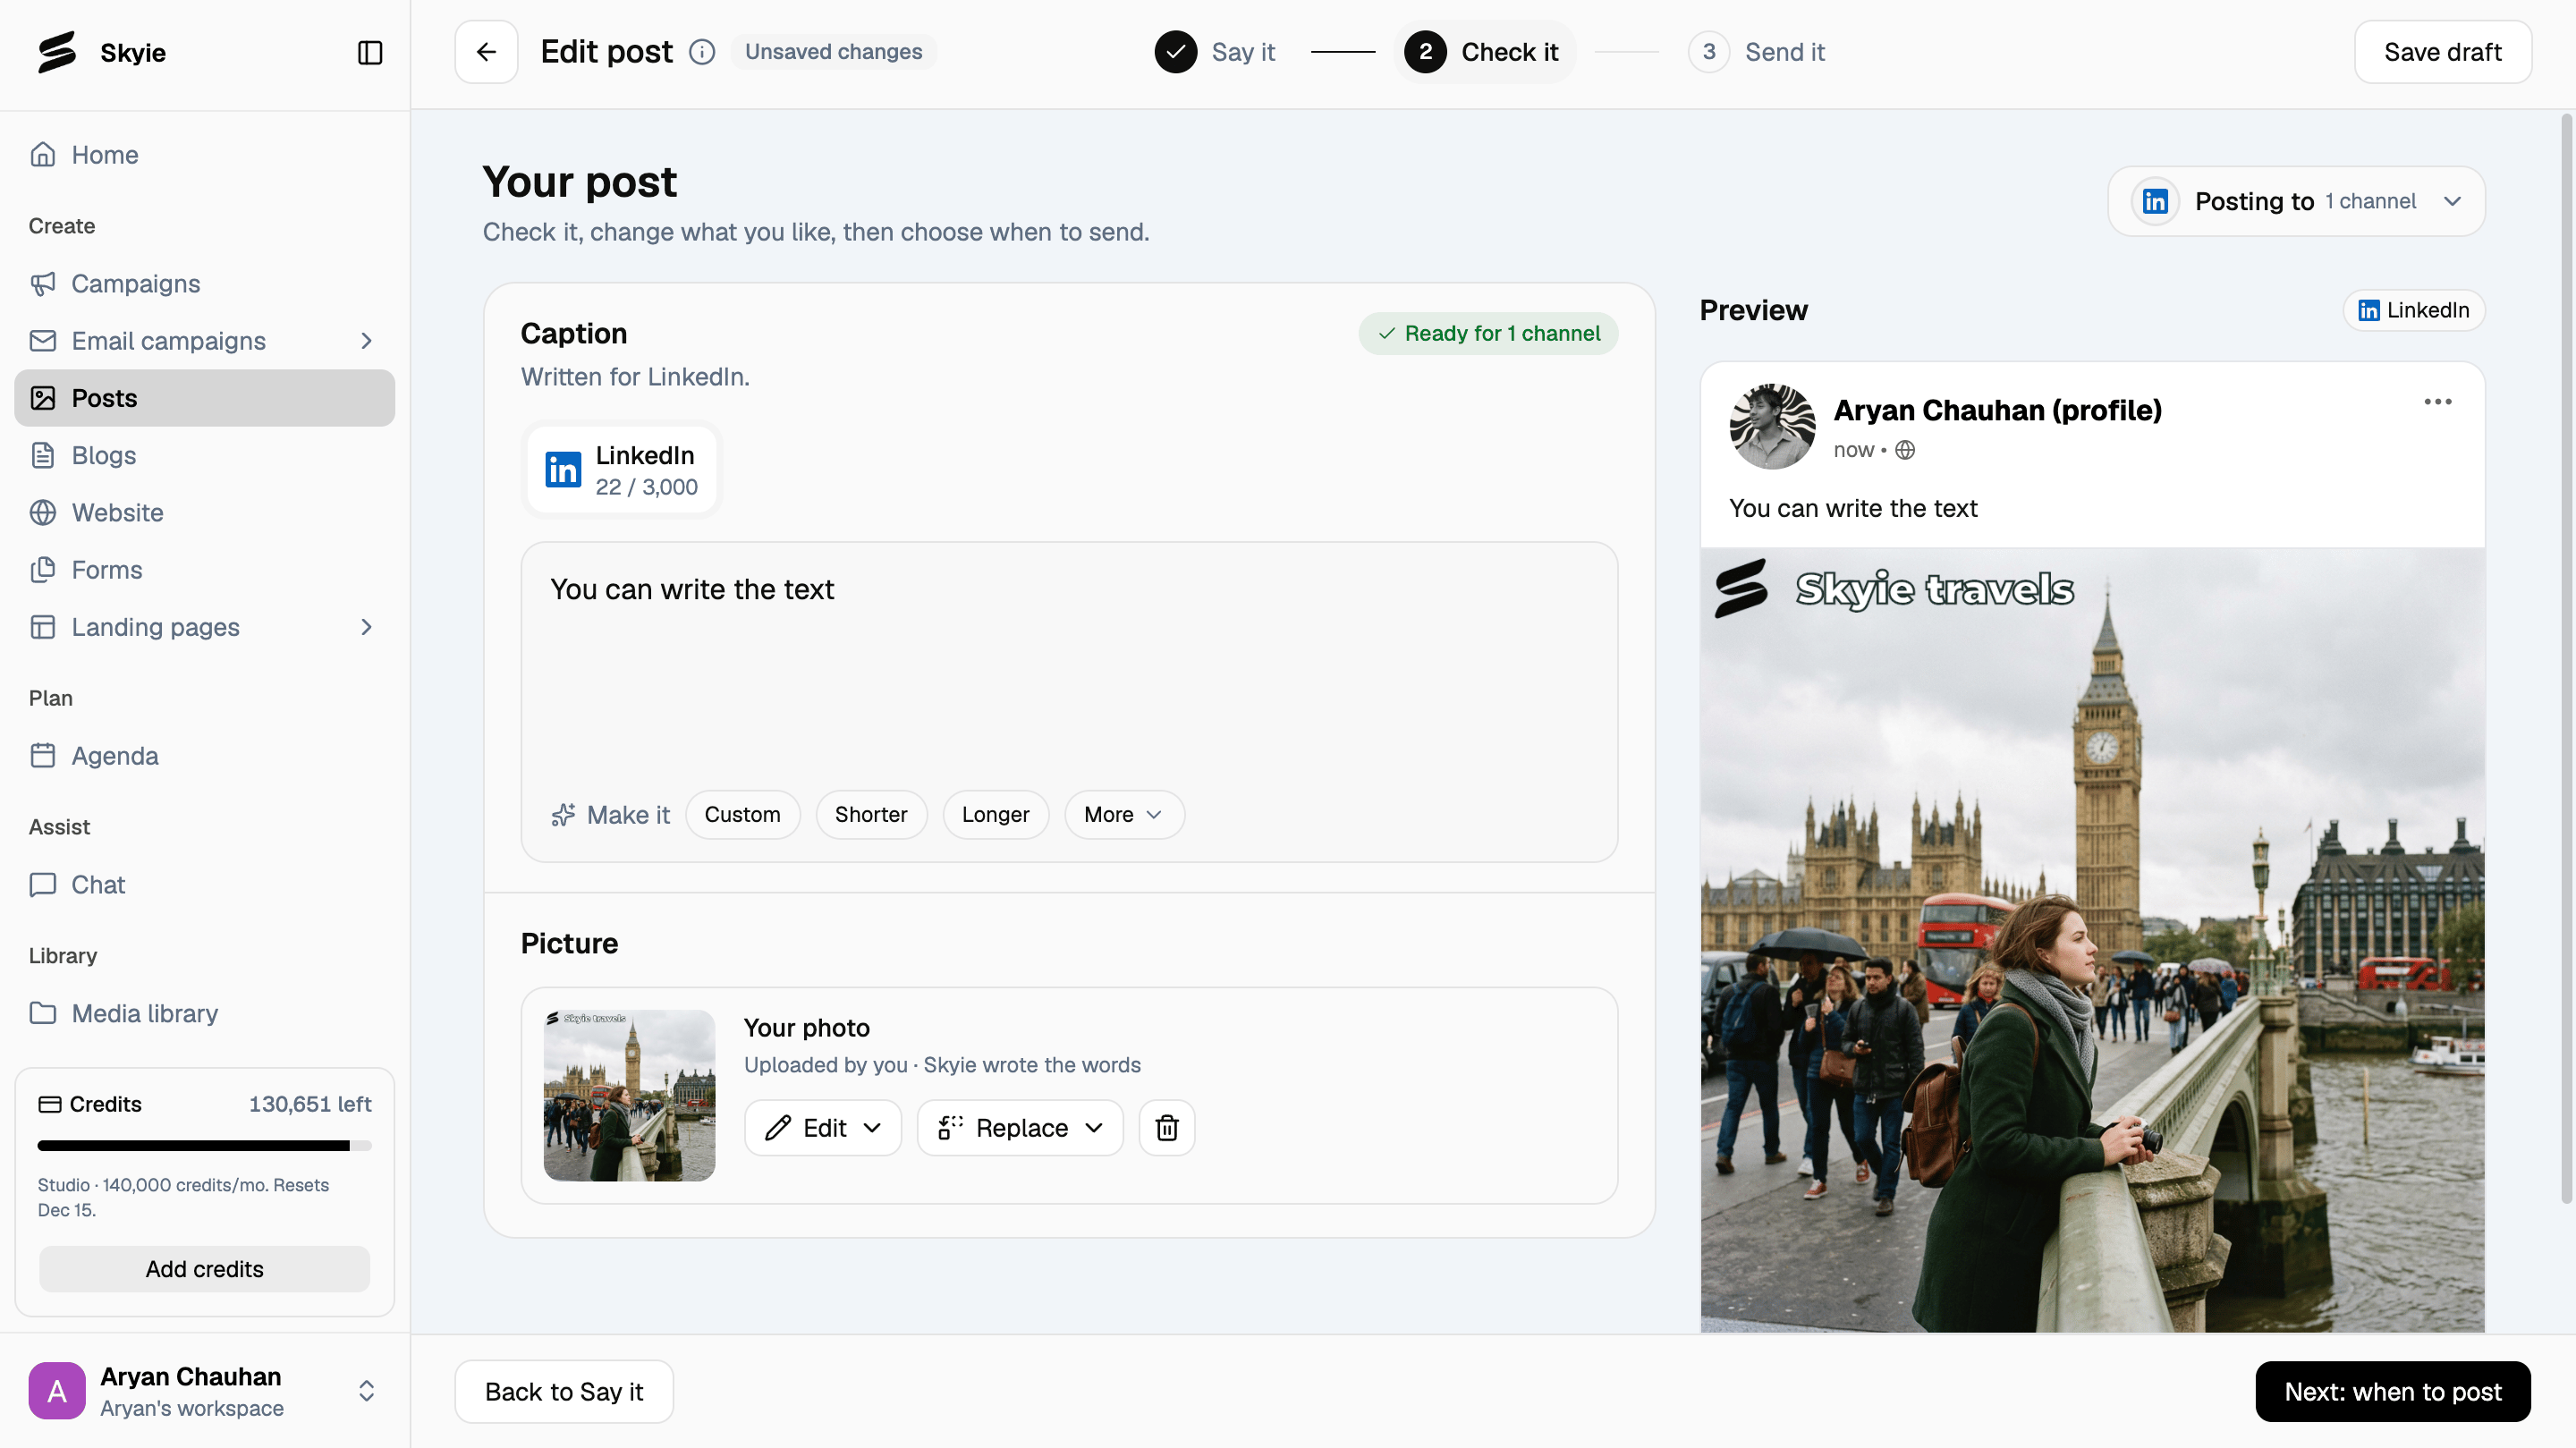
Already have an image you want to publish? Start a post directly from your media library without going through the Say it step.- Find the image you want to use.
- Click its ••• menu.
- Select Create post.
Related
- Create and publish a post - how to create, review, and publish social media posts with Skyie.