
Start a new blog
- Go to Blogs in the left sidebar.
- Click New Blog.
- Choose how you’d like to start:
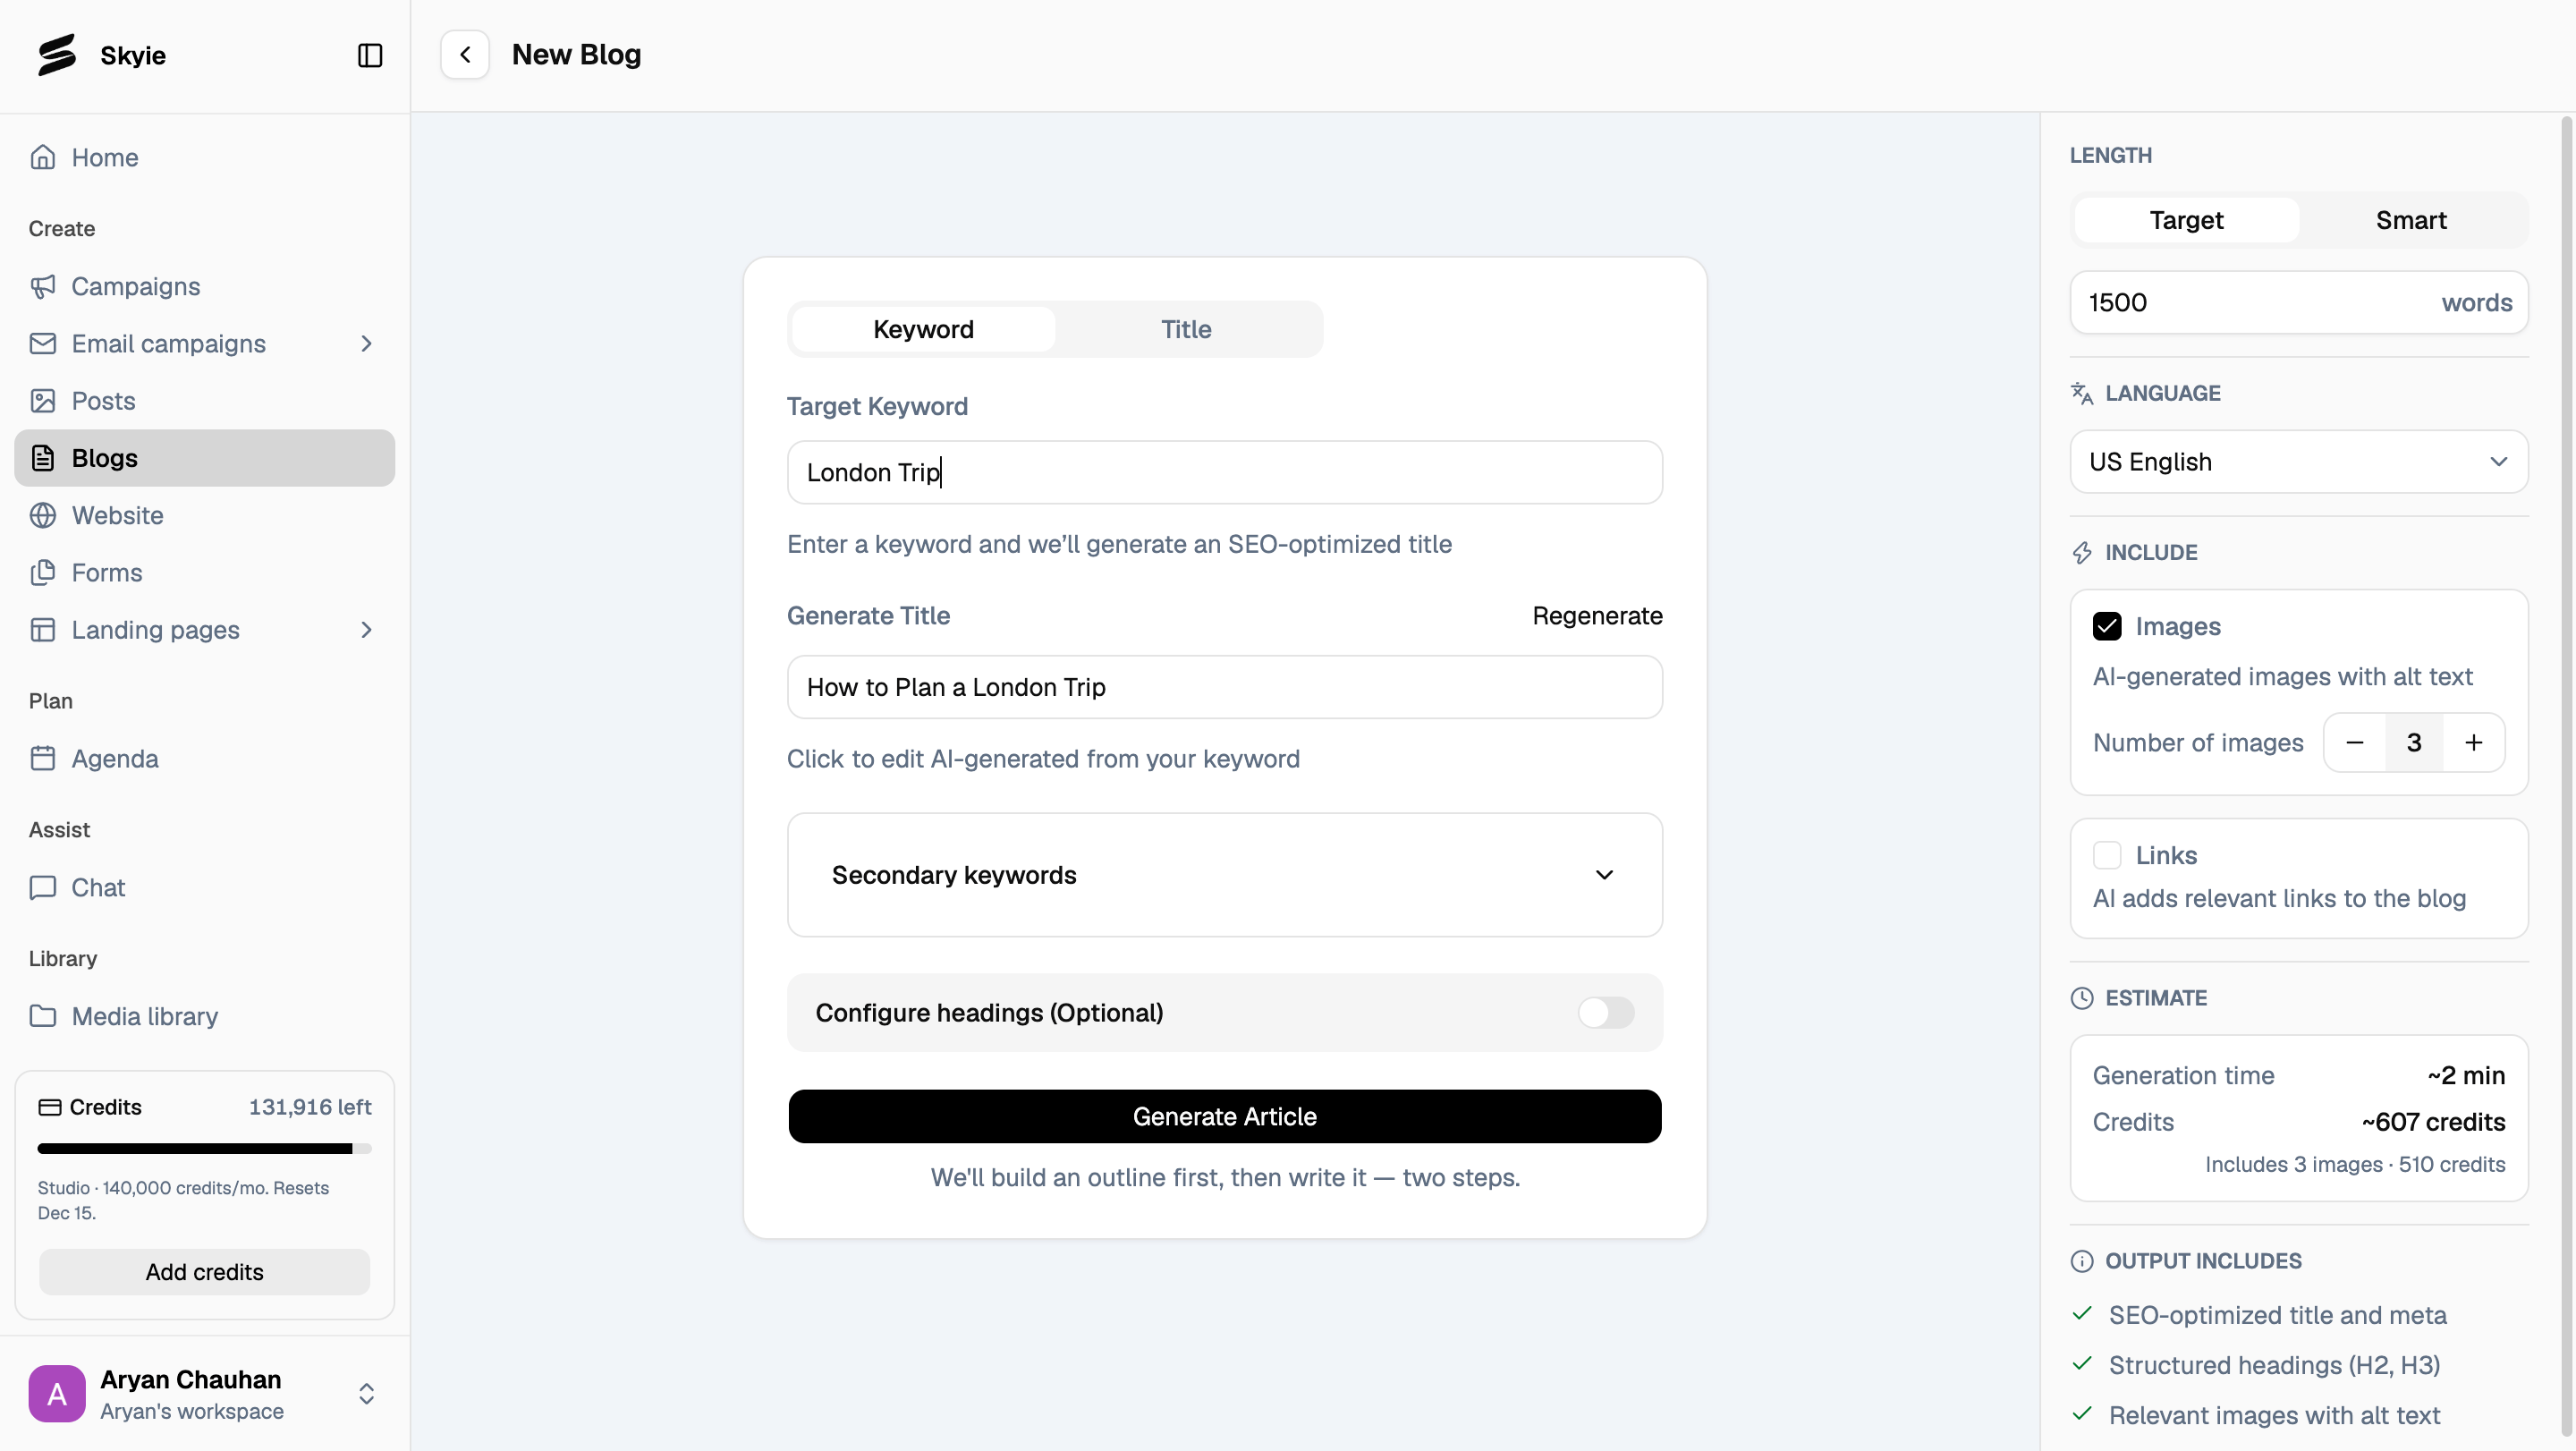
Add secondary keywords (optional)
Want to target additional search terms? Expand Secondary keywords to add related keywords to your article. You can:- Click an AI Suggestions chip to add a suggested keyword.
- Type your own keyword and press Enter or comma to add it.
- Click the x beside a selected keyword to remove it.
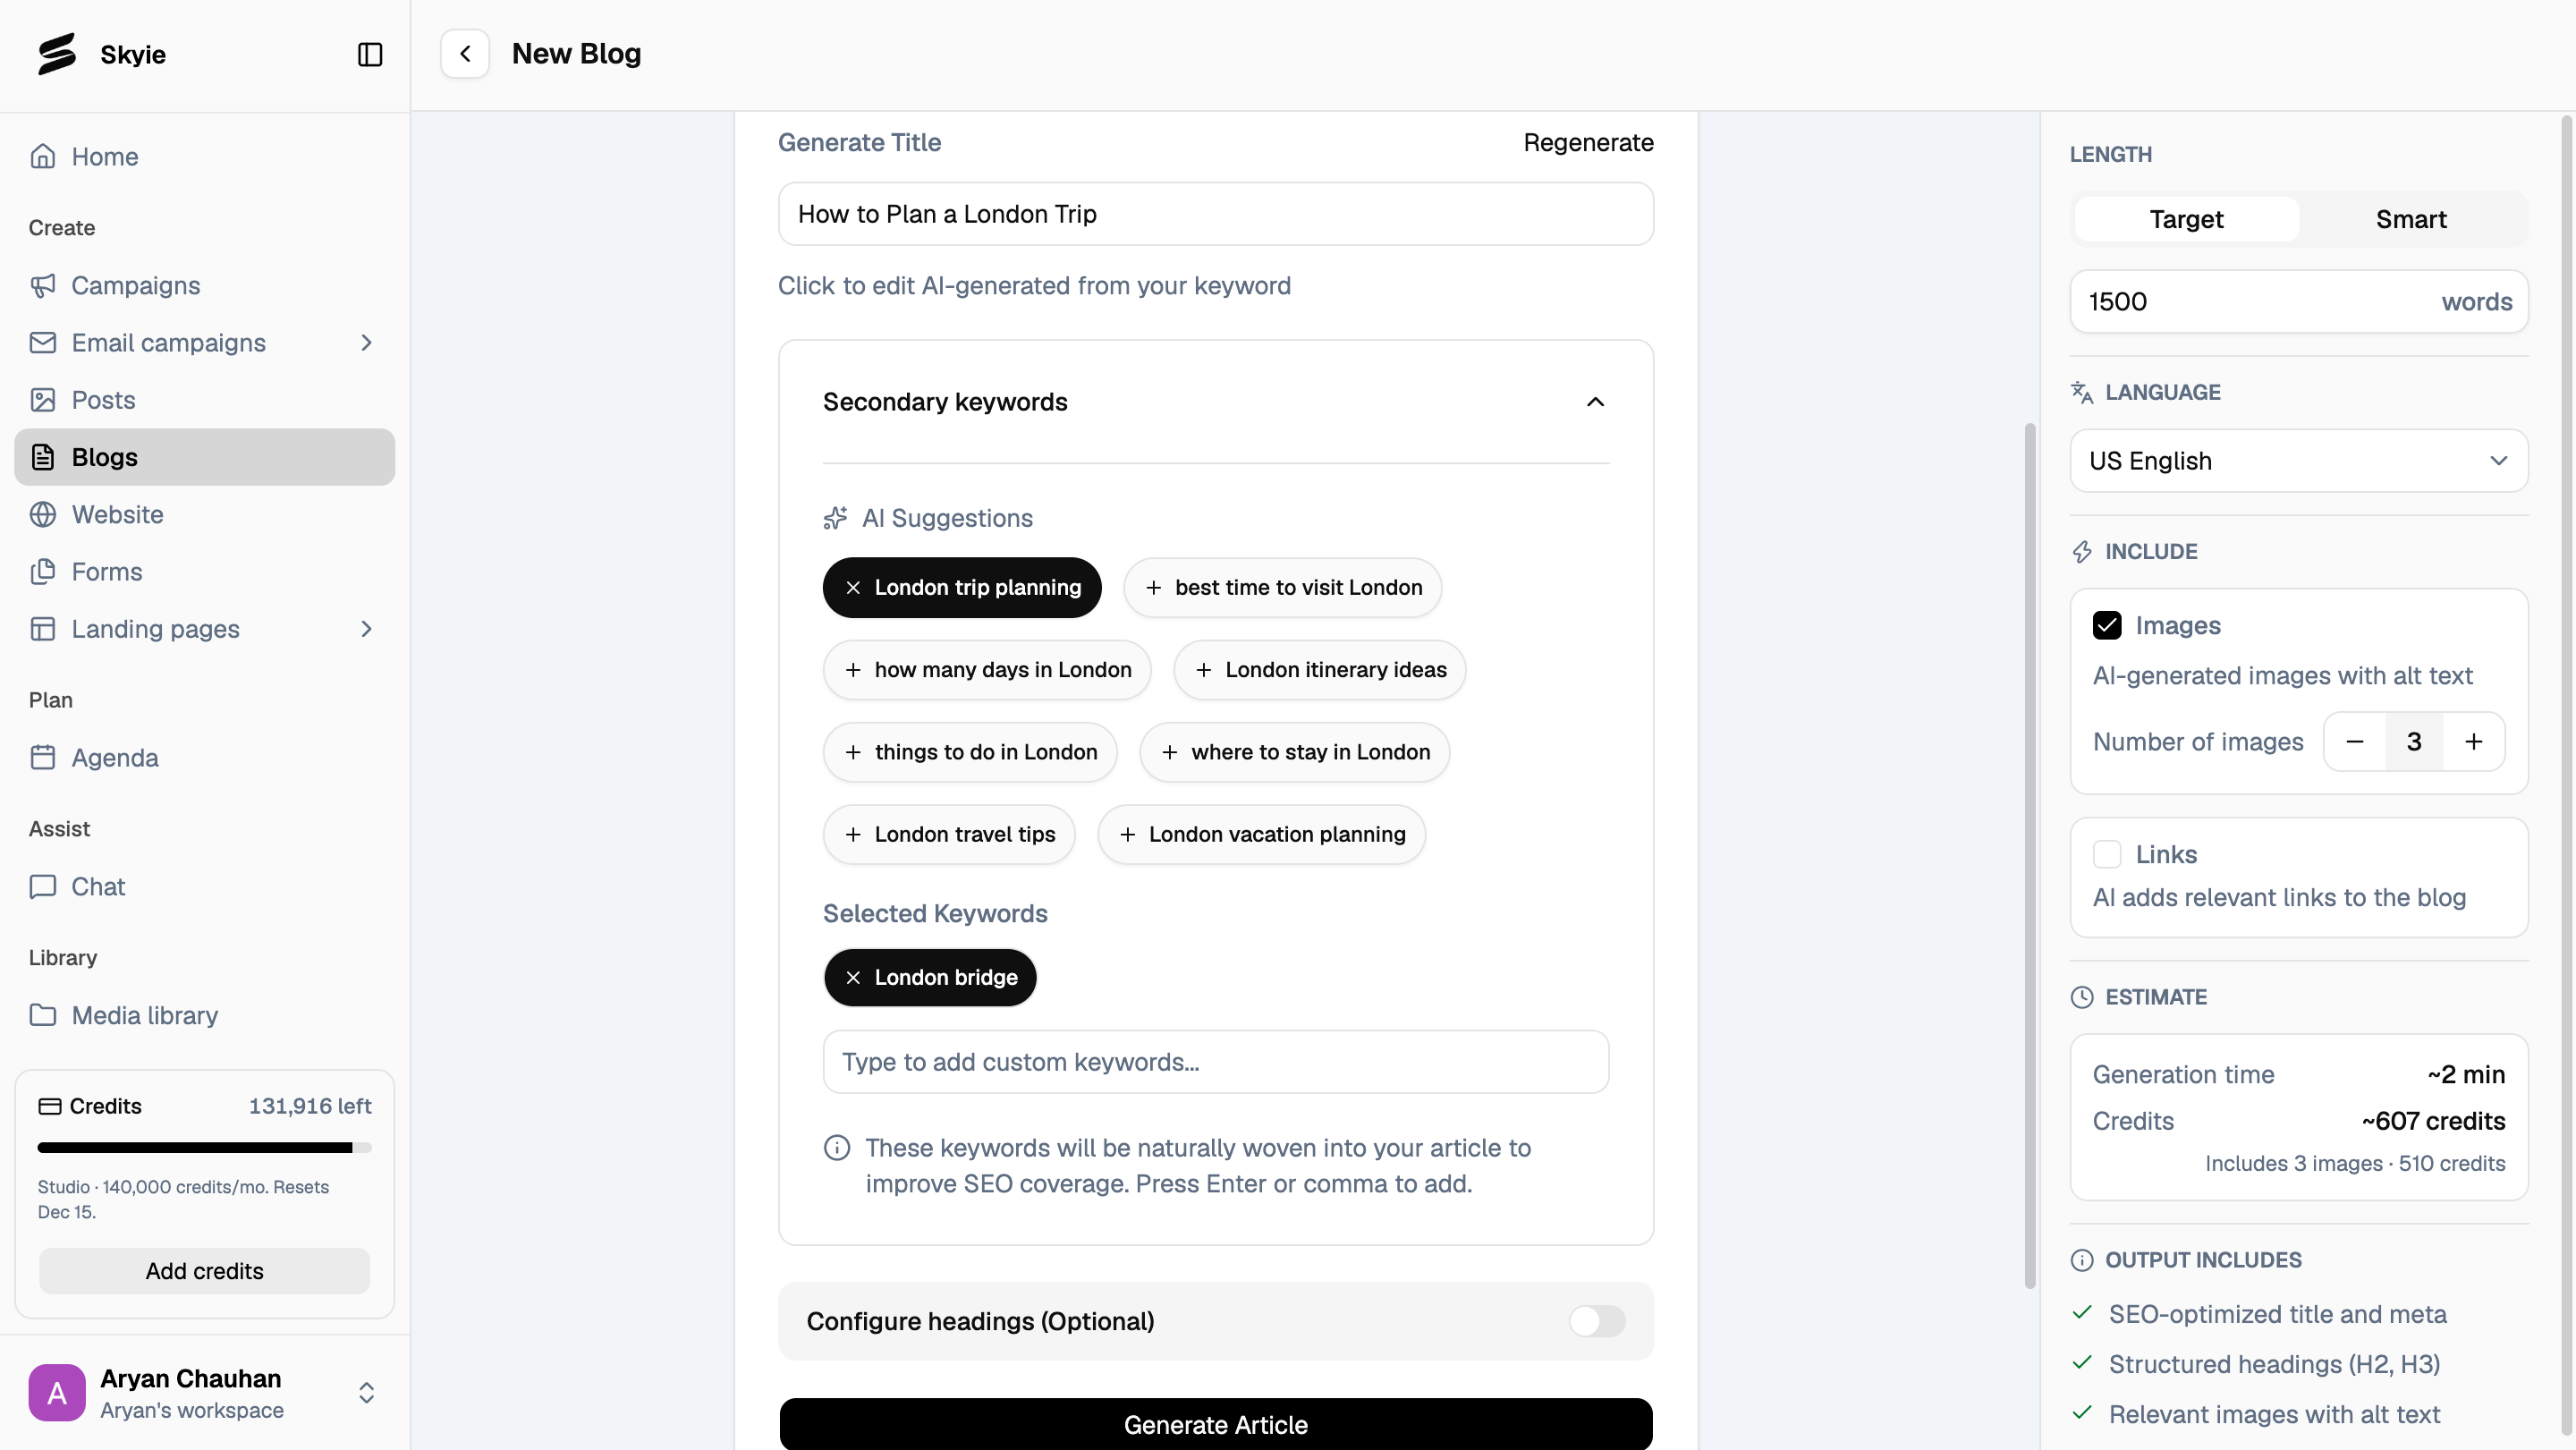
Choose your settings
Before generating your article, set: Length- Target: set an exact word count for your article.
- Smart: set a minimum and maximum word count instead. Skyie writes to whatever length the topic needs, within that range.
Check your estimate
The Estimate box updates as you change your settings, showing:- Estimated generation time.
- Total credit cost, including image generation.
Review your outline (optional)
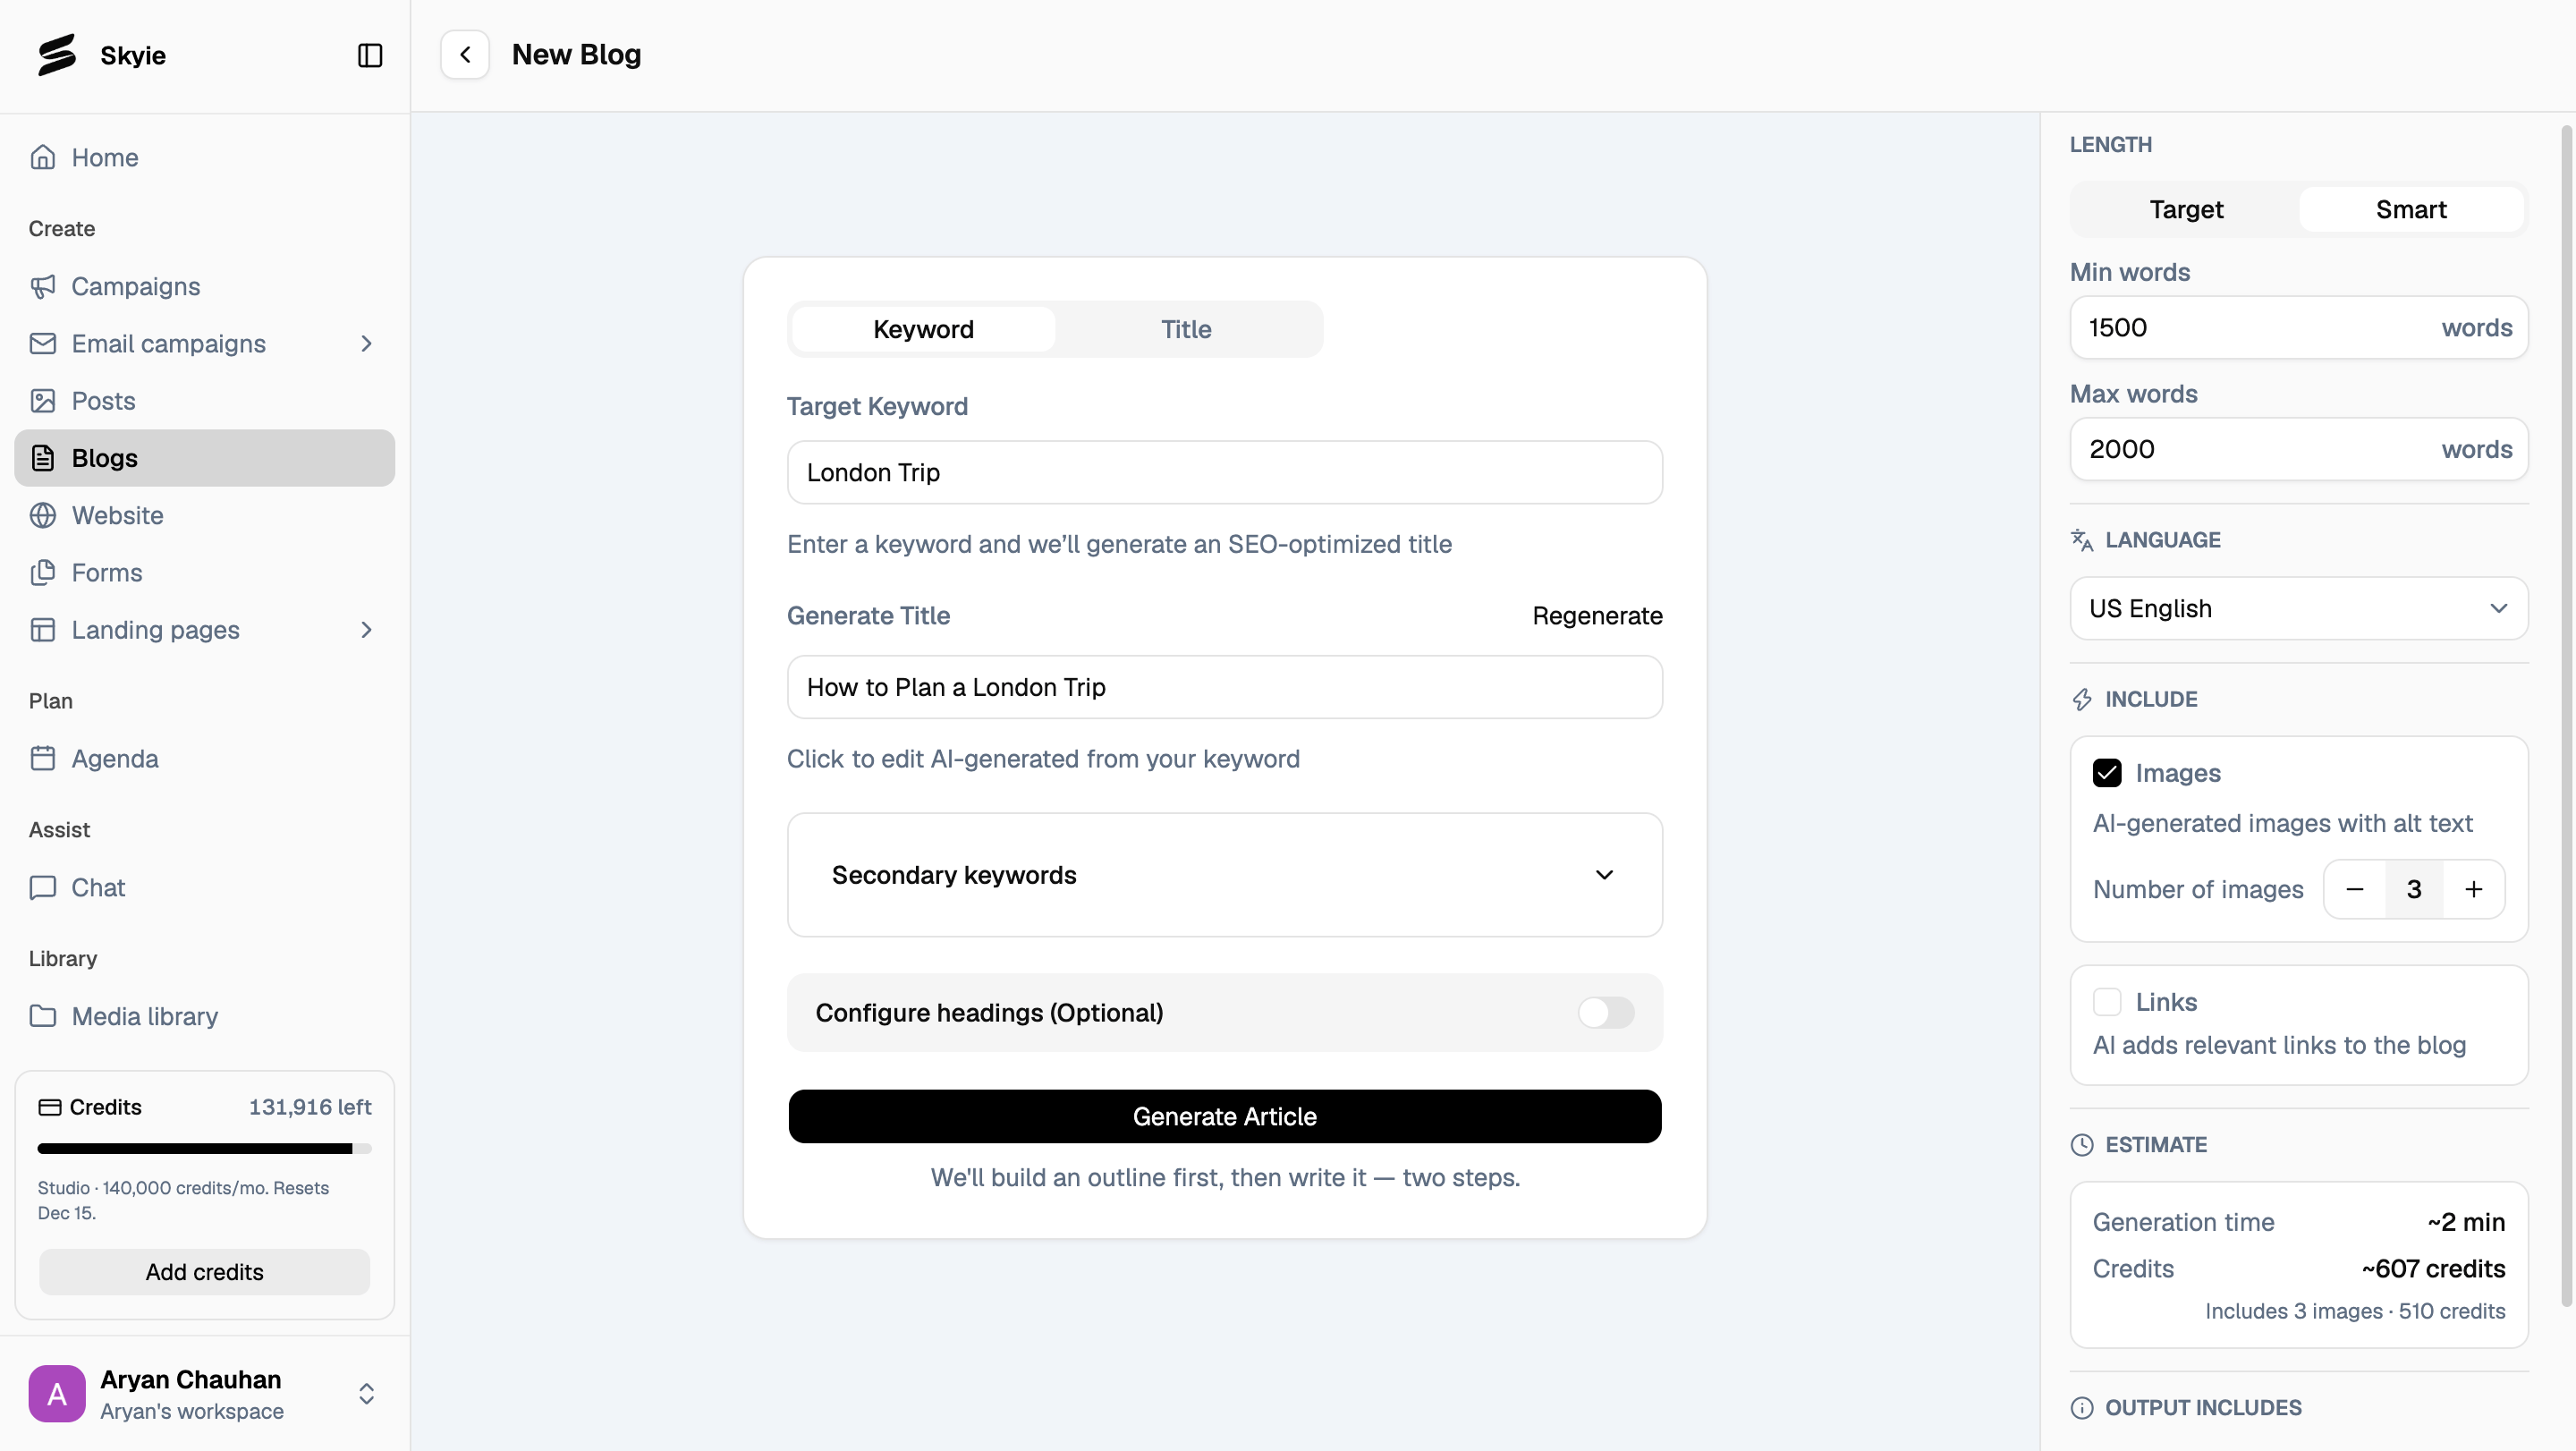
Want more control over your article’s structure before it’s written? Toggle Configure headings on. Skyie builds an outline for every article either way. With this on, you can review and edit it before the full article is written. With it off, Skyie builds the outline and writes from it silently.Customize your outline
With it on, you get a full outline: a cover image slot, and one row per H2 section. You can:- Add a subheading: click + Add H3 under a section.
- Add an image: click + Add image to insert one after a section.
- Reorder sections: drag a section to move it.
- Remove a section: click its x.
- Add a section: click + Add H2 at the top.
- Regenerate: click Regenerate to have Skyie rebuild the outline from scratch.
Review and publish
The finished article opens with its title, subtitle, and cover image, marked Draft. Review it and make any changes you want, then click Save Draft to keep working on it later.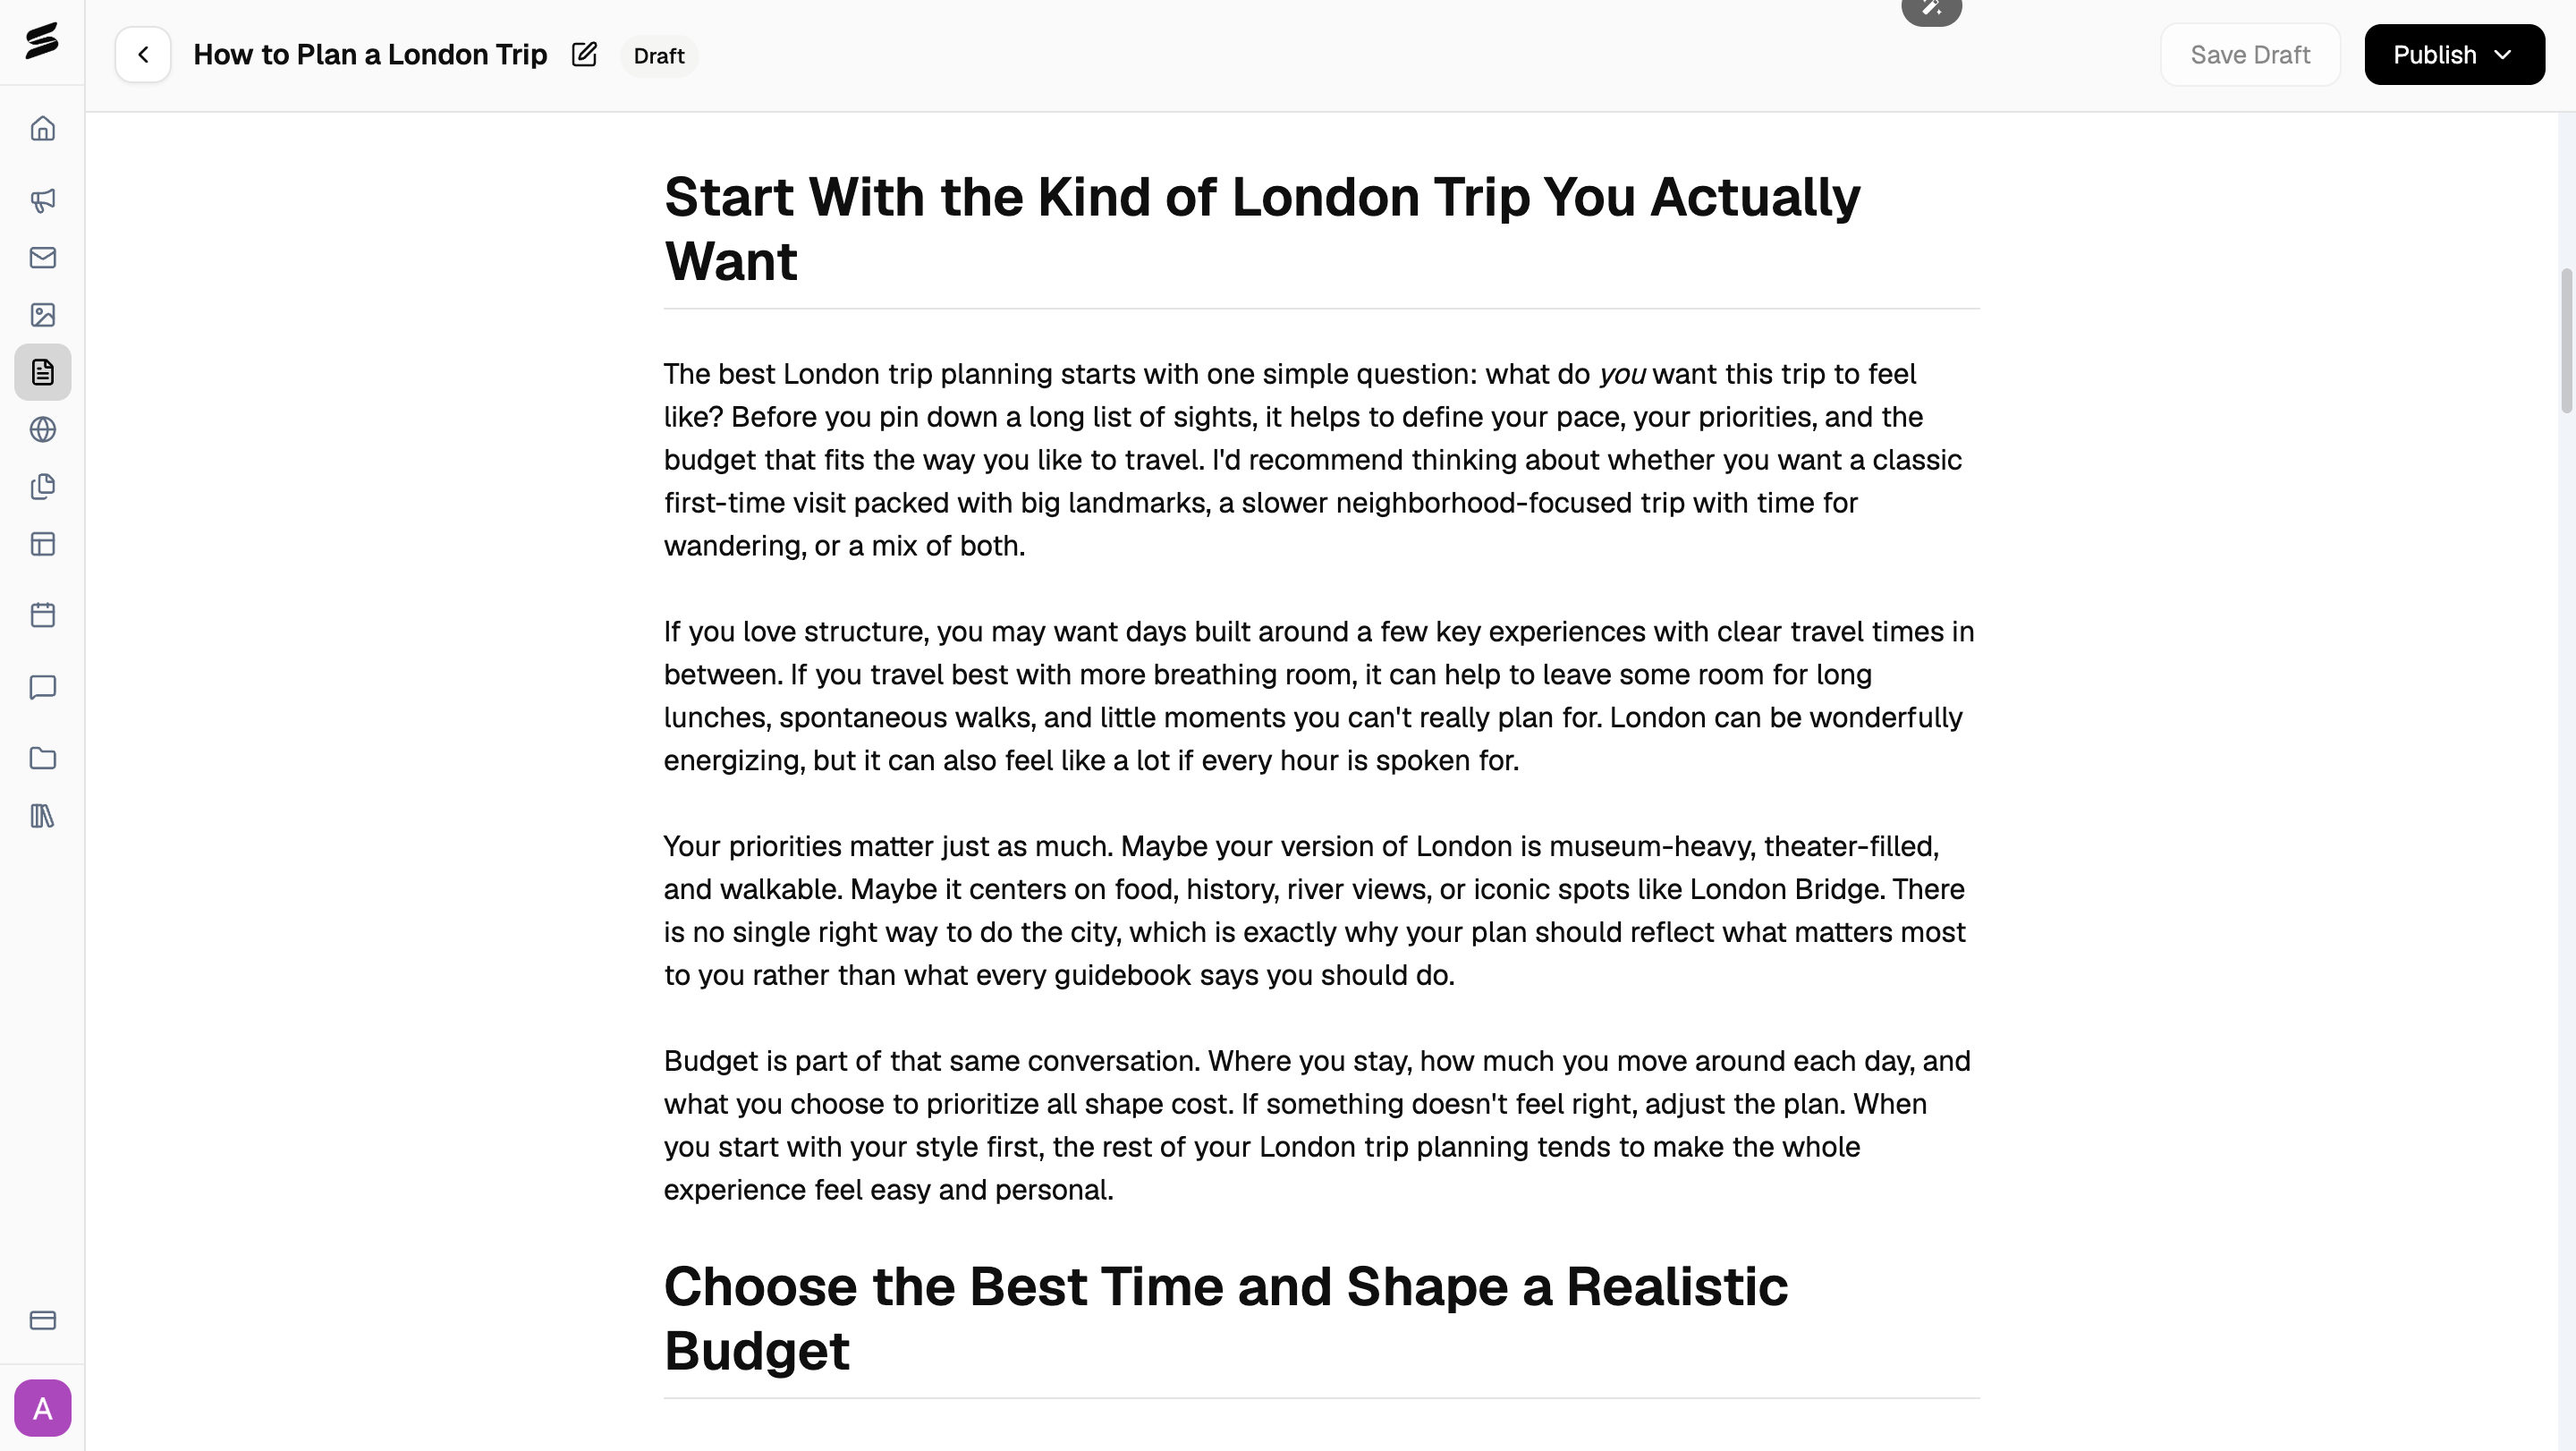
Publish your article
When you’re ready, click Publish to choose where it goes:- Your website: publishes directly to your connected site. This needs your website set up and published first.
- Connect to WordPress: link a WordPress site if you haven’t already.
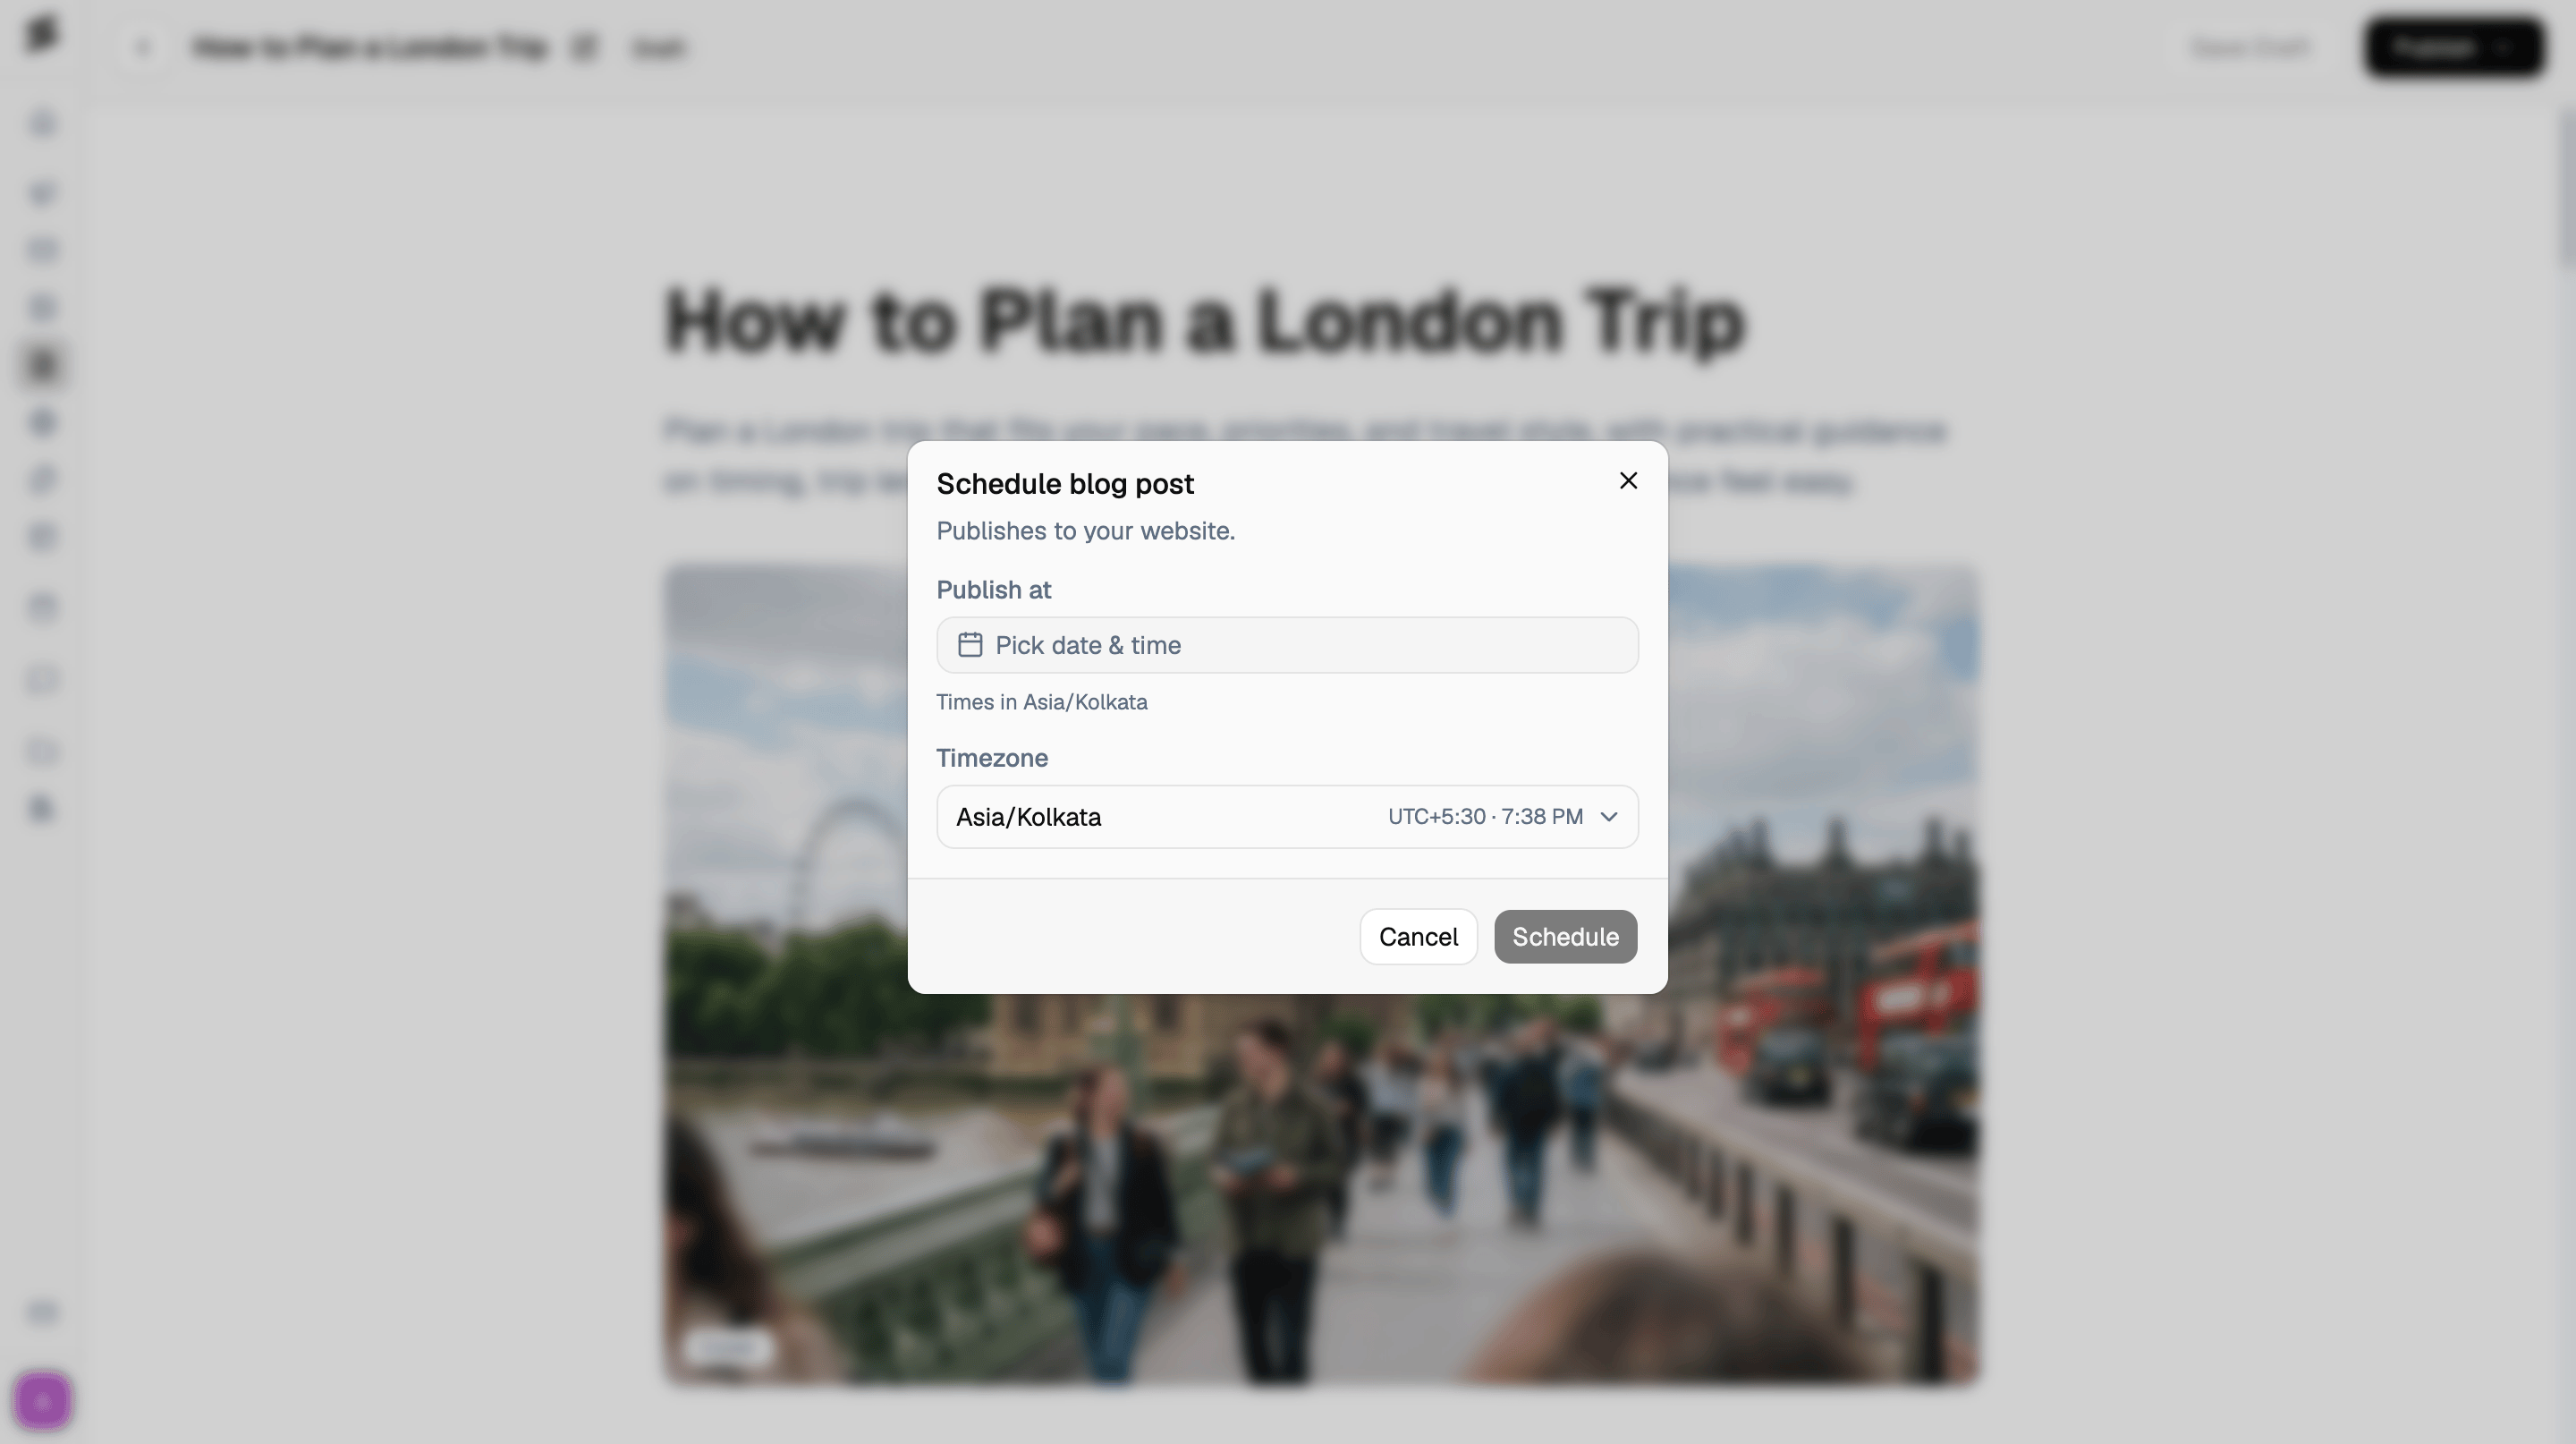
- Schedule on your website: publish it automatically at a future date and time instead of right now.
Schedule your article
Choosing Schedule on your website opens a dialog where you pick:- Date: when you want the article published.
- Time: your preferred publishing time.
- Time zone: the time zone for your scheduled publication.
Related
- Create and publish a post - the same idea, for a shorter social post instead of a full article.