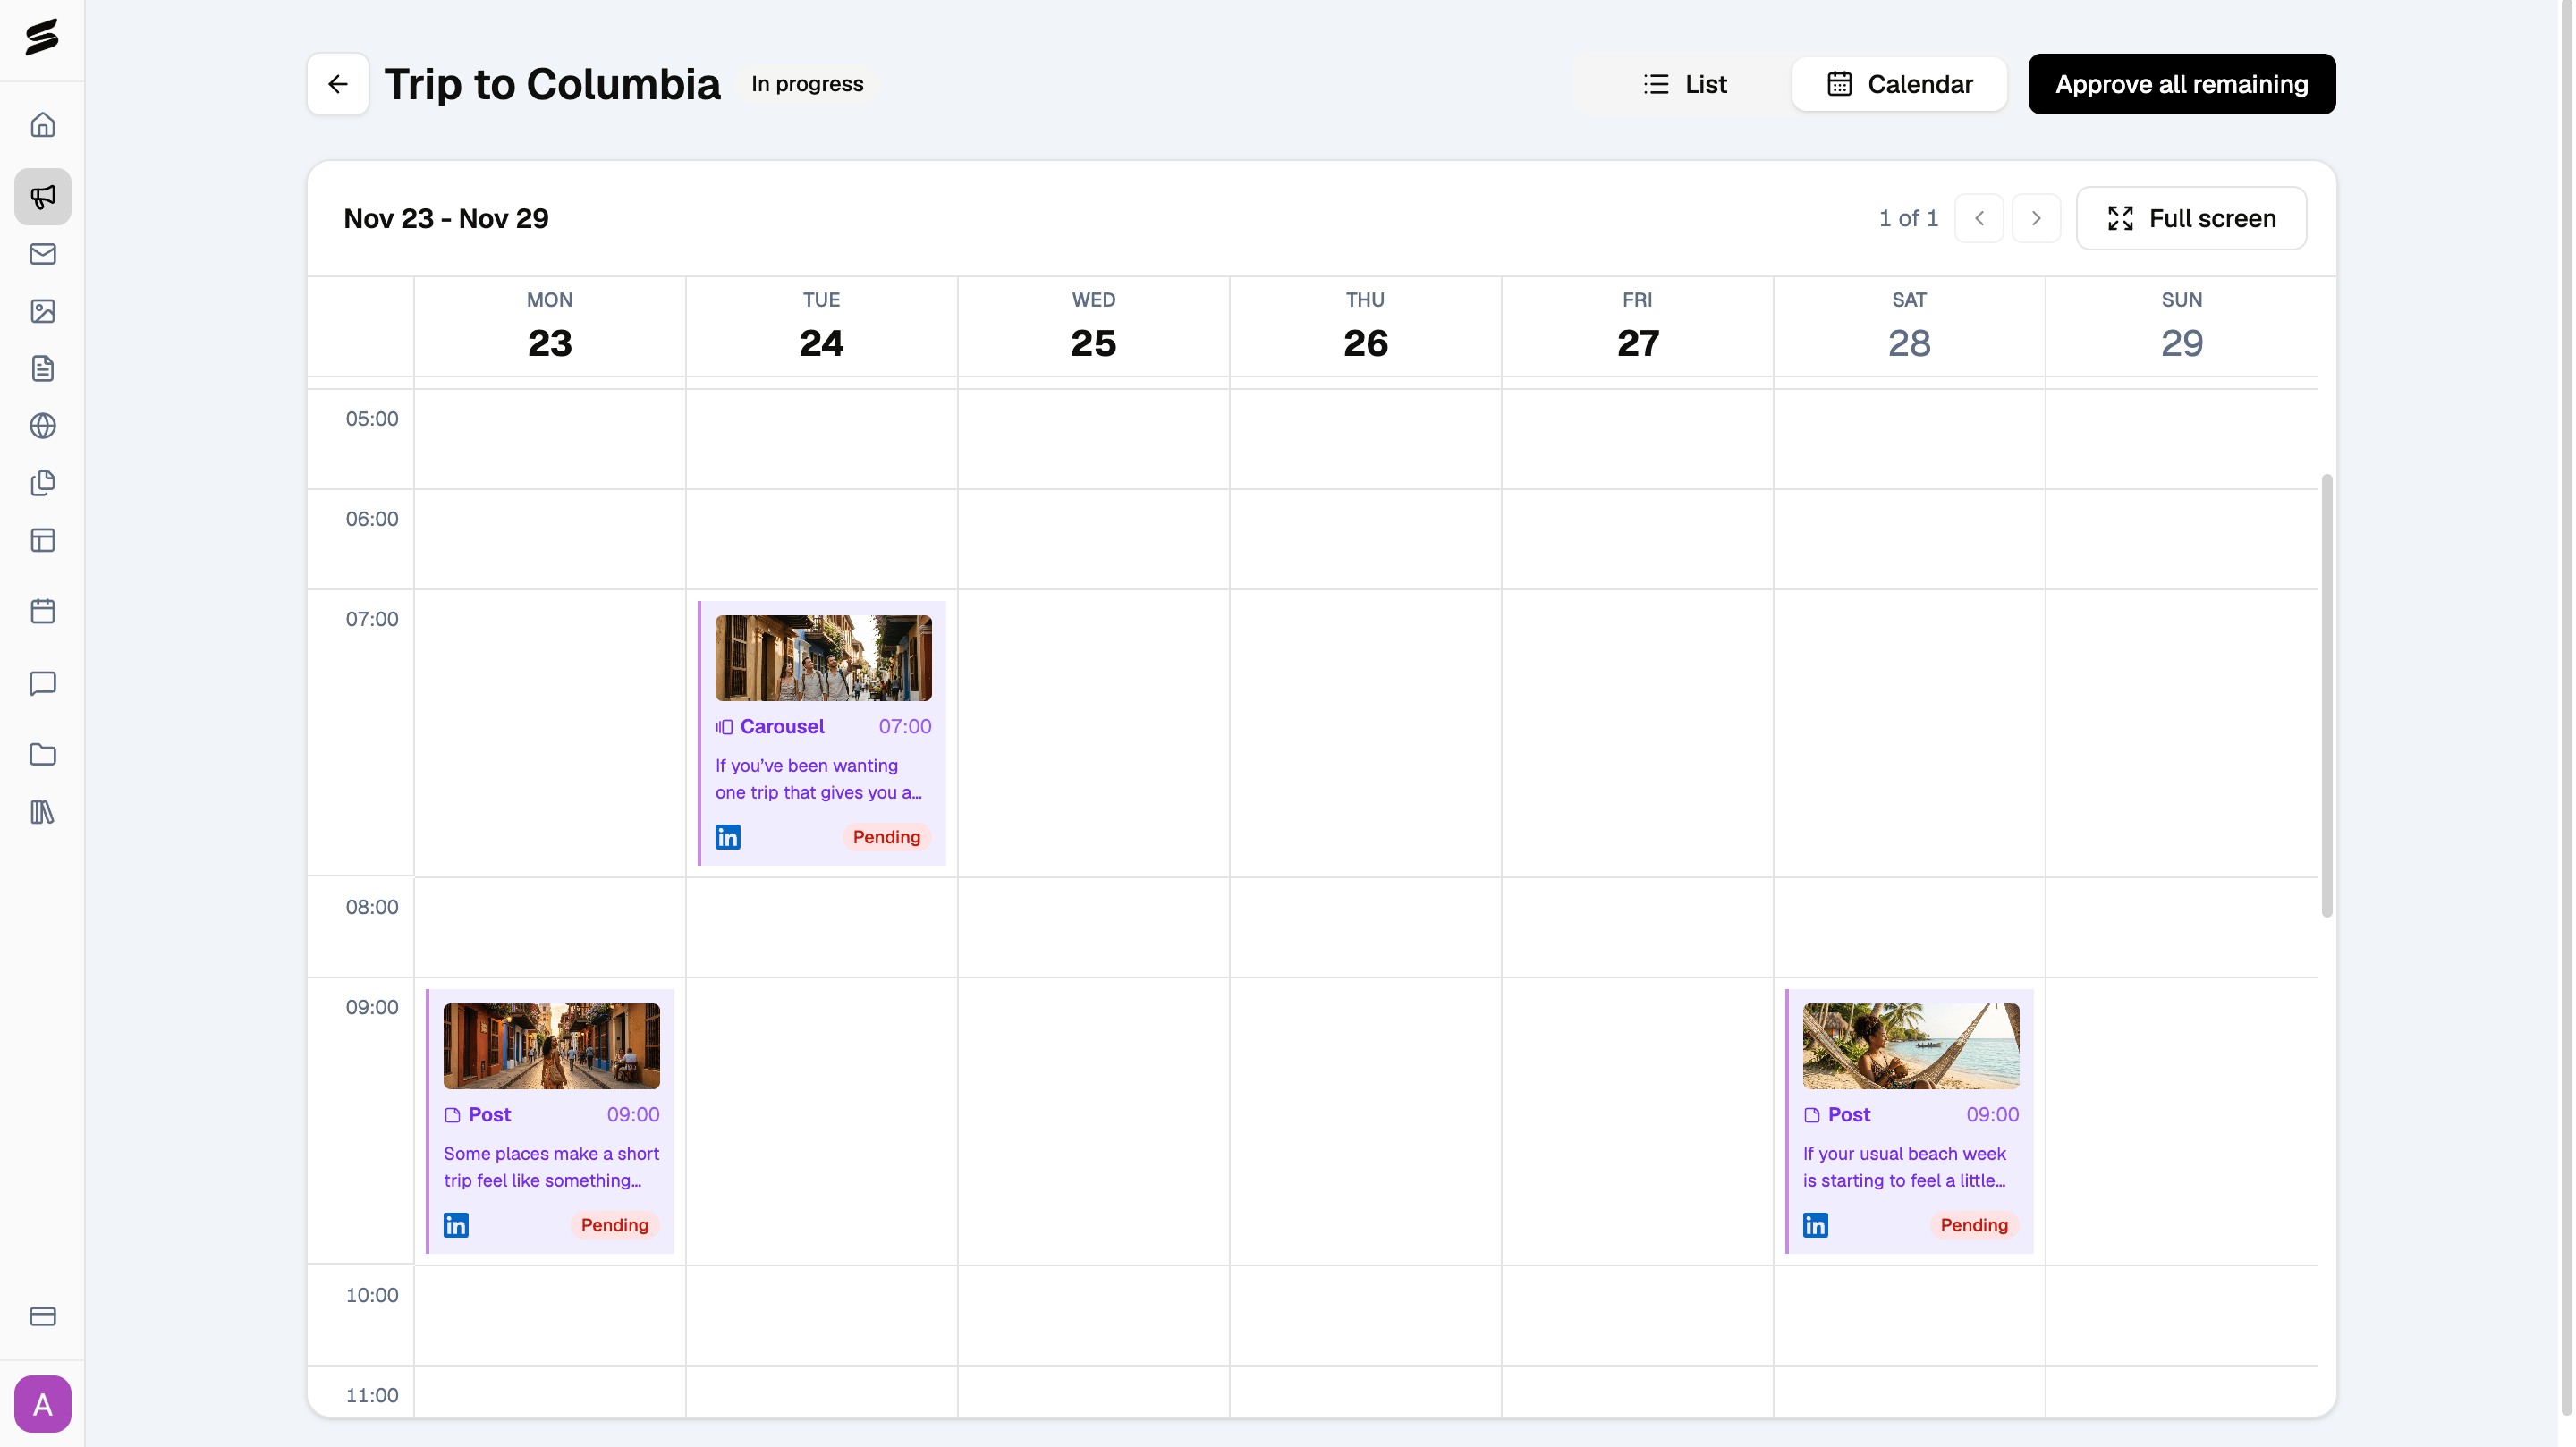
Browse your campaigns
Go to Campaigns in the left sidebar to view all your campaigns. Your campaigns are organized into four tabs:- All: view every campaign you’ve created.
- Live: view your active campaigns.
- Completed: view campaigns that have finished.
- Draft: view campaigns that haven’t been activated.
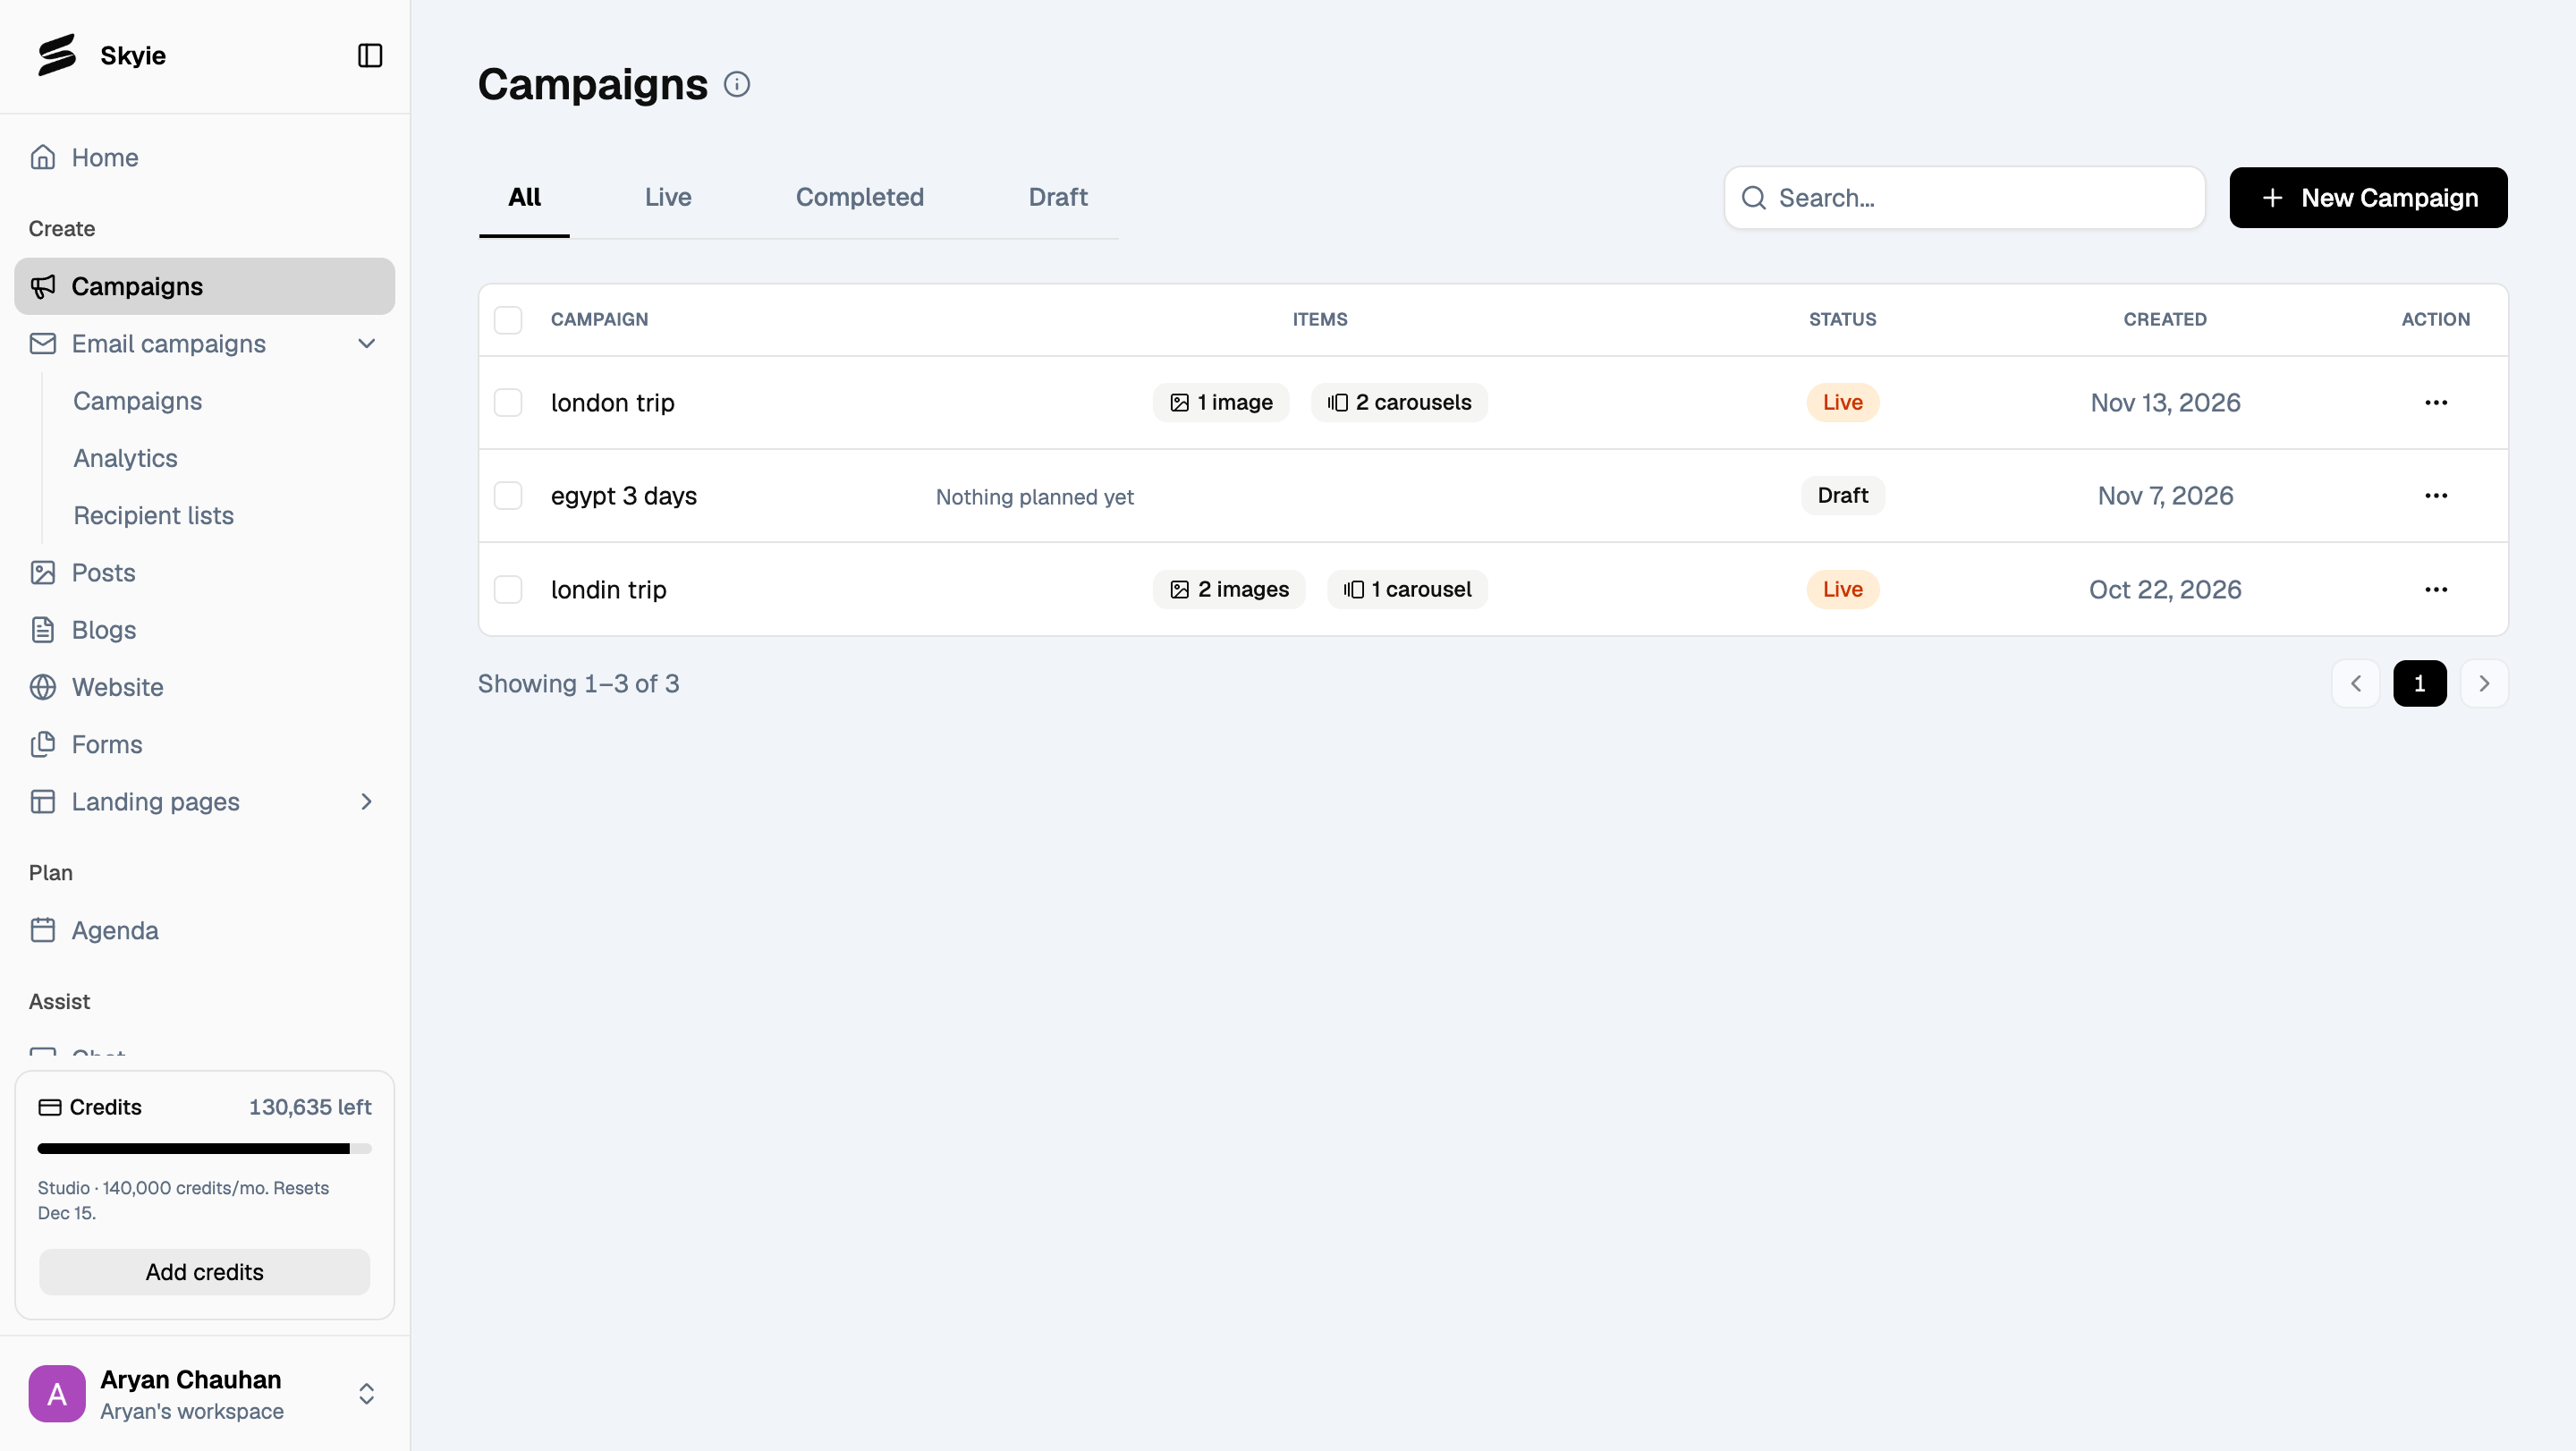
Start a new campaign
Begin by giving your campaign a Name and describing what this campaign is about. Explain what you want to promote, who you’re targeting, and what you want your content to focus on, for example “Promote Colombia to US travellers, highlighting its vibrant culture, beautiful beaches, historic cities, coffee regions, and unique experiences.” The more specific your description, the more relevant Skyie’s suggested topics will be.Add context (optional)
Want to give Skyie additional information to work with? Under Add context, add a link or upload a file with relevant information about your campaign, such as a destination’s official tourism website, a travel brochure, or a promotional document. Skyie uses this as additional context when generating your campaign content.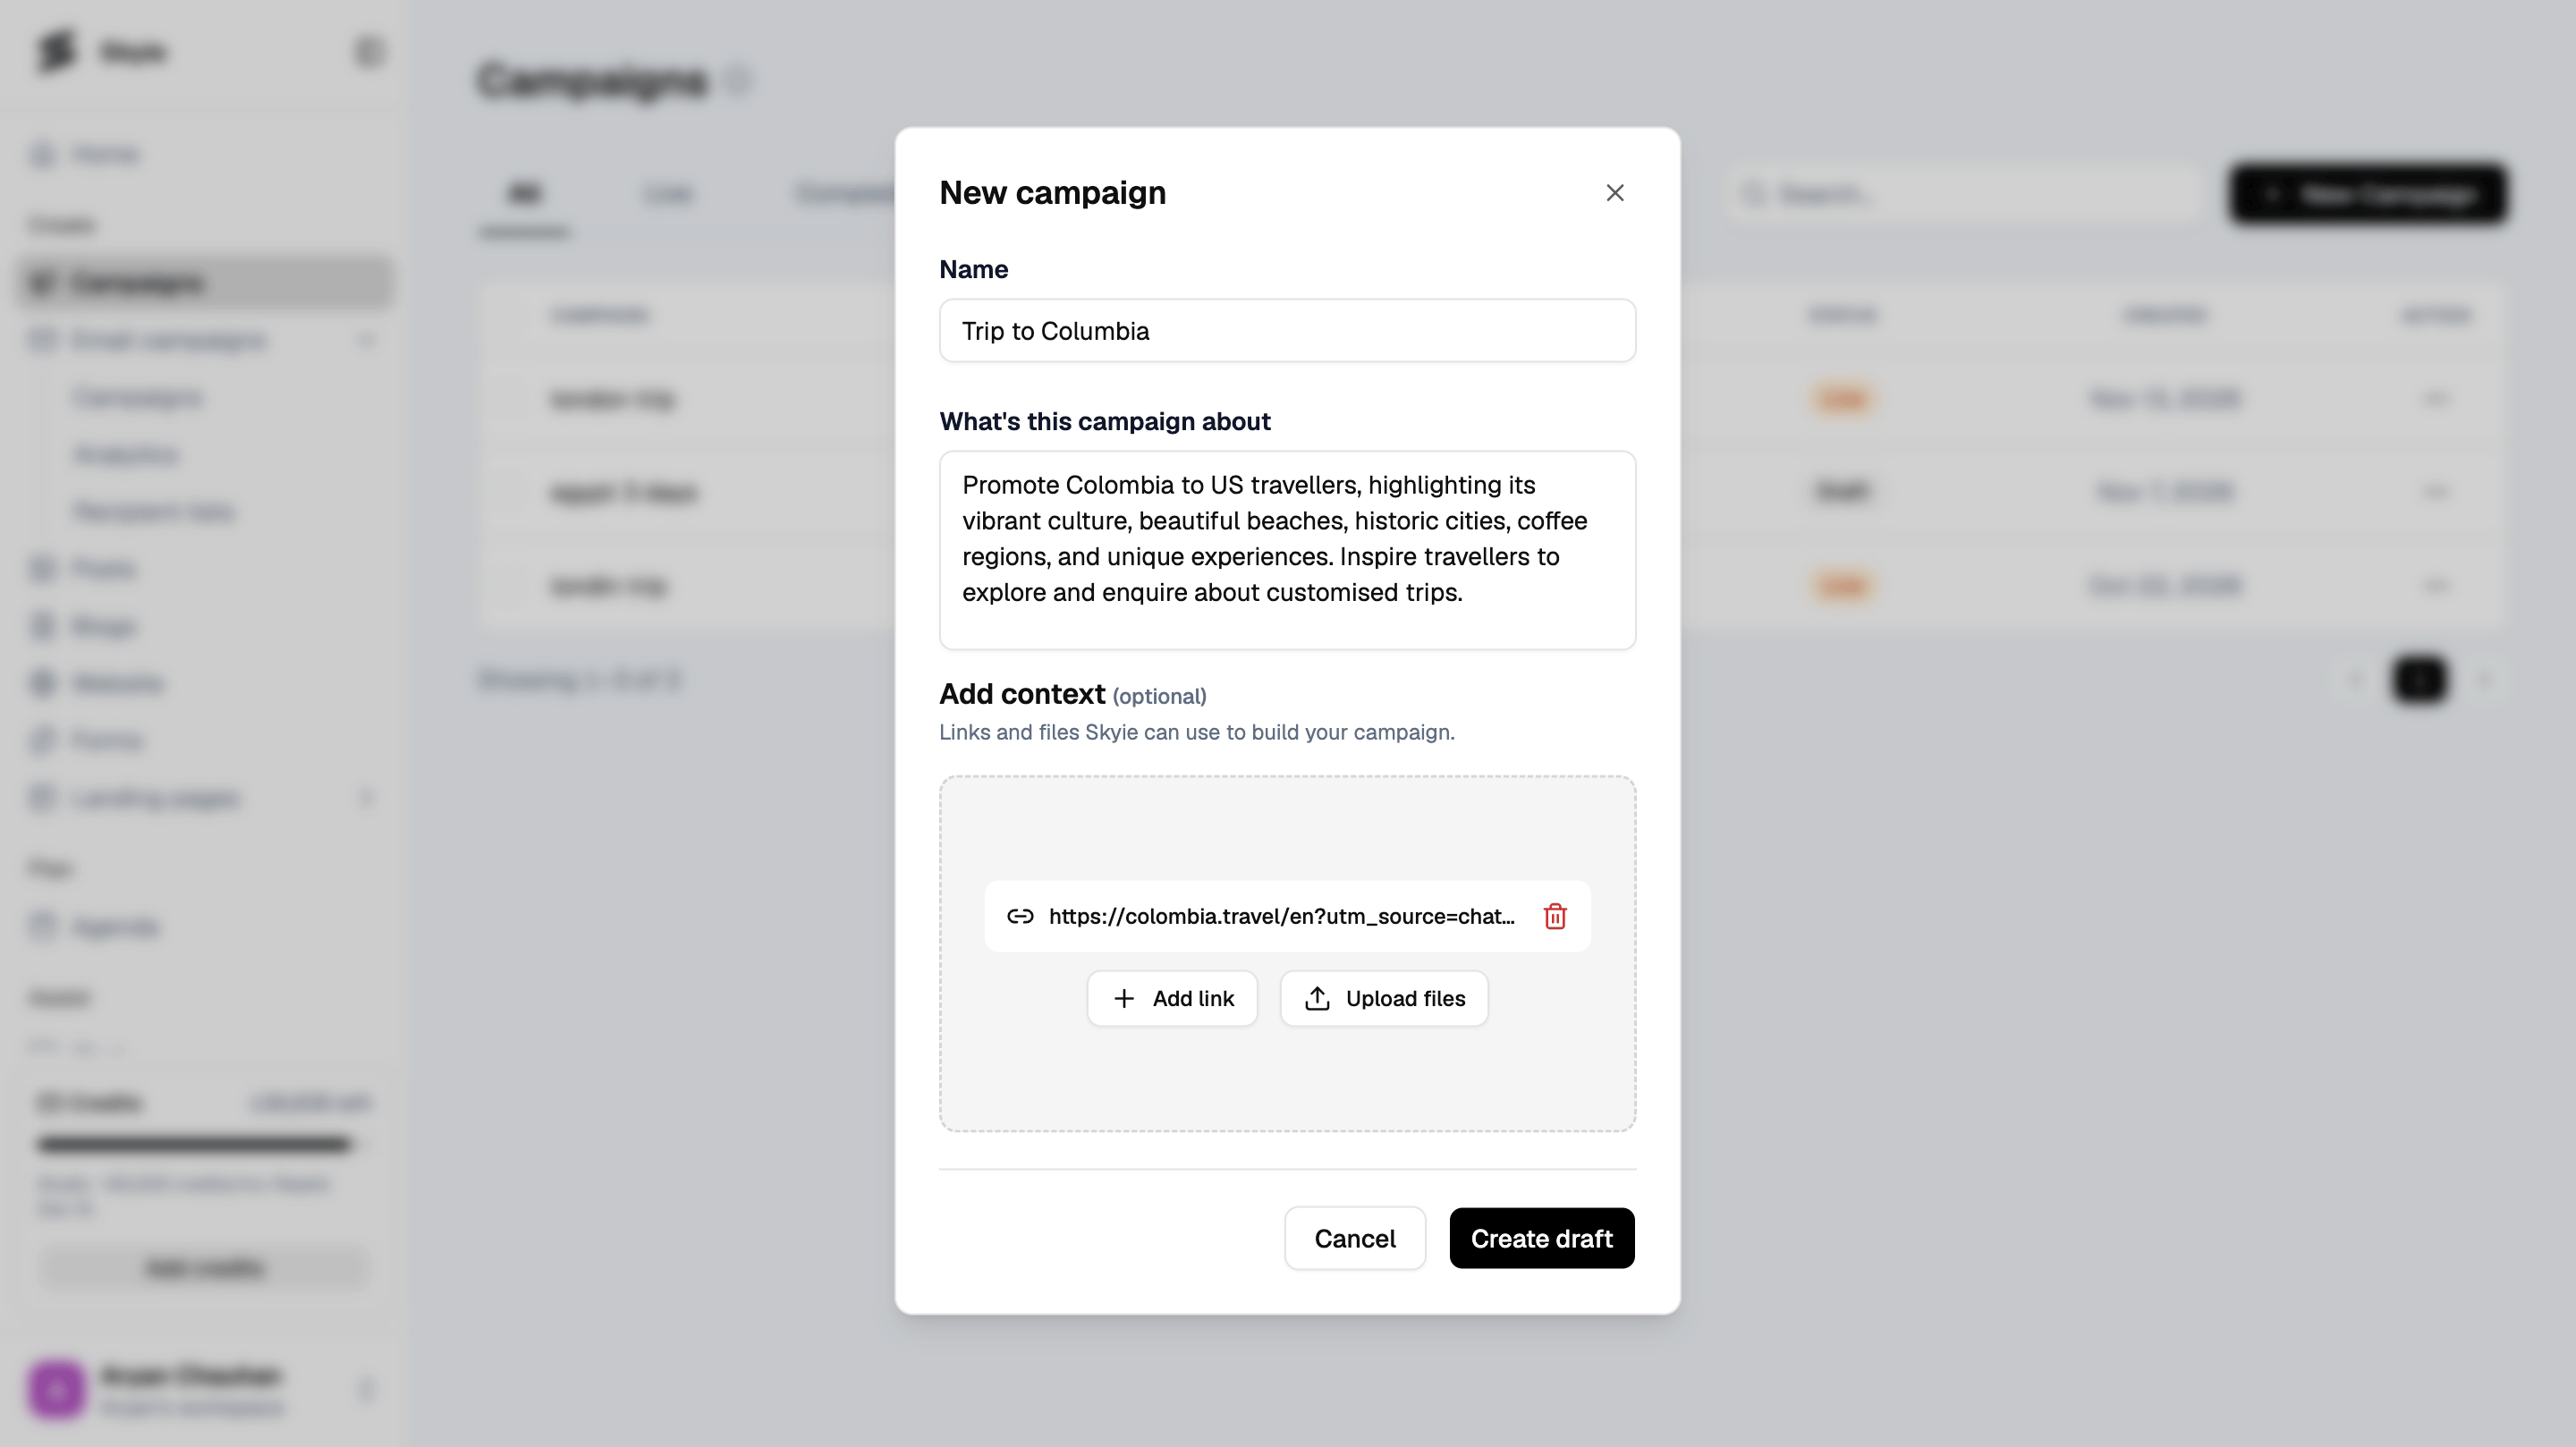
Set up your schedule and content
Before generating content, configure when your campaign will run and what it should include.Choose your schedule and channels
Under Schedule, set your Start date, Length, and how often you want content scheduled: 3x a week, Daily, or Custom. Under Channels, select the connected social accounts where you want your campaign’s posts to be published.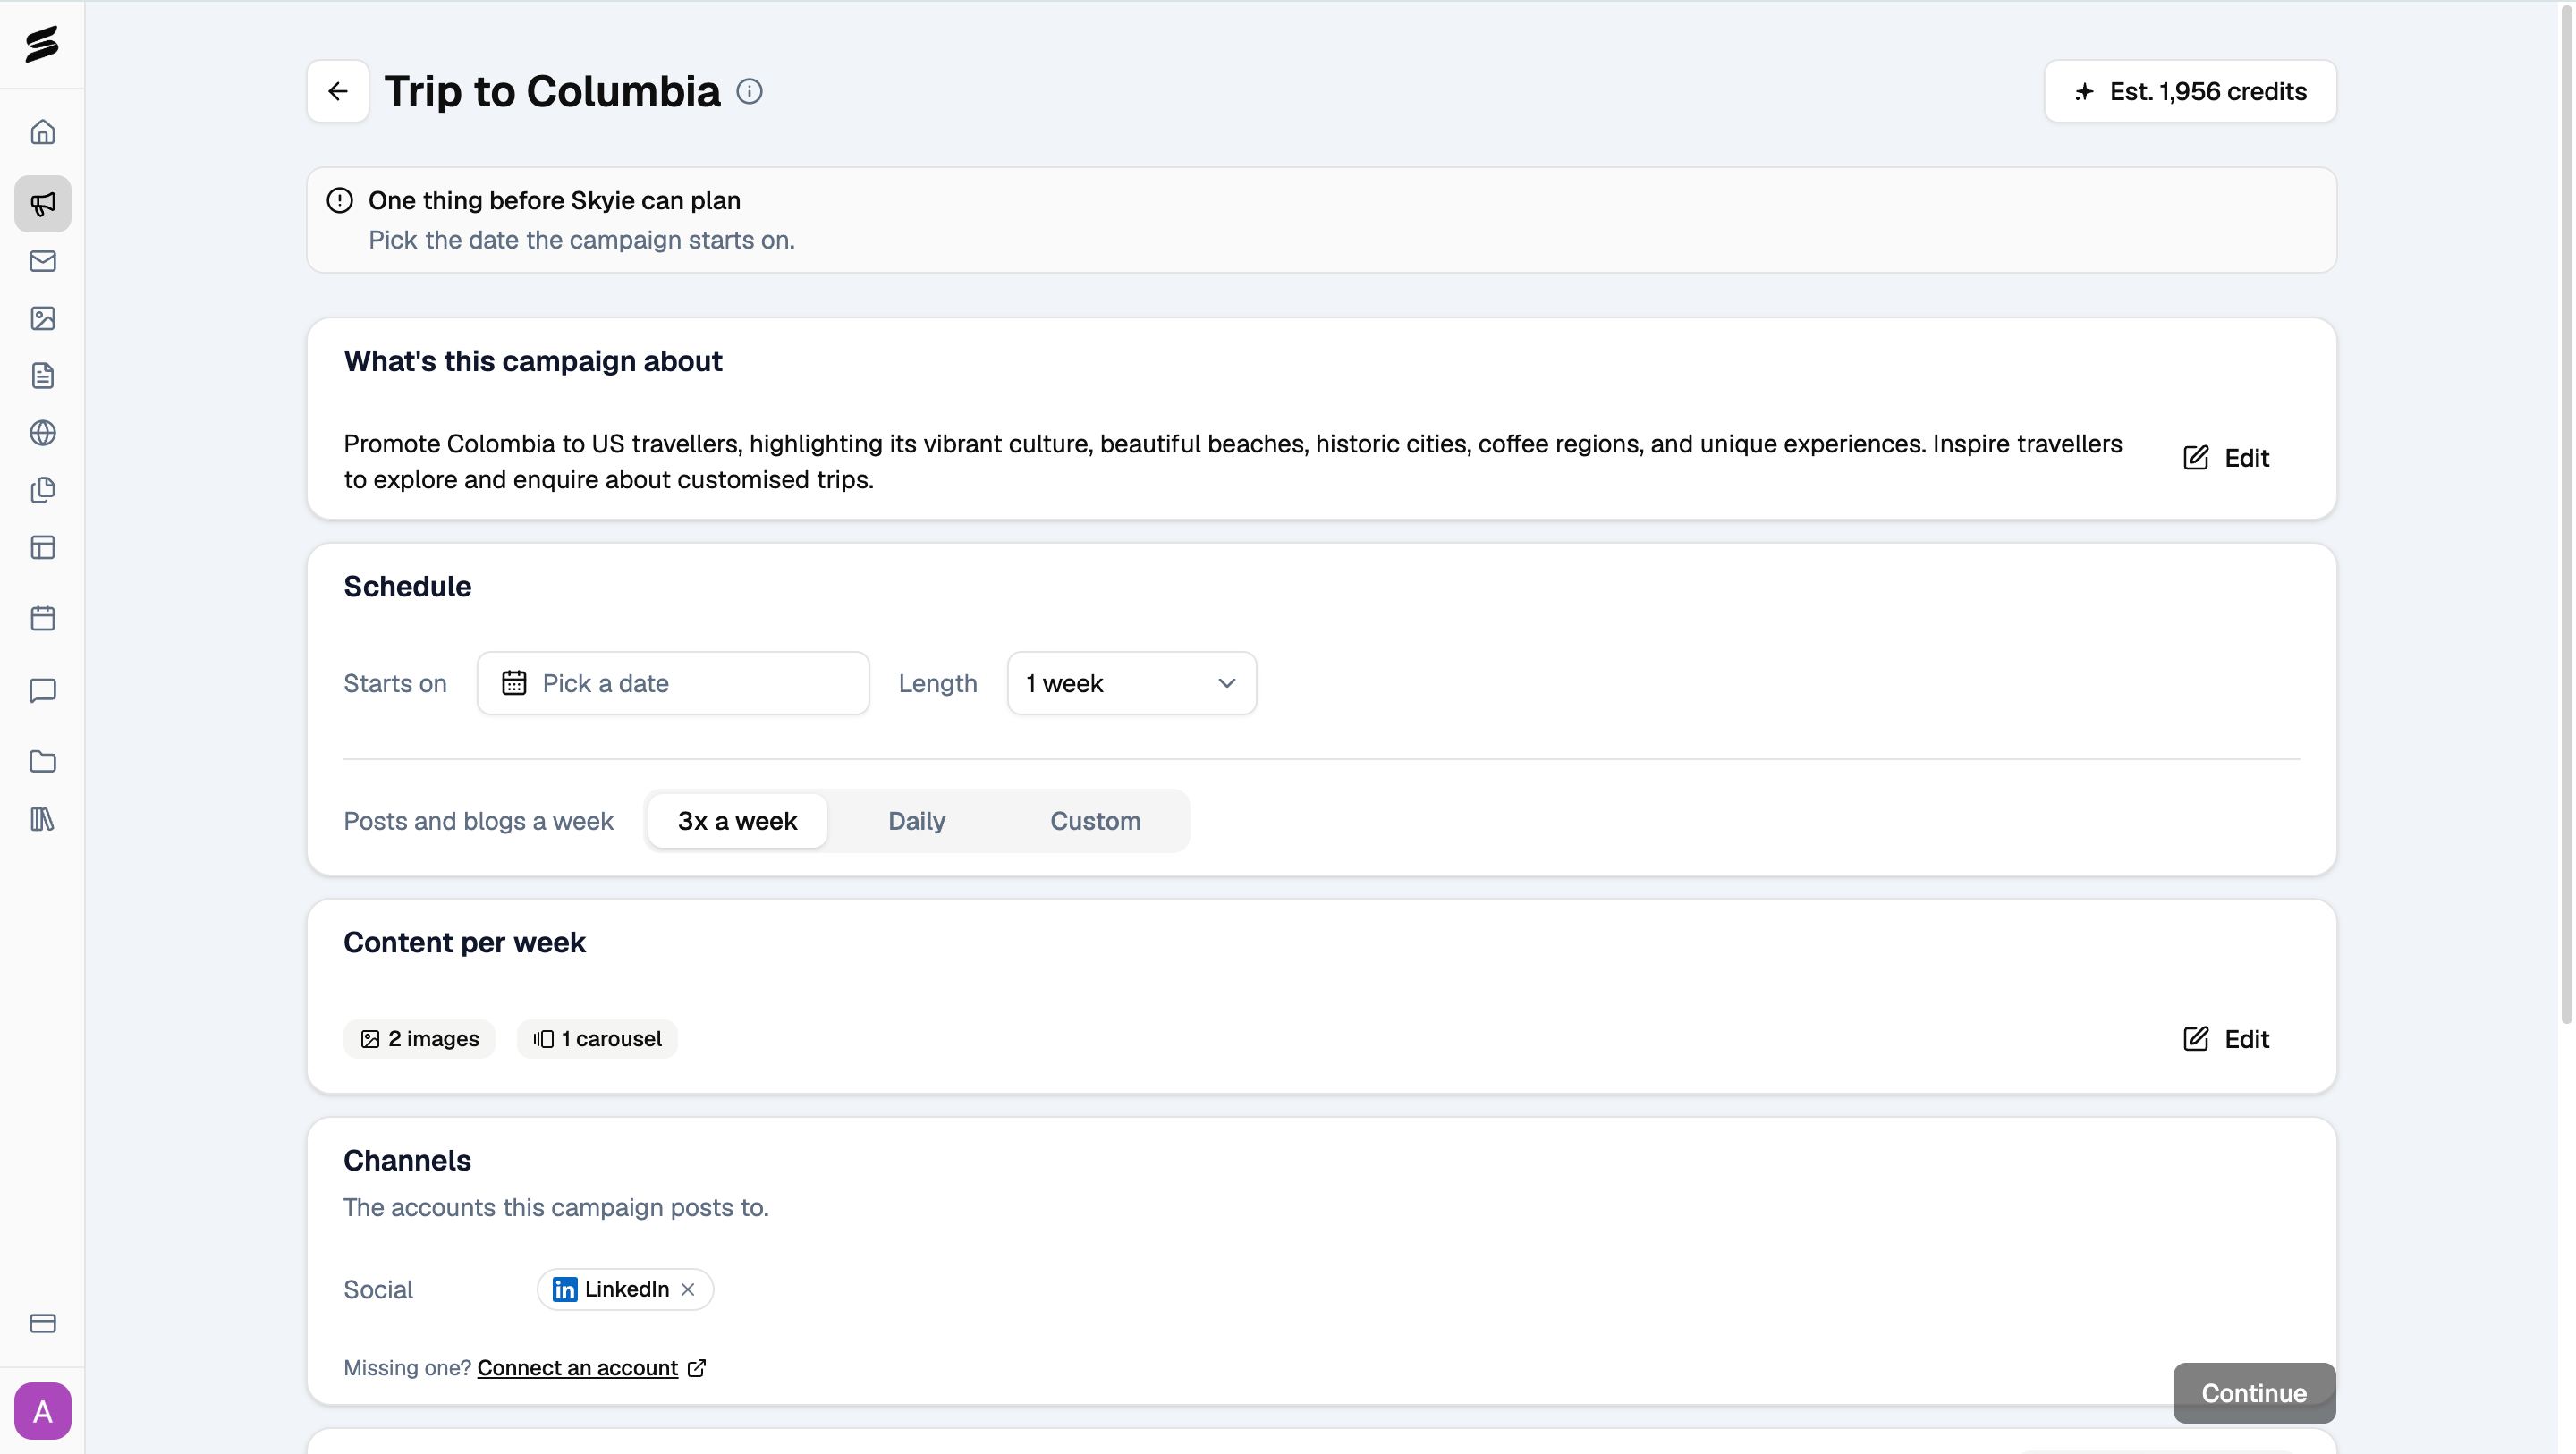
Choose your content per week
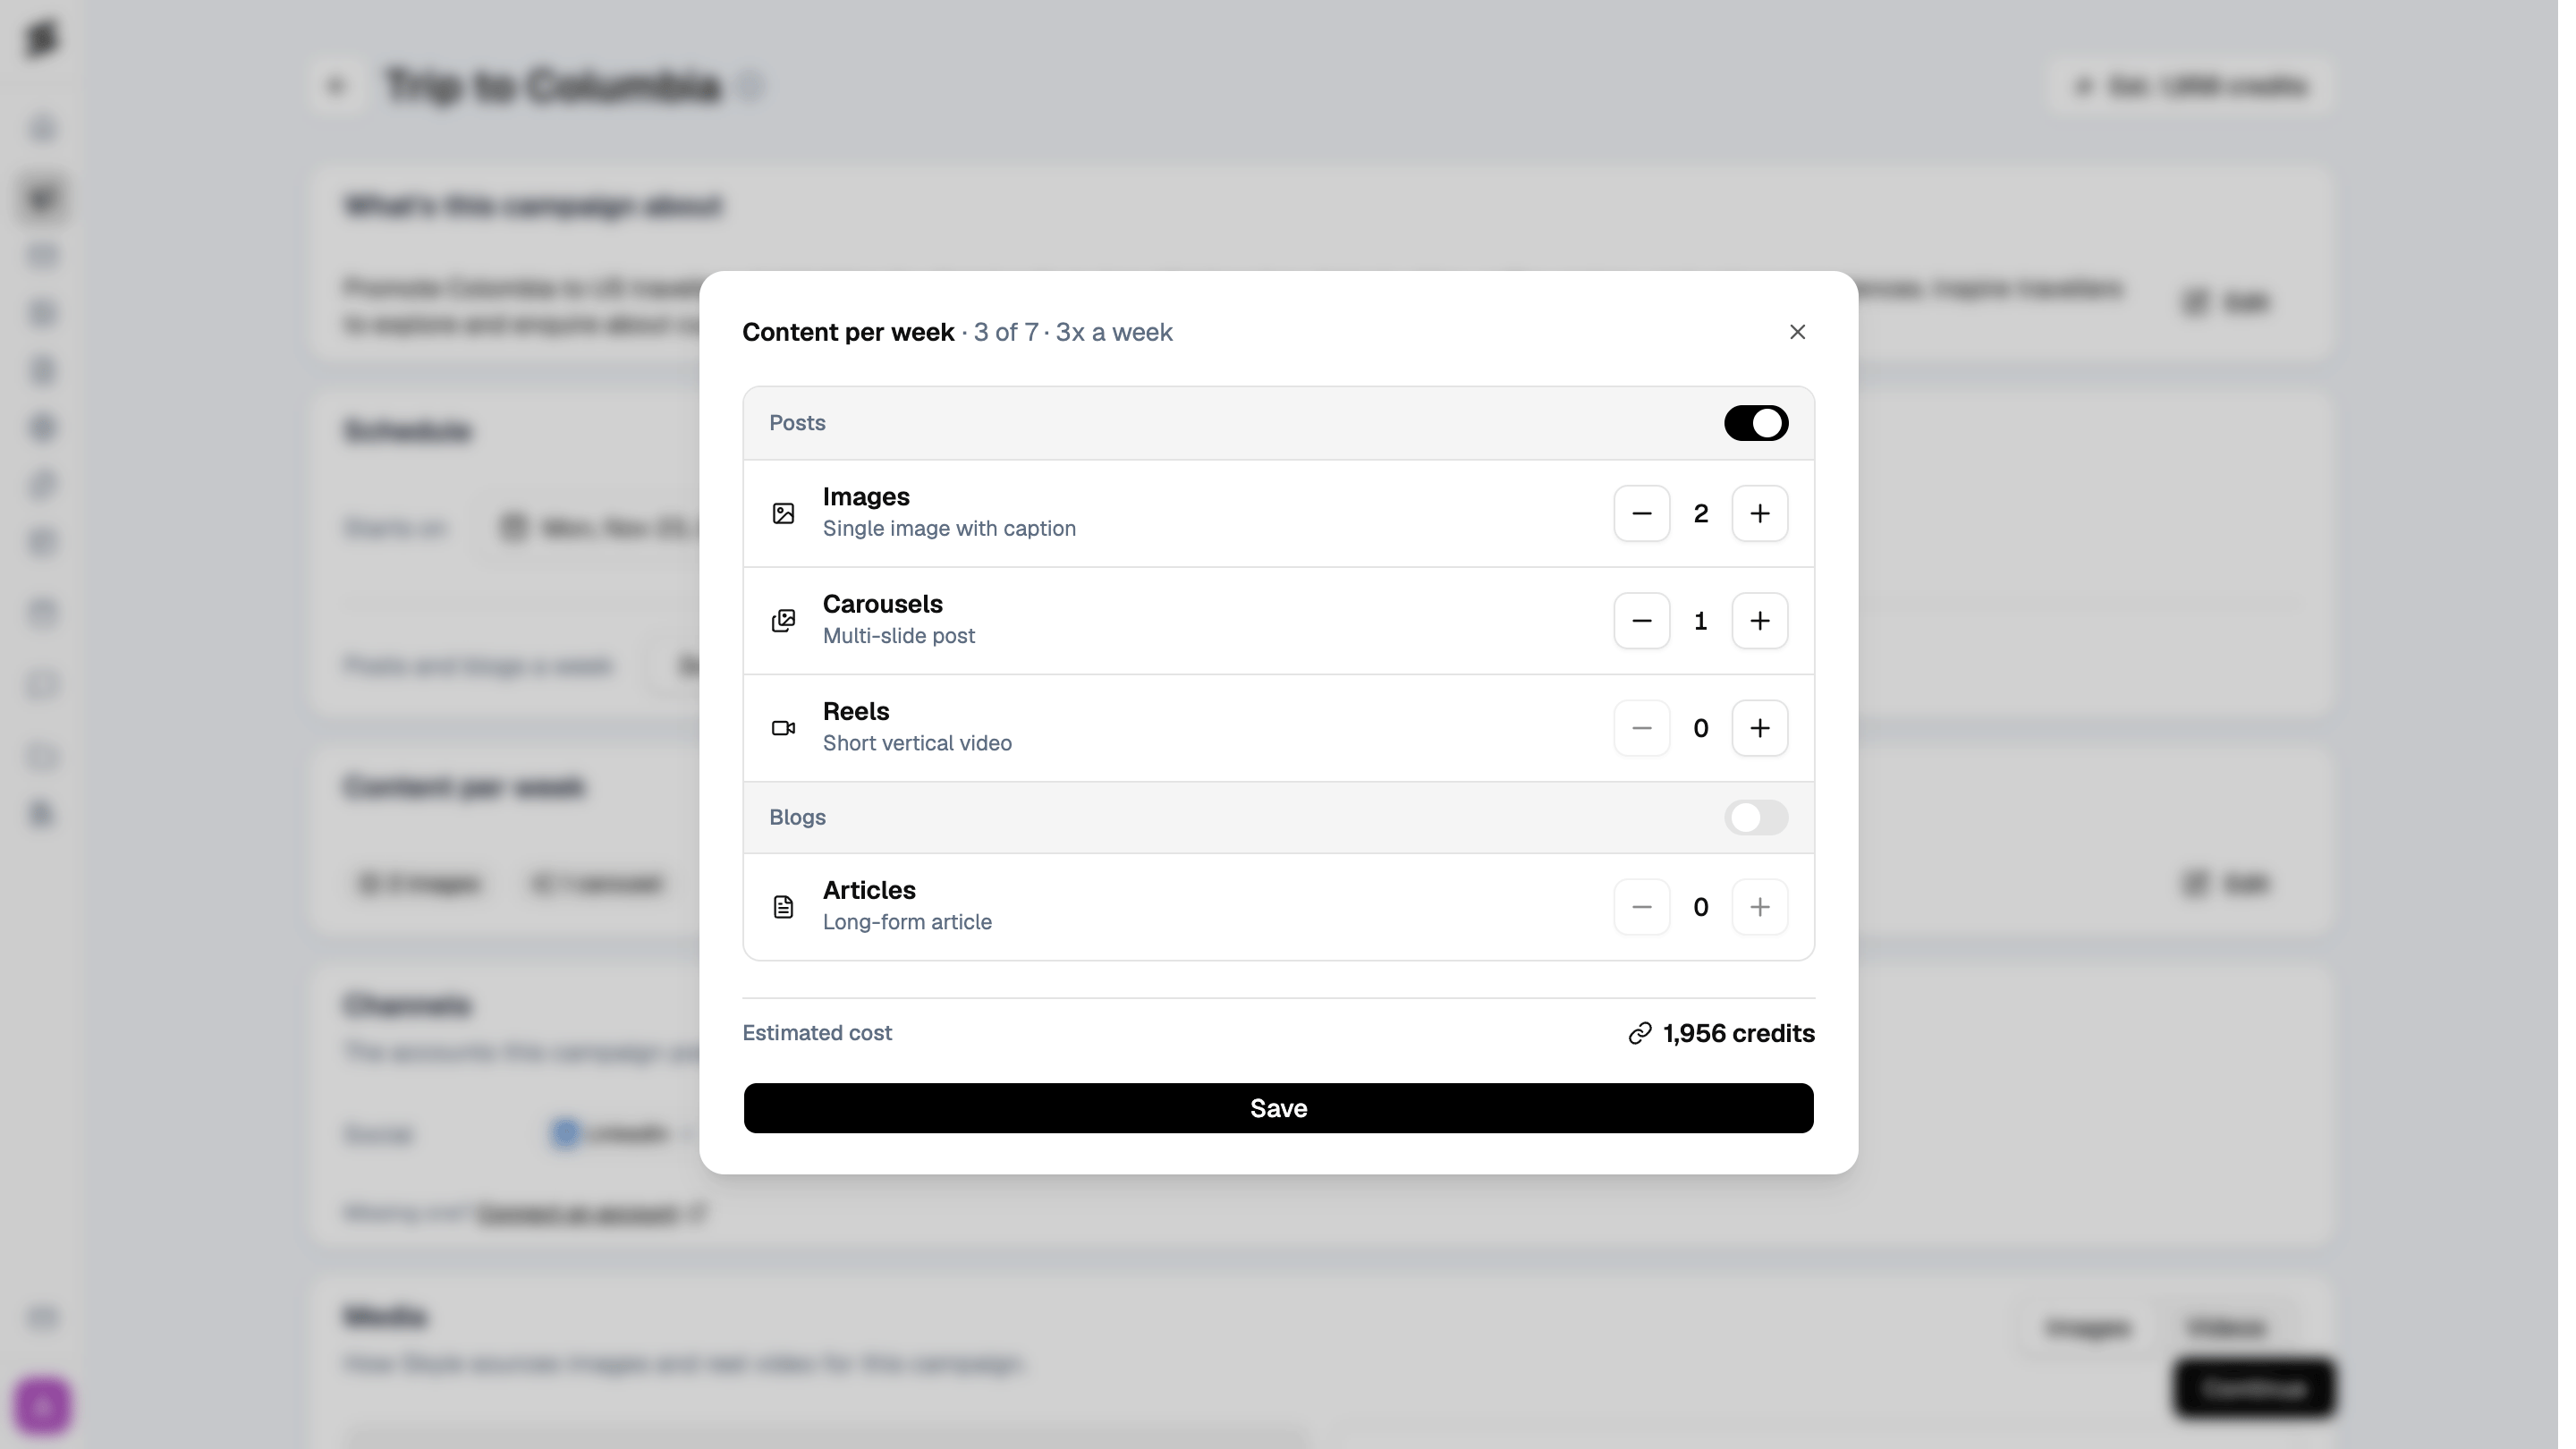
Click Edit under Content per week to decide what Skyie should generate. You can enable either or both:- Posts: turn this on for social content, and set how many Images, Carousels, and Reels you want per week.
- Blogs: turn this on for long-form articles, and set how many you want per week.
Review your topics
Before generating the actual content, Skyie creates a list of suggested topics based on your campaign details and schedule. Each topic includes a working content idea, its scheduled date and time, and the channel it’s assigned to. Switch between List and Calendar to see them laid out differently.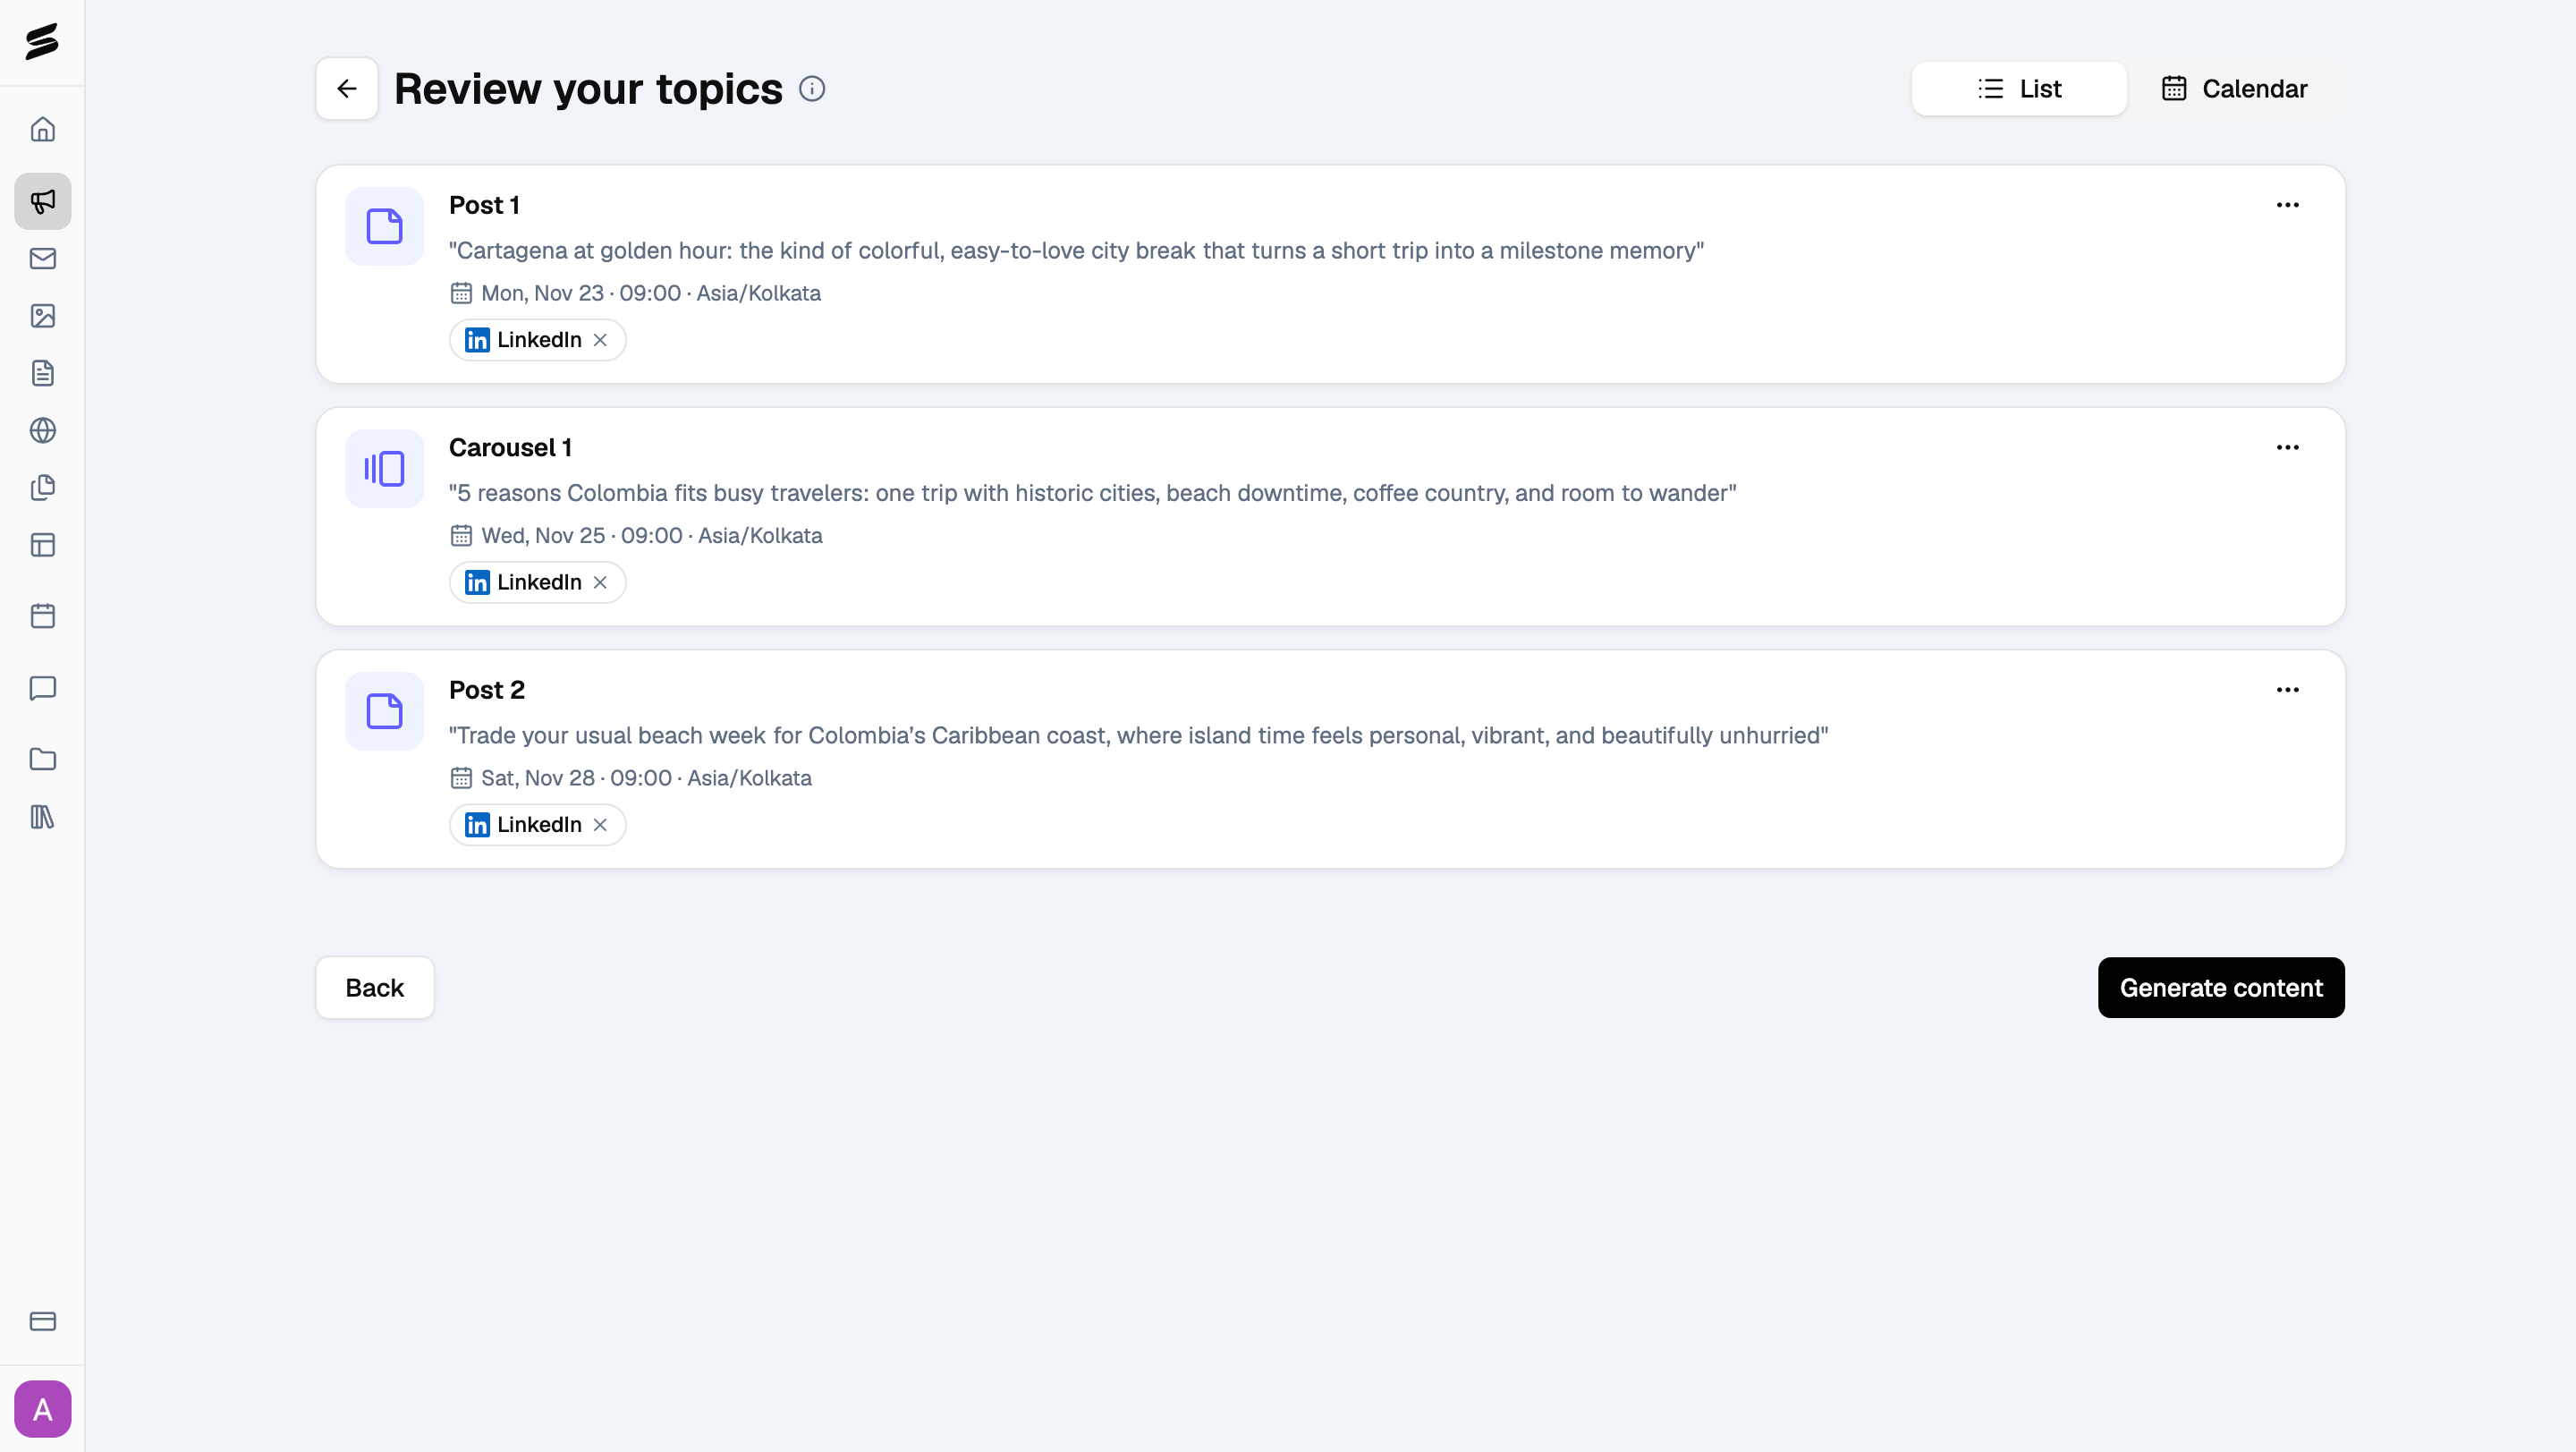
Manage your topics
Click the ••• menu beside any topic to Edit topic, Regenerate topic, or Delete it.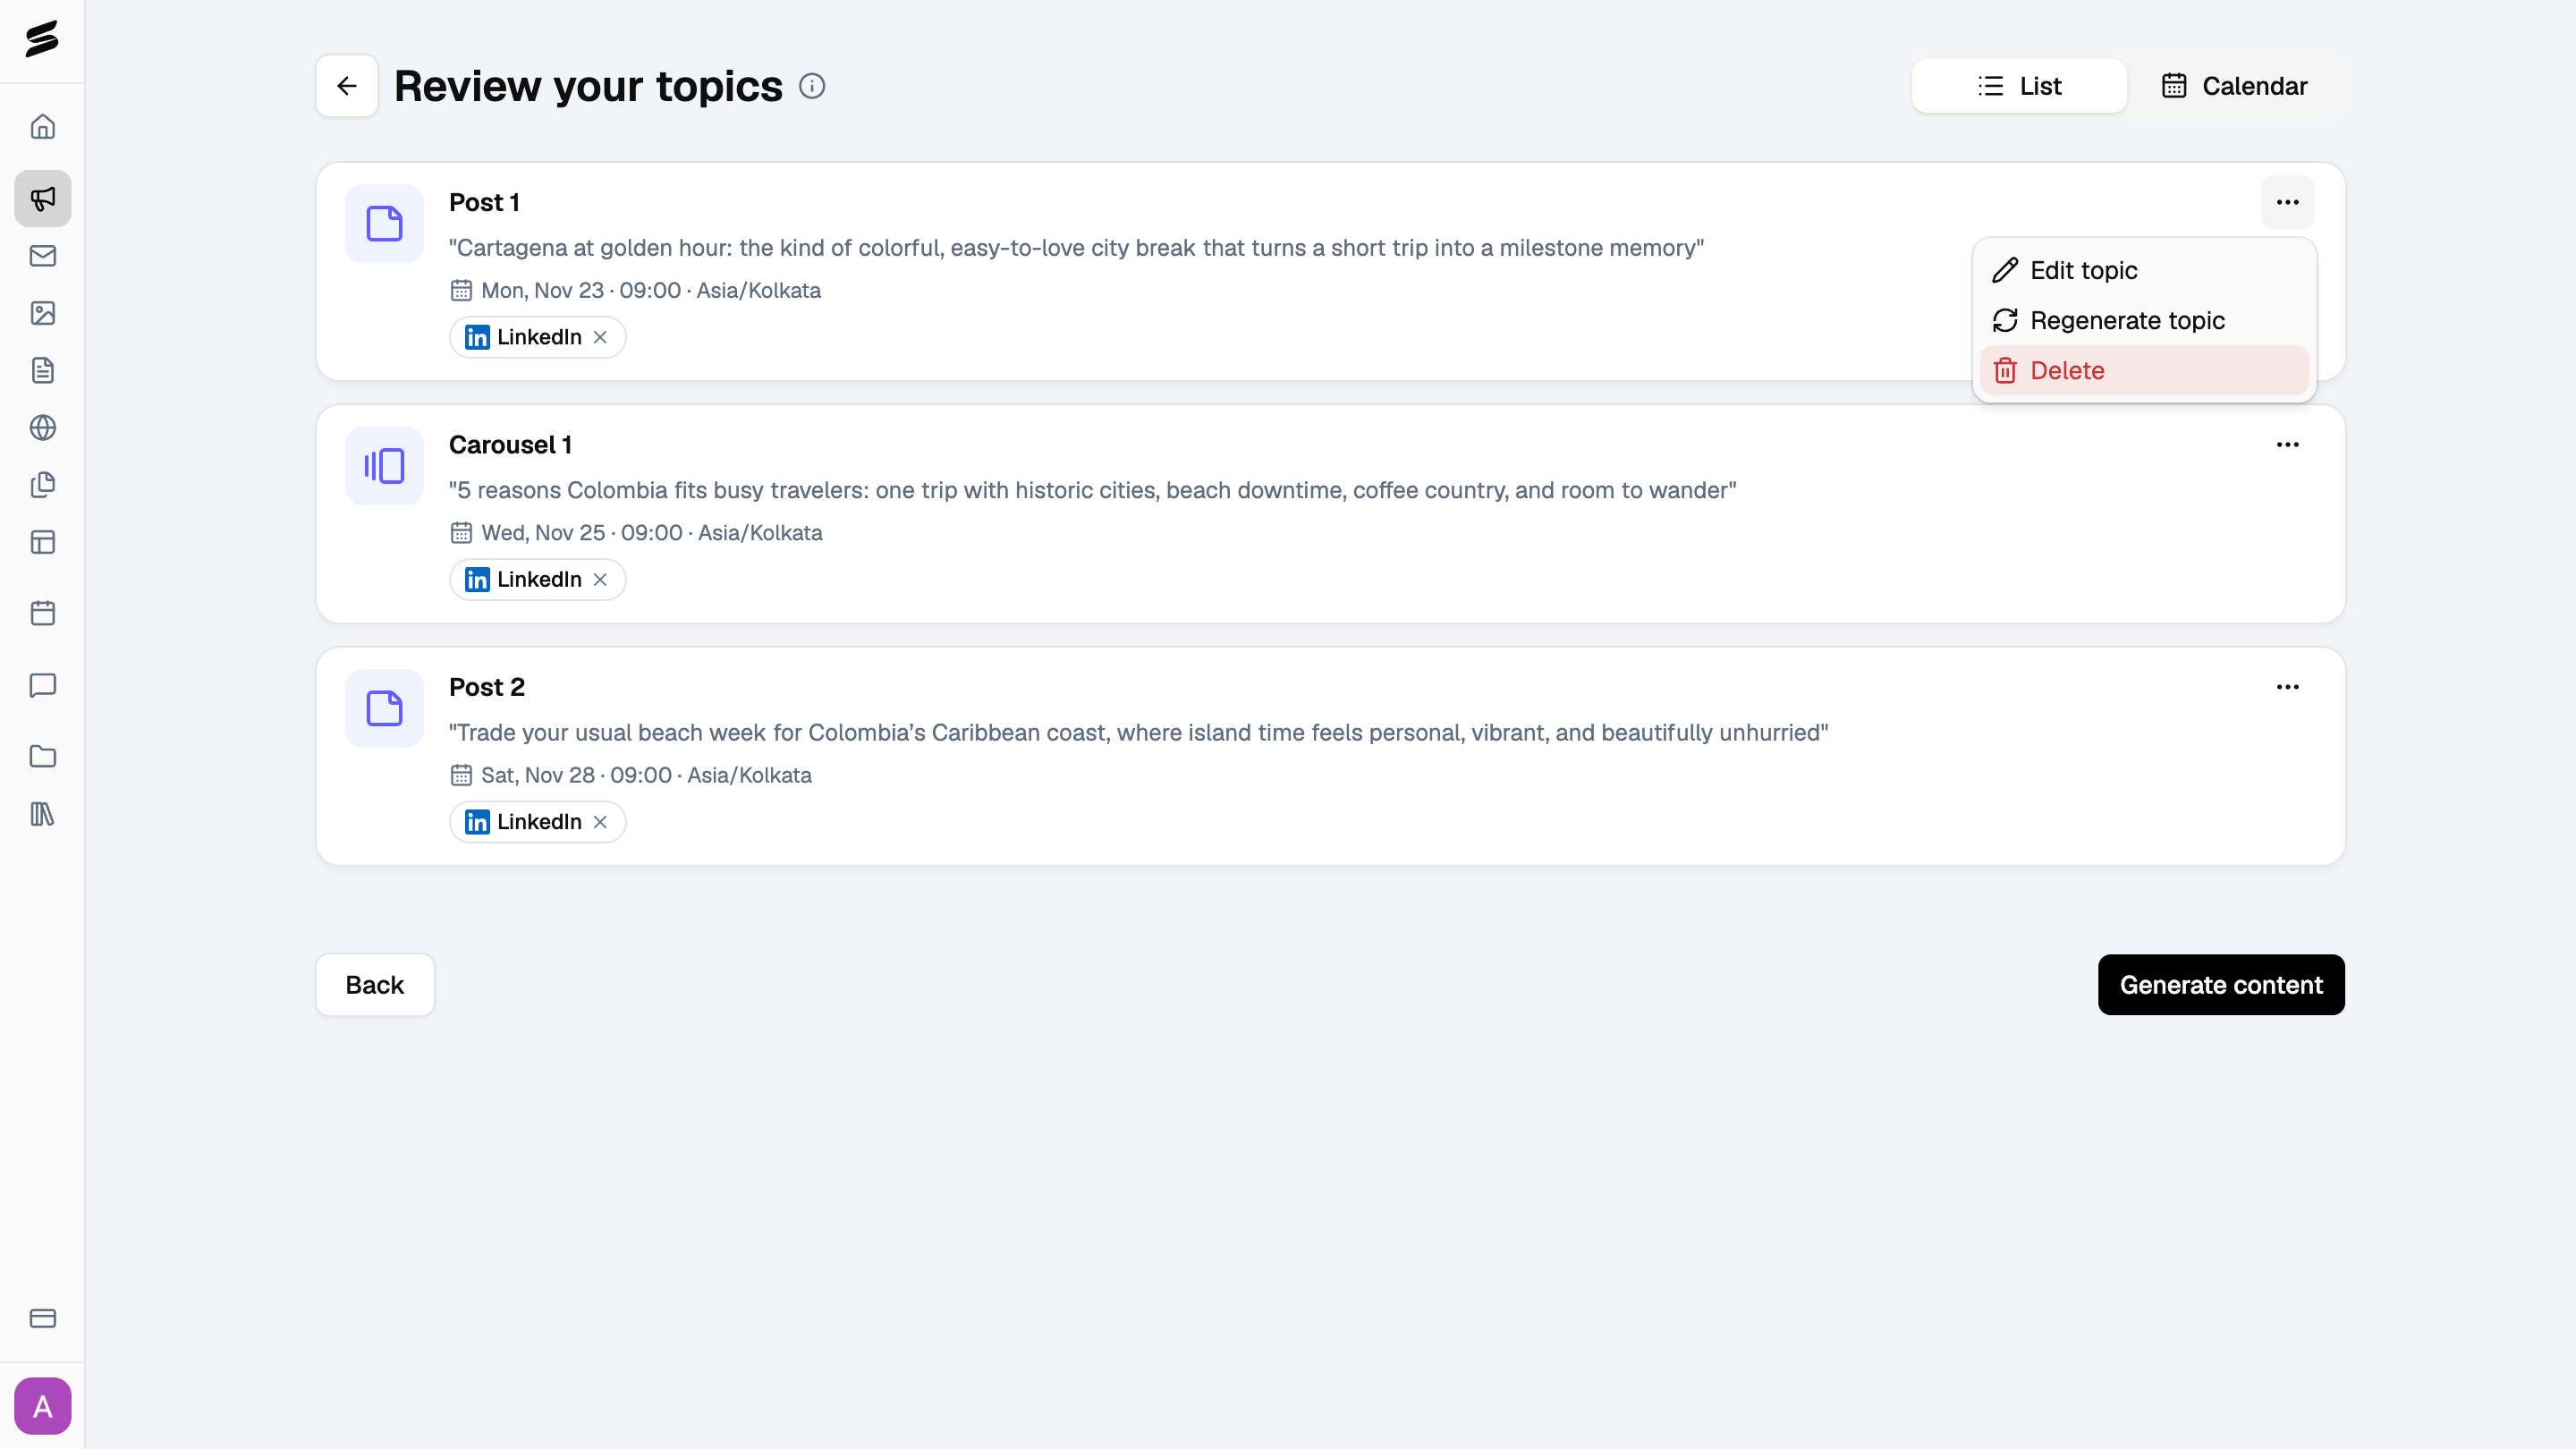
Organize your schedule
Switch to Calendar to see your topics laid out across the campaign schedule, and drag and drop a topic to another date or time to adjust when it’s scheduled.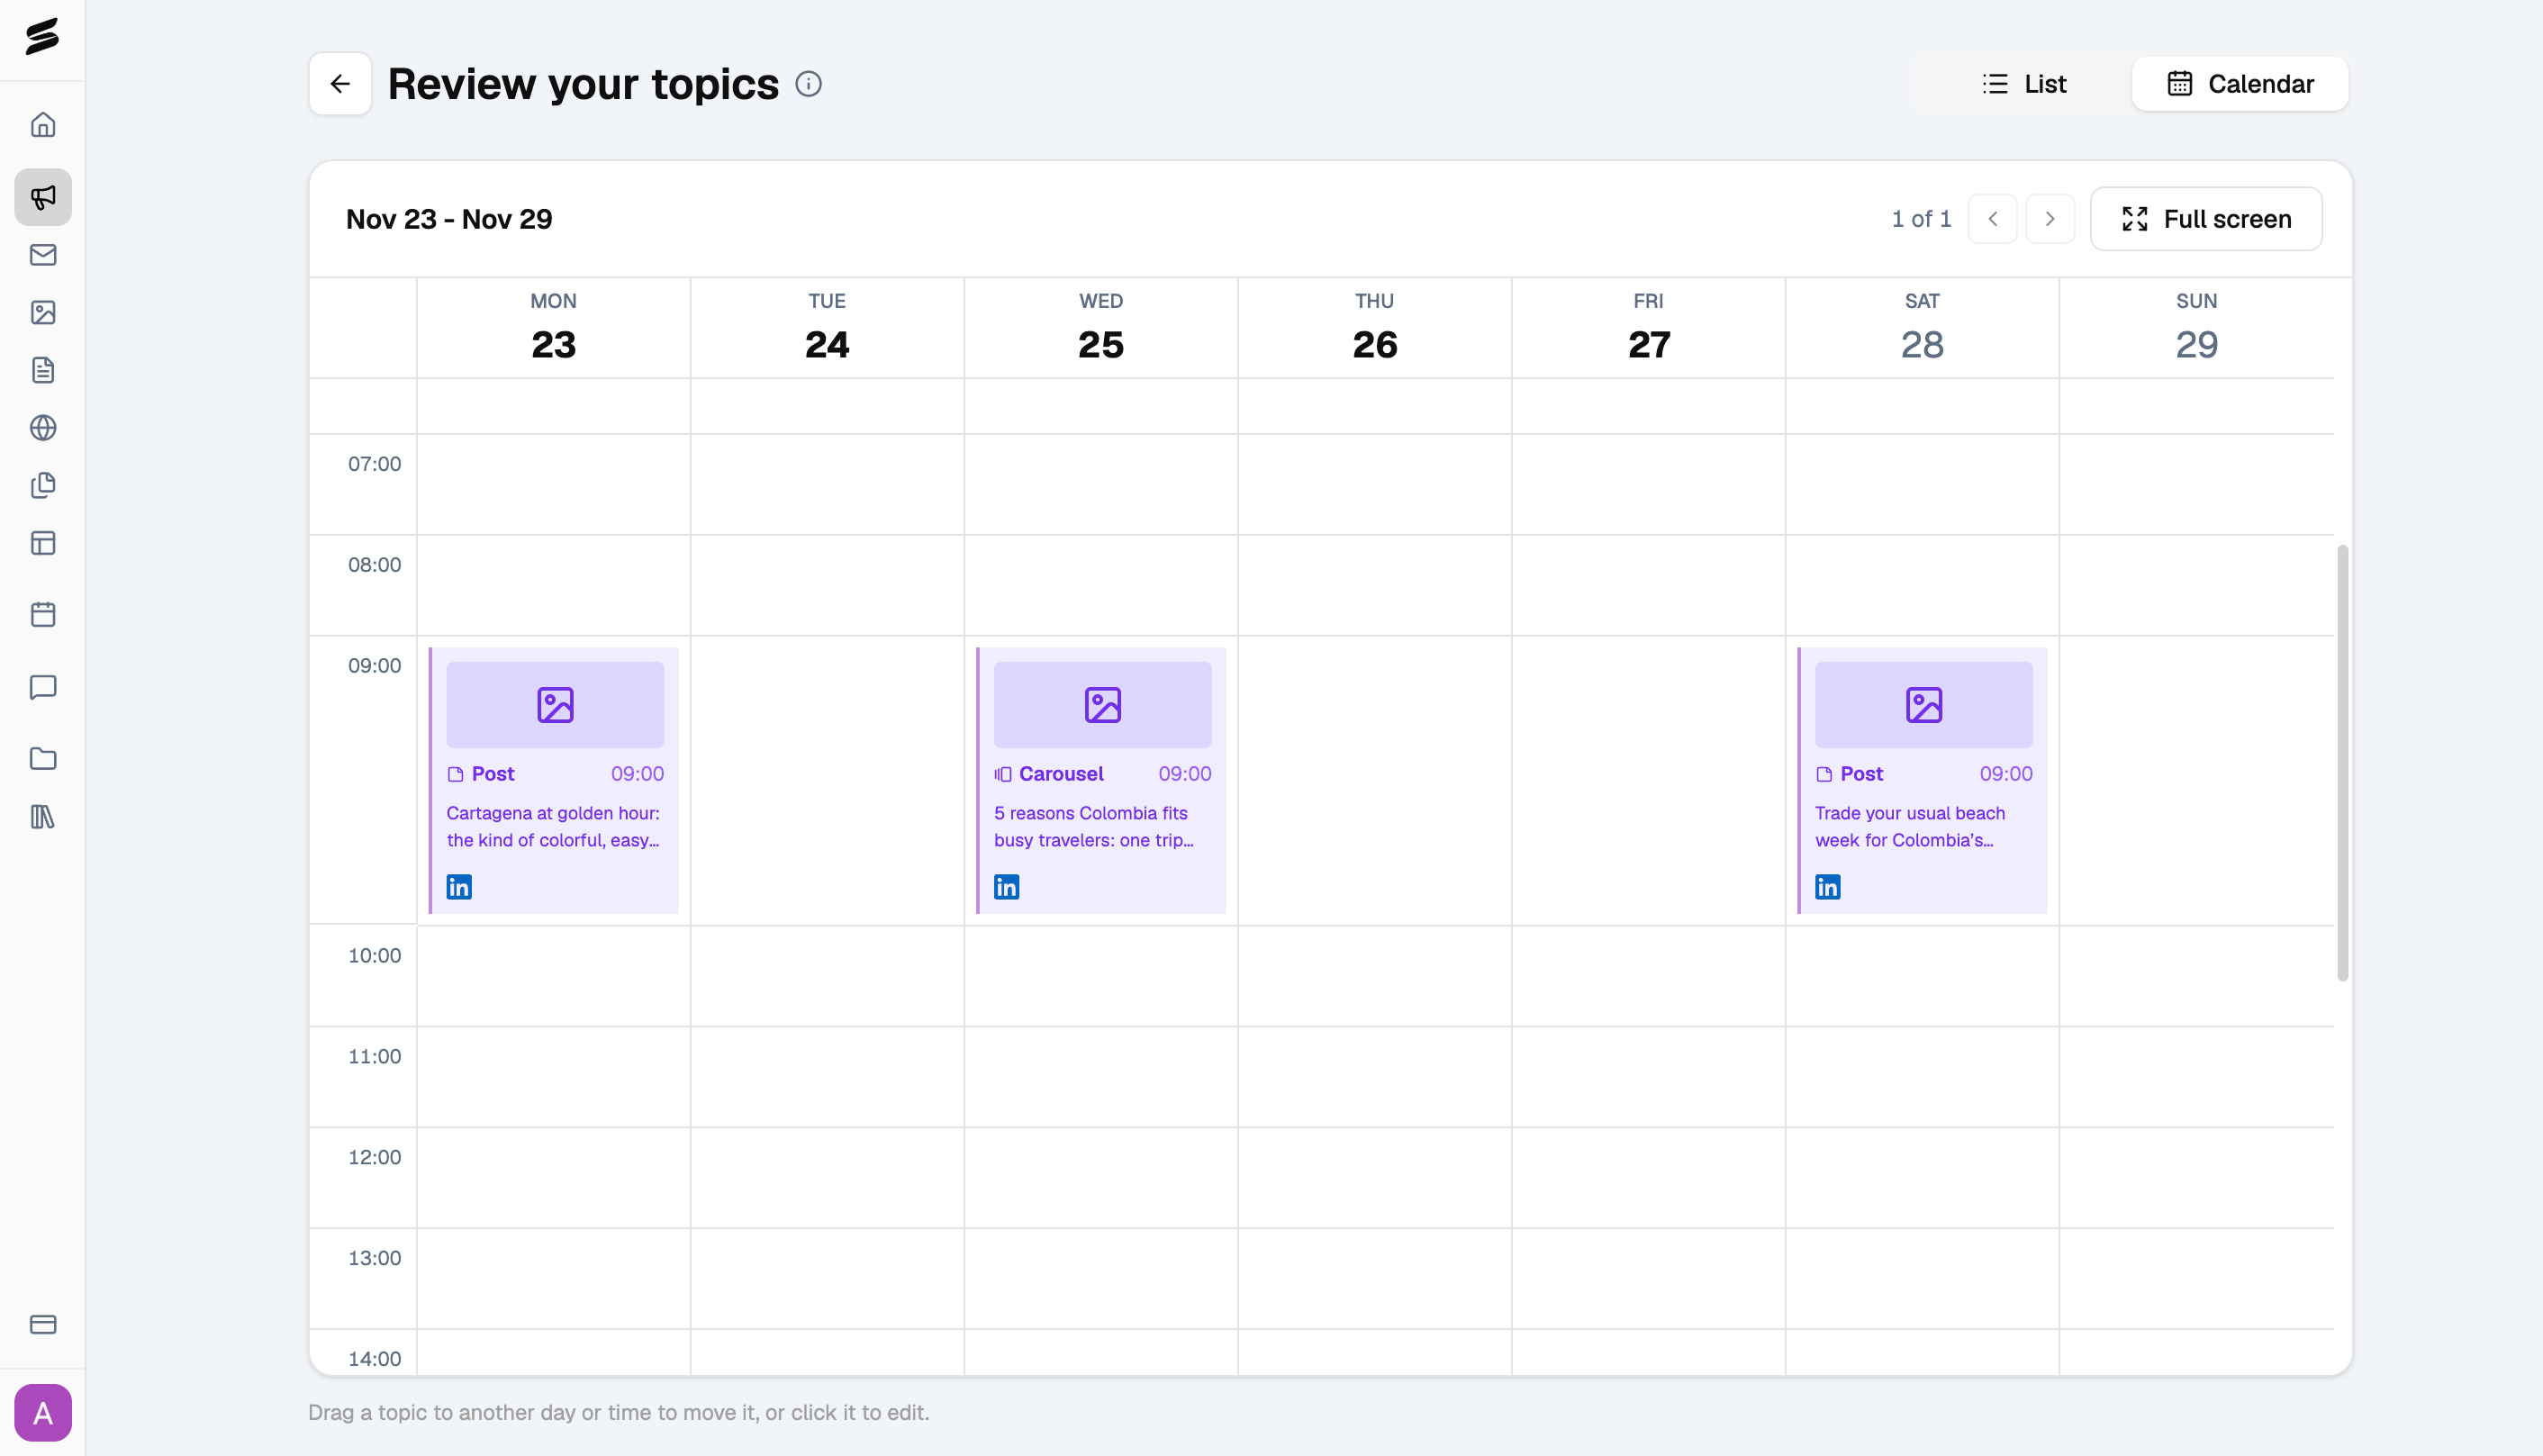
Check the generation cost
Before generation begins, Skyie shows the estimated credit cost. Credits are deducted as each item is actually generated, and nothing gets published until you review and approve it.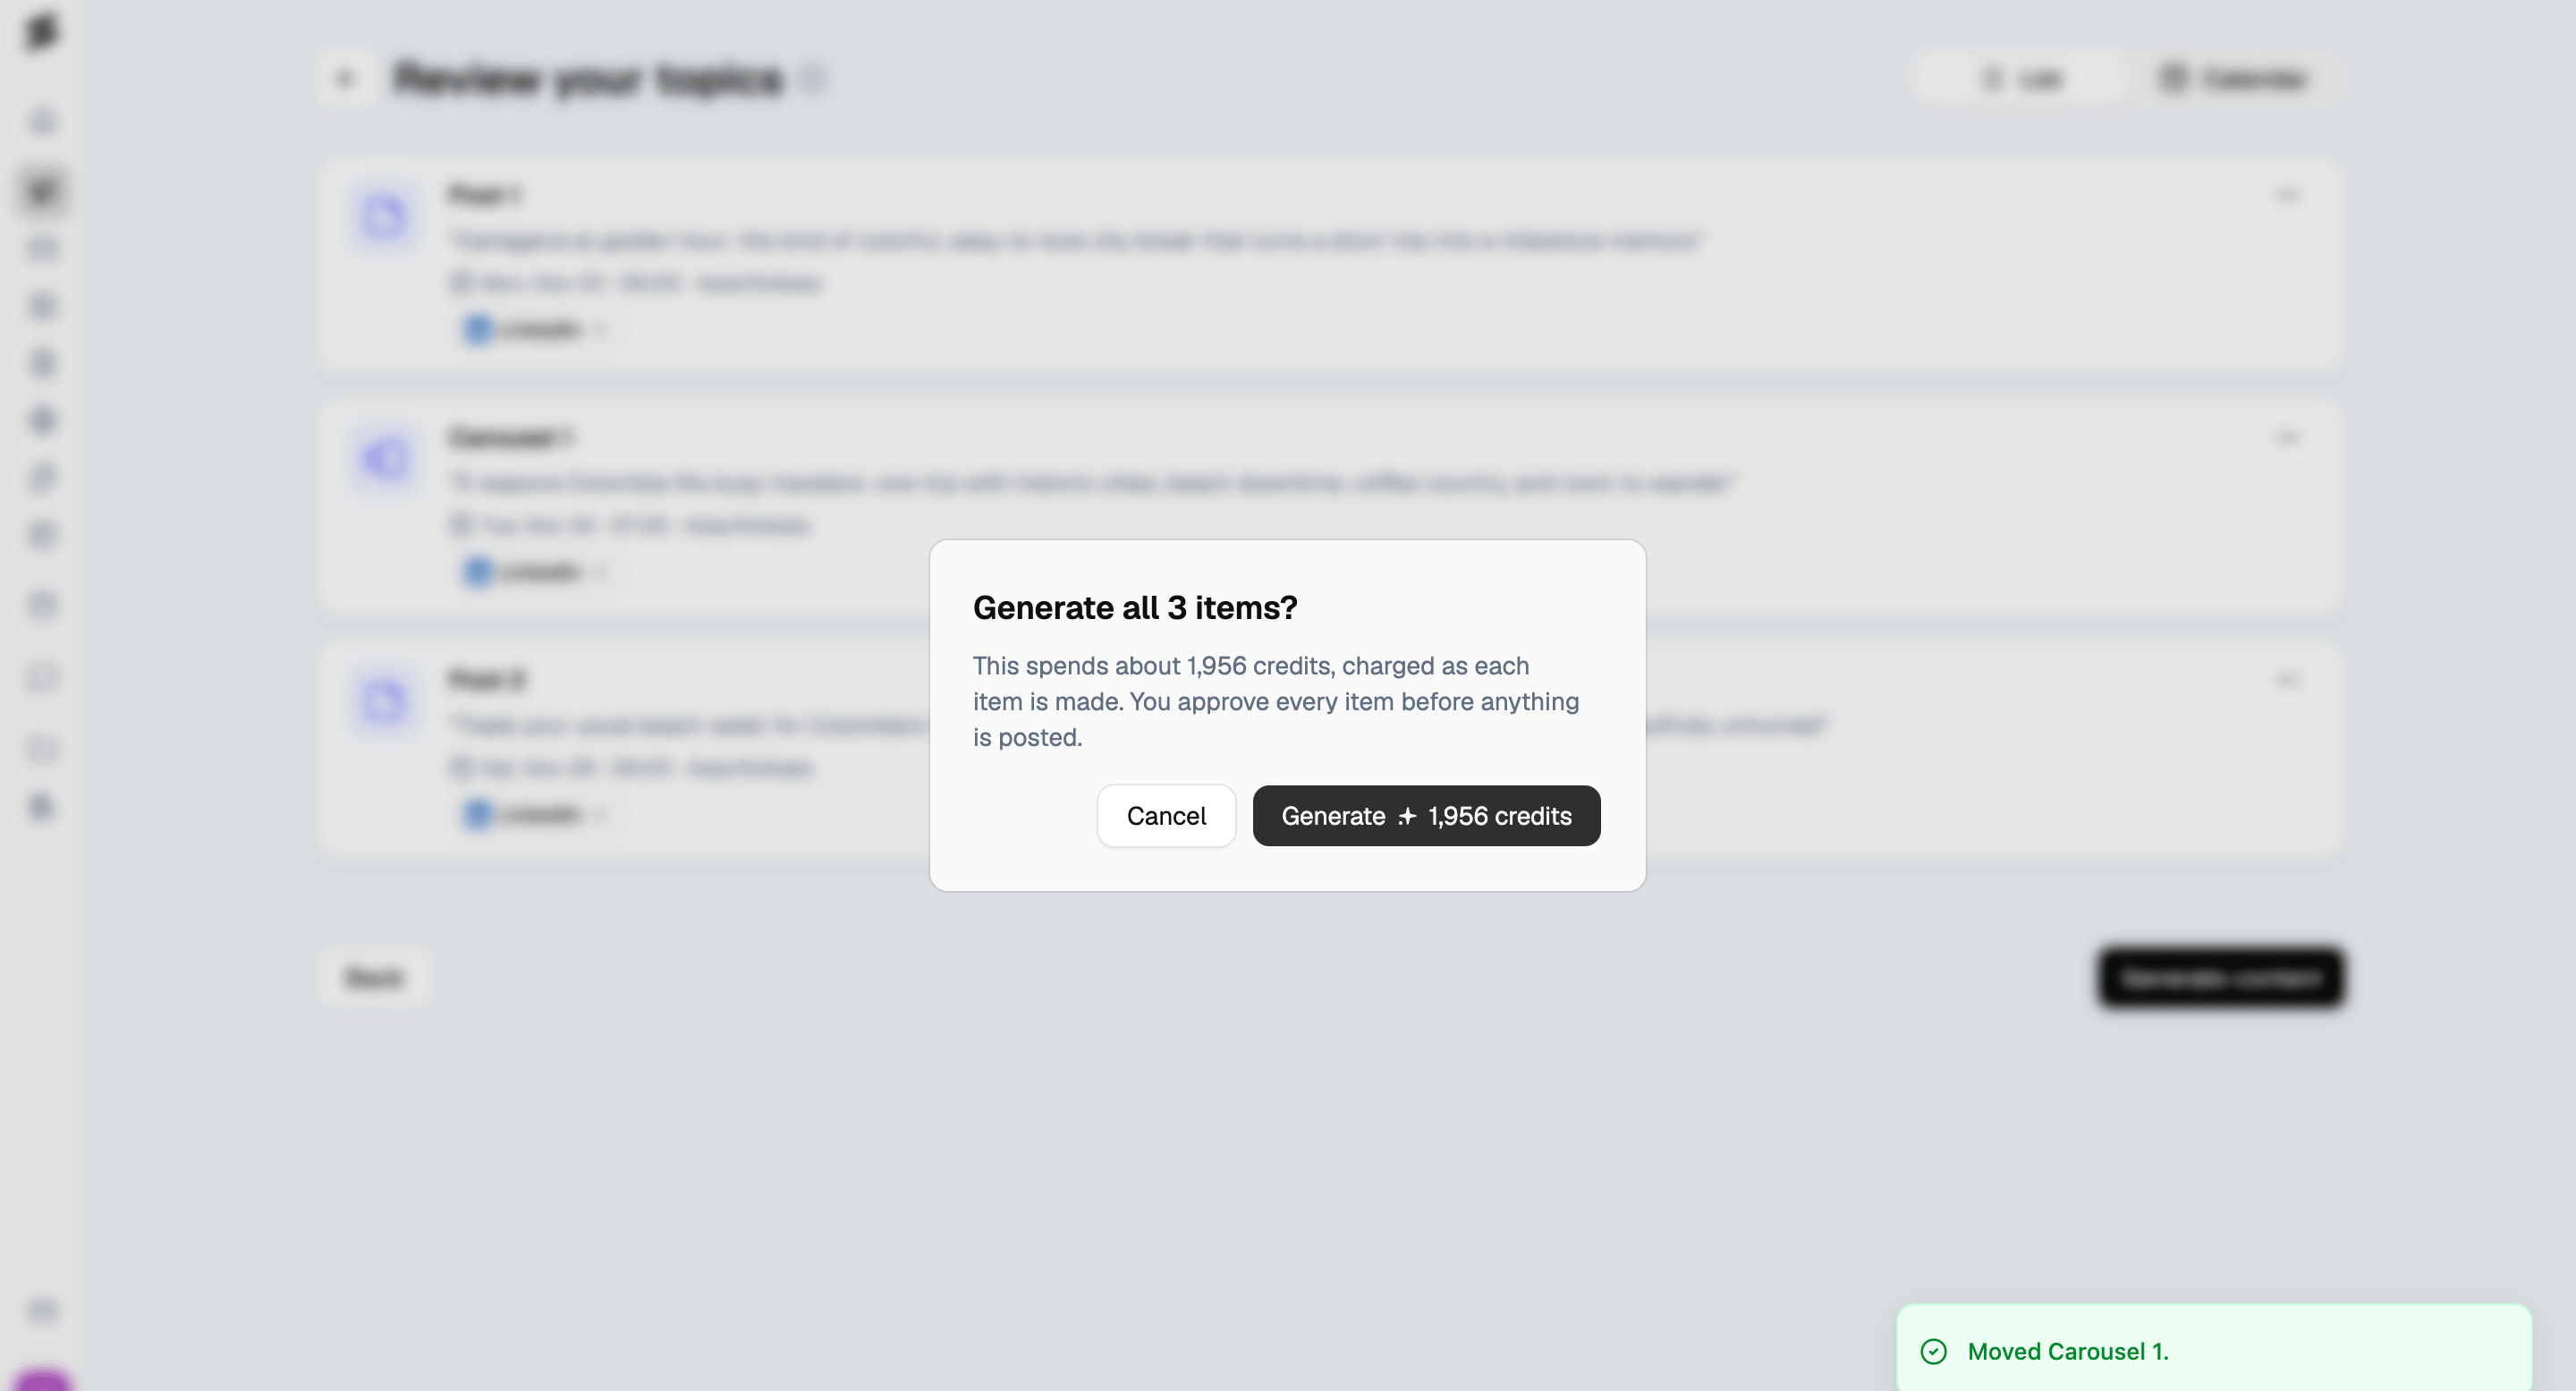
Review and approve your content
Once generation is complete, your content appears in a list with its thumbnail, caption preview, and assigned channel. Review and approve each item individually, or use Approve all remaining to approve everything outstanding at once.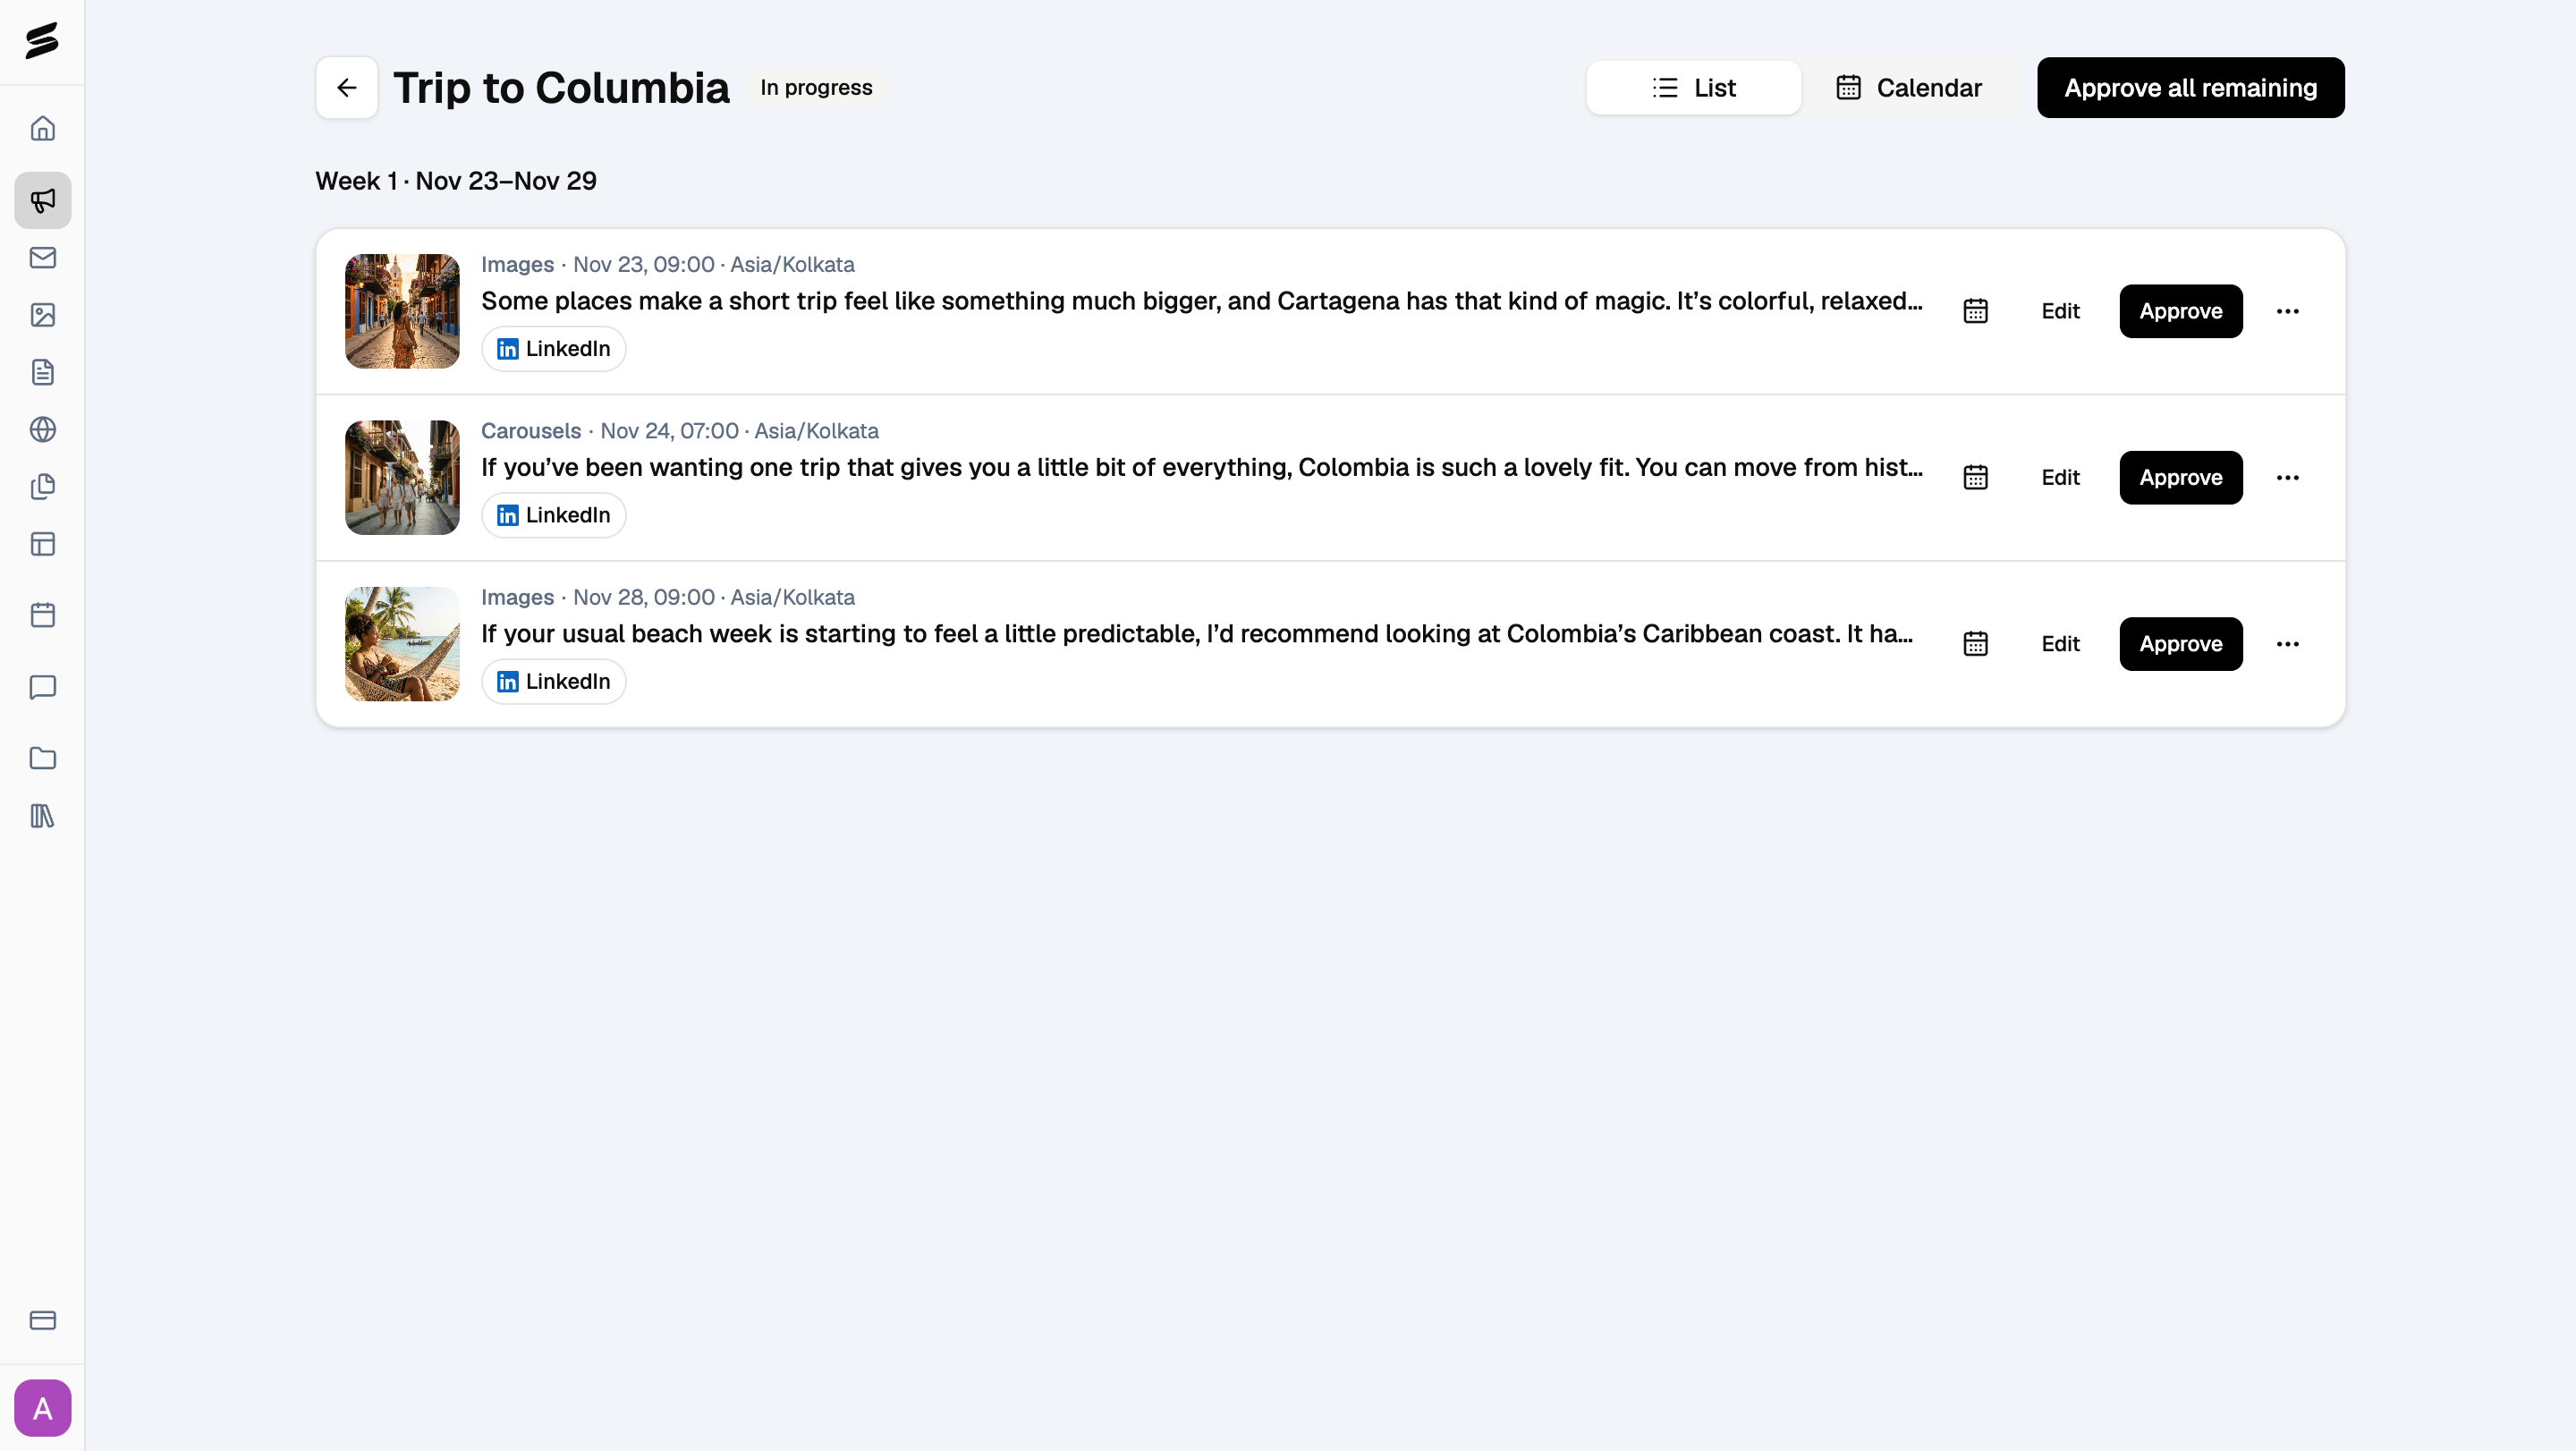
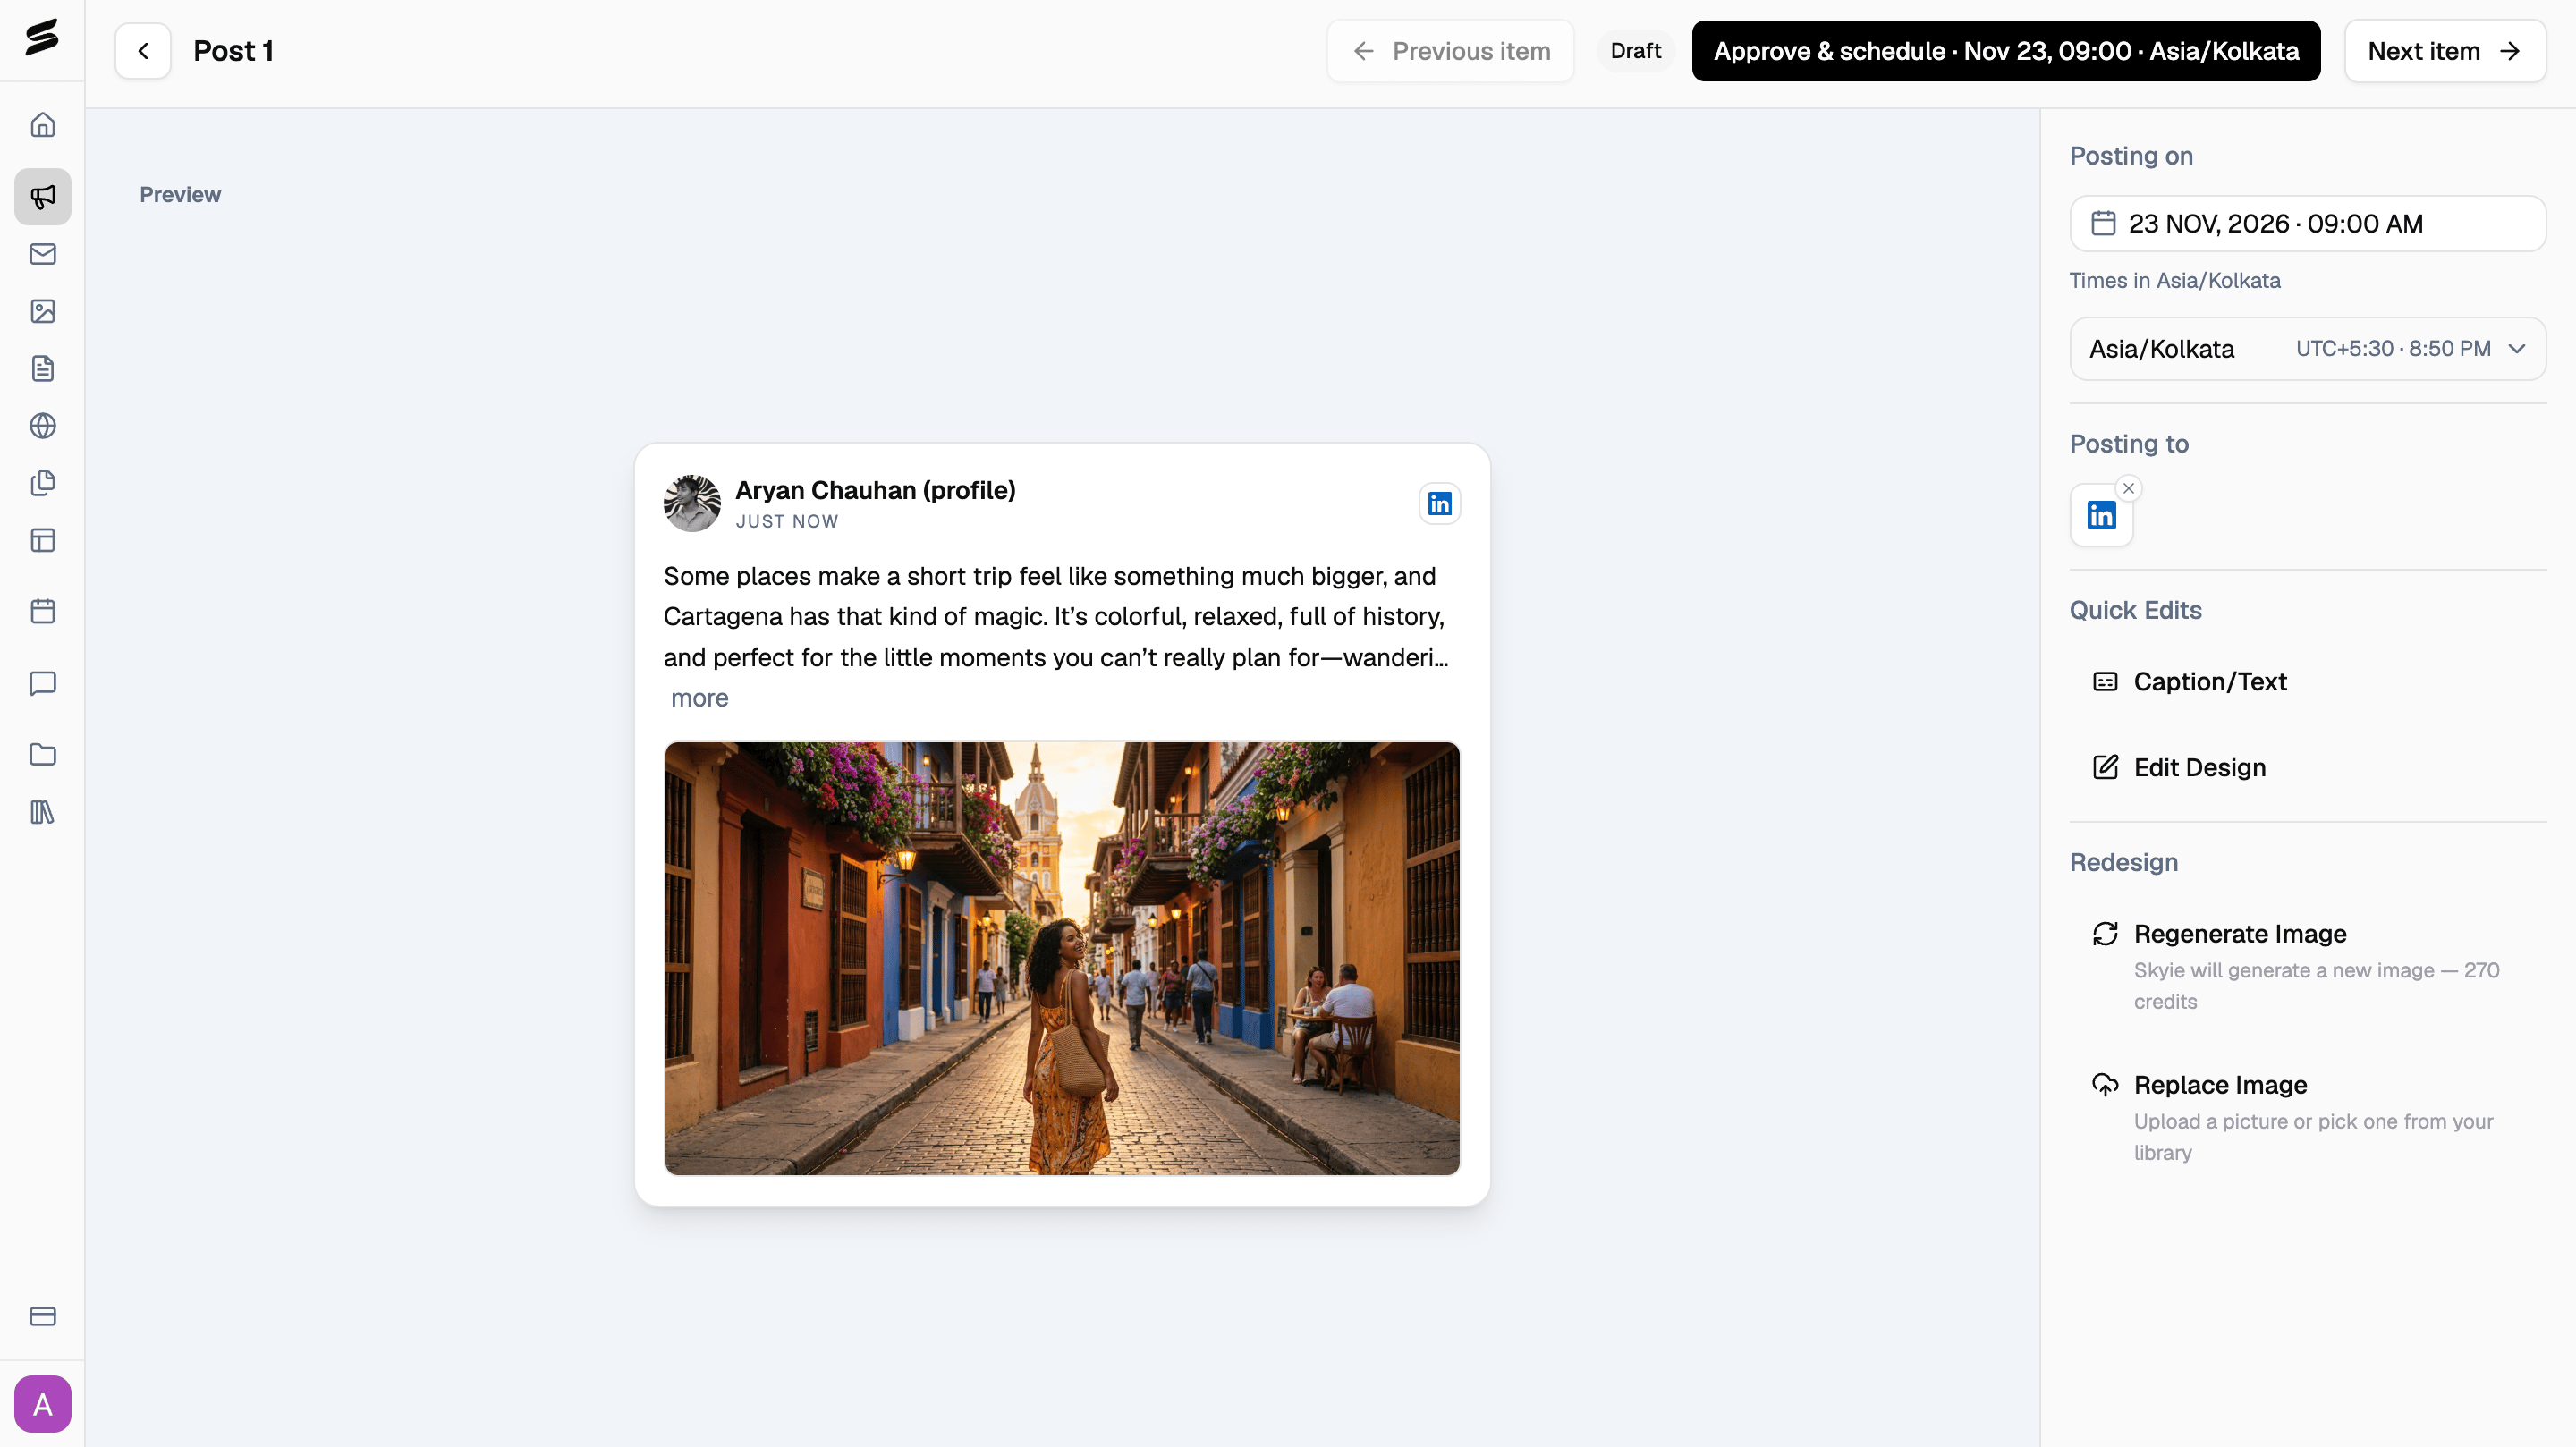
Review an individual item
Click any content item to open its full review screen, where you can:- Preview: see how the content will look before it goes out.
- Posting on: change the scheduled date and time.
- Posting to: change the assigned channel.
- Caption/Text: edit the caption or text.
- Edit Design: open the design editor to make changes to your visual.
- Redesign: Regenerate Image for a different image using more credits, or Replace Image to upload your own.
Approve or reschedule from the calendar
Click an item’s calendar icon to open Reschedule, choose a new date, time, and timezone, and optionally check Approve it too, so it goes out at this time to confirm it in one step.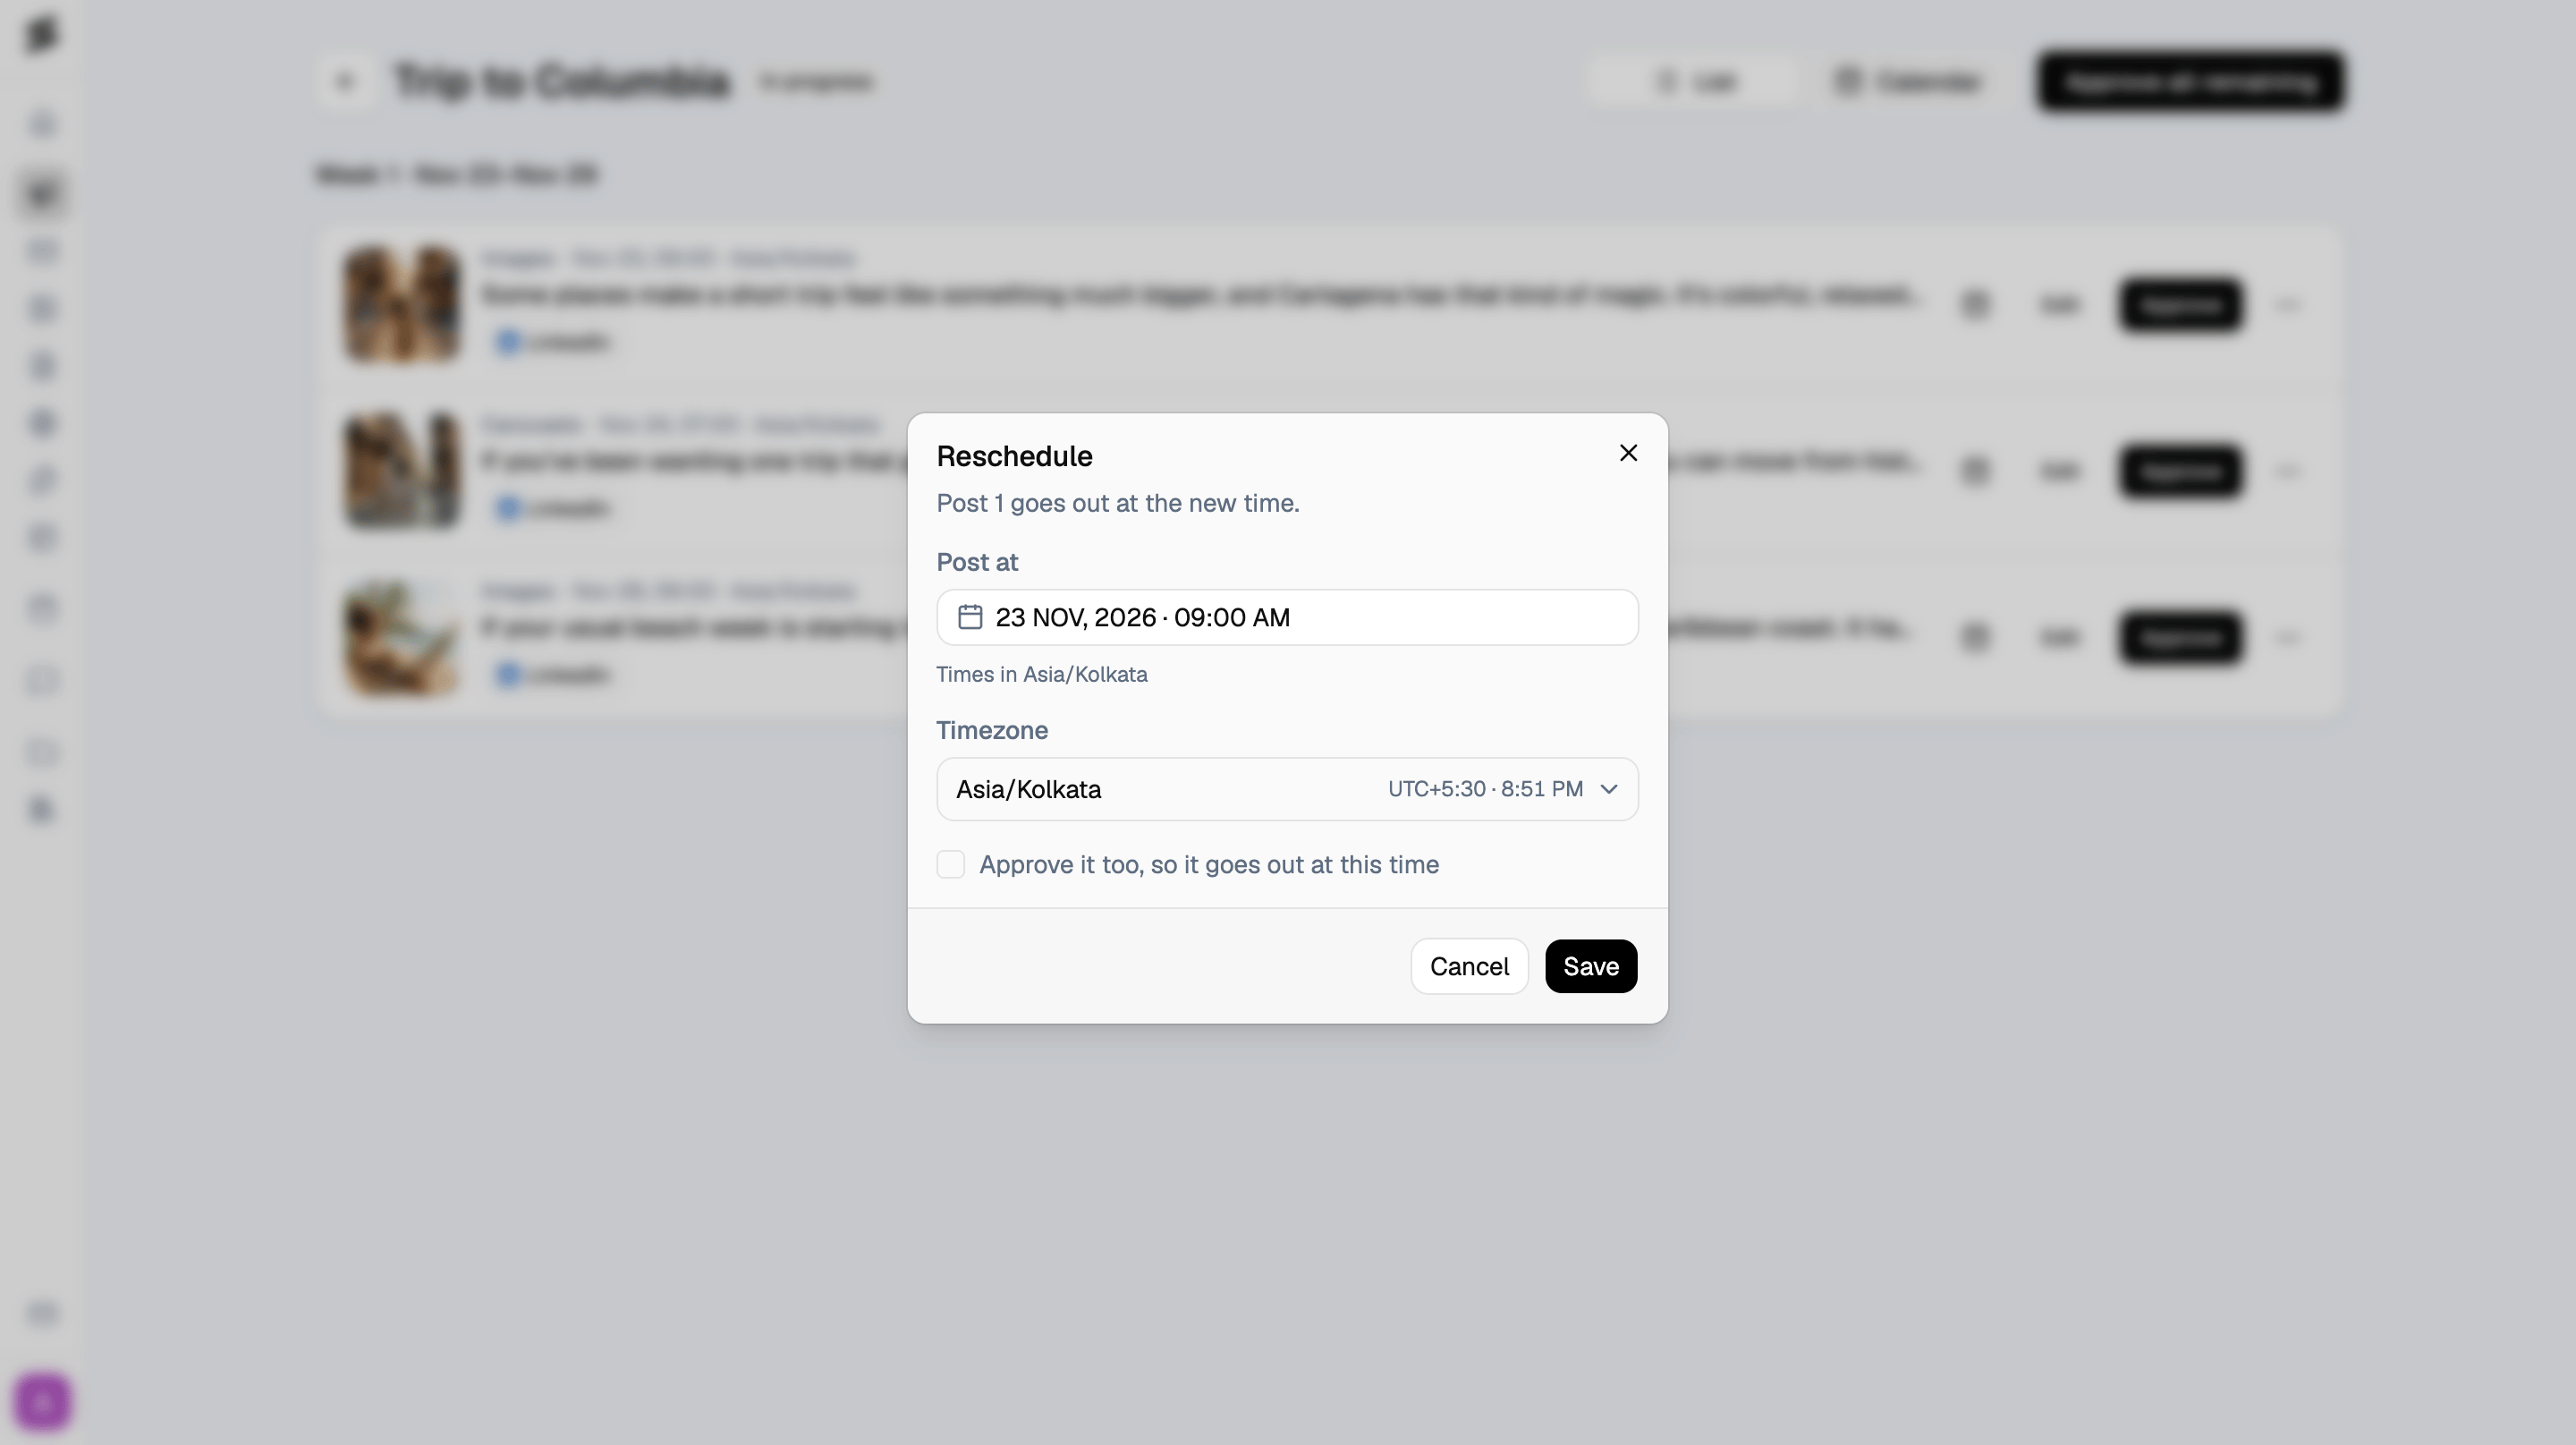
Track pending content
Any content that hasn’t been approved appears as Pending on the campaign calendar, so you can always see what’s still waiting on your review.